Konica Minolta bizhub C552 bizhub C452/C552/C552DS/C652/C652DS Print Operation - Page 83
In the Apple menu, select Control Panel - TCP/IP.
 |
View all Konica Minolta bizhub C552 manuals
Add to My Manuals
Save this manual to your list of manuals |
Page 83 highlights
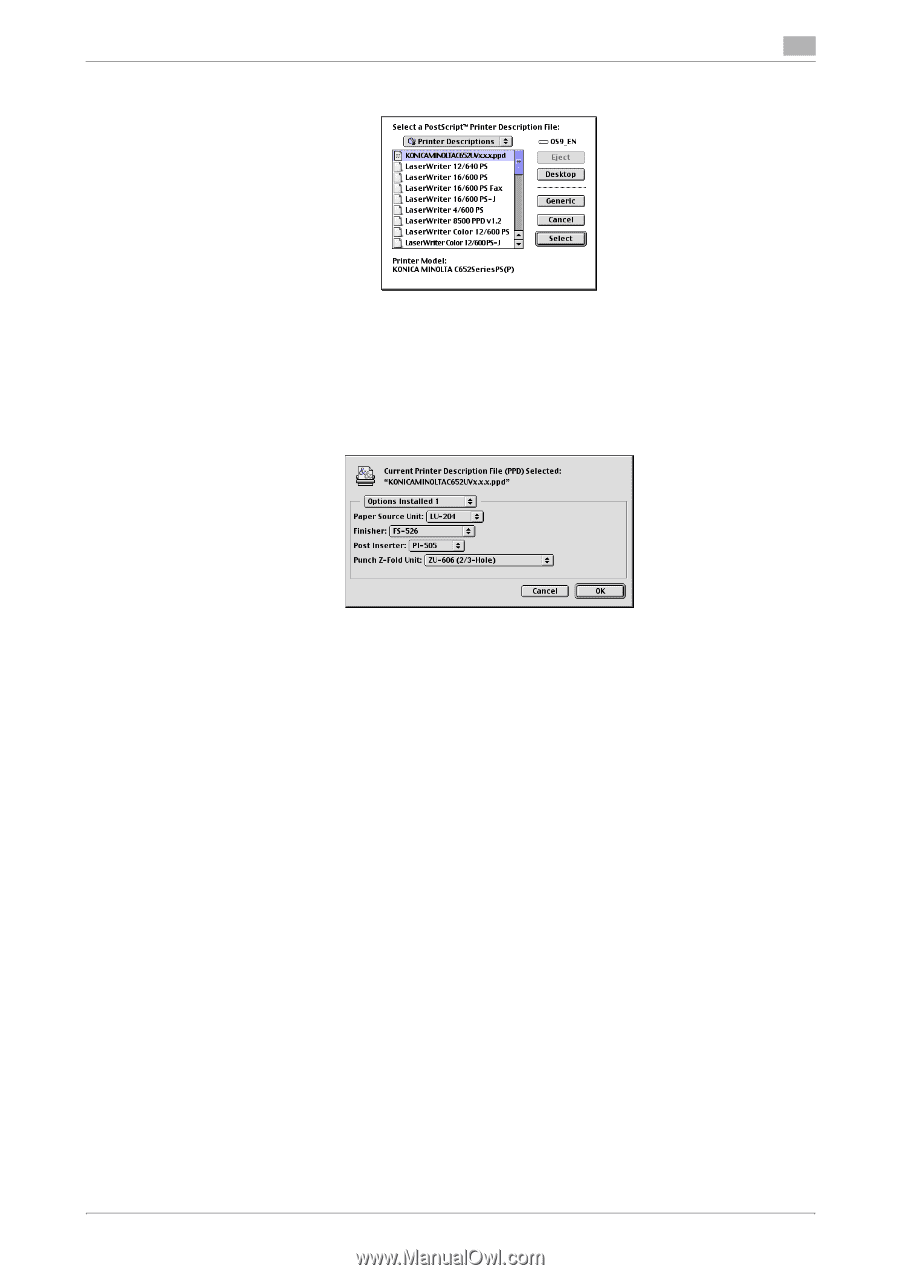
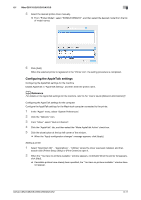
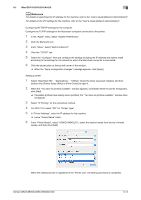
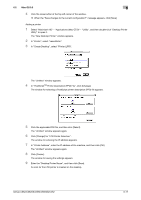
6.2 Mac OS 9.2 6 4 Click the applicable PPD file, and then click [Select] (or [Open]). When the selected printer is registered in the "Chooser", the setting procedure is completed. % If the window showing the installable options appears, proceed to change the option settings as necessary. Go to Step 5. % If the "Chooser" window appears, go to Step 7. 5 Specify the options installed in the machine in the "Options Installed 1" and "Options Installed 2" windows. 6 Click [OK]. The "Chooser" window appears again. 7 Close the "Chooser" window. Configuring the LPR settings TCP/IP setting for the machine Specify the IP address for the machine. LPD setting for the printer Before using LPR printing, enable LPD printing in "LPD Setting" for the machine. d Reference For details on specifying the IP address for the machine, refer to the "User's Guide [Network Administrator]". For details on the LPD settings for the machine, refer to the "User's Guide [Network Administrator]". Configuring the TCP/IP settings for the computer Configure the TCP/IP settings for the Macintosh computer connected to the printer. 1 In the "Apple" menu, select "Control Panel" - "TCP/IP". 2 From "Connect via", select "Ethernet". 3 Select the "Configure" item and configure the settings including the IP address and subnet mask according to the settings for the network to which the Macintosh computer is connected. bizhub C652/C652DS/C552/C552DS/C452 6-16
-
 1
1 -
2
-
3
-
4
-
5
-
6
-
7
-
8
-
9
-
10
-
11
-
12
-
13
-
14
-
15
-
16
-
17
-
18
-
19
-
20
-
21
-
22
-
23
-
24
-
25
-
26
-
27
-
28
-
29
-
30
-
31
-
32
-
33
-
34
-
35
-
36
-
37
-
38
-
39
-
40
-
41
-
42
-
43
-
44
-
45
-
46
-
47
-
48
-
49
-
50
-
51
-
52
-
53
-
54
-
55
-
56
-
57
-
58
-
59
-
60
-
61
-
62
-
63
-
64
-
65
-
66
-
67
-
68
-
69
-
70
-
71
-
72
-
73
-
74
-
75
-
76
-
77
-
 78
78 -
 79
79 -
 80
80 -
 81
81 -
 82
82 -
 83
83 -
 84
84 -
 85
85 -
 86
86 -
 87
87 -
 88
88 -
89
-
90
-
91
-
92
-
93
-
94
-
95
-
96
-
97
-
98
-
99
-
100
-
101
-
102
-
103
-
104
-
105
-
106
-
107
-
108
-
109
-
110
-
111
-
112
-
113
-
114
-
115
-
116
-
117
-
118
-
119
-
120
-
121
-
122
-
123
-
124
-
125
-
126
-
127
-
128
-
129
-
130
-
131
-
132
-
133
-
134
-
135
-
136
-
137
-
138
-
139
-
140
-
141
-
142
-
143
-
144
-
145
-
146
-
147
-
148
-
149
-
150
-
151
-
152
-
153
-
154
-
155
-
156
-
157
-
158
-
159
-
160
-
161
-
162
-
163
-
164
-
165
-
166
-
167
-
168
-
169
-
170
-
171
-
172
-
173
-
174
-
175
-
176
-
177
-
178
-
179
-
180
-
181
-
182
-
183
-
184
-
185
-
186
-
187
-
188
-
189
-
190
-
191
-
192
-
193
-
194
-
195
-
196
-
197
-
198
-
199
-
200
-
201
-
202
-
203
-
204
-
205
-
206
-
207
-
208
-
209
-
210
-
211
-
212
-
213
-
214
-
215
-
216
-
217
-
218
-
219
-
220
-
221
-
222
-
223
-
224
-
225
-
226
-
227
-
228
-
229
-
230
-
231
-
232
-
233
-
234
-
235
-
236
-
237
-
238
-
239
-
240
-
241
-
242
-
243
-
244
-
245
-
246
-
247
-
248
-
249
-
250
-
251
-
252
-
253
-
254
-
255
-
256
-
257
-
258
-
259
-
260
-
261
-
262
-
263
-
264
-
265
-
266
-
267
-
268
-
269
-
270
-
271
-
272
-
273
-
274
-
275
-
276
-
277
-
278
-
279
-
280
-
281
-
282
-
283
-
284
-
285
-
286
-
287
-
288
-
289
-
290
-
291
-
292
-
293
-
294
-
295
-
296
-
297
-
298
-
299
-
300
-
301
-
302
-
303
-
304
-
305
-
306
-
307
-
308
-
309
-
310
-
311
-
312
 |
 |