Konica Minolta bizhub C552 bizhub C452/C552/C552DS/C652/C652DS Print Operation - Page 94
Default settings of the printer driver
 |
View all Konica Minolta bizhub C552 manuals
Add to My Manuals
Save this manual to your list of manuals |
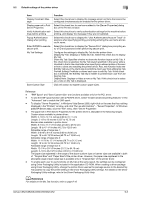
Page 94 highlights
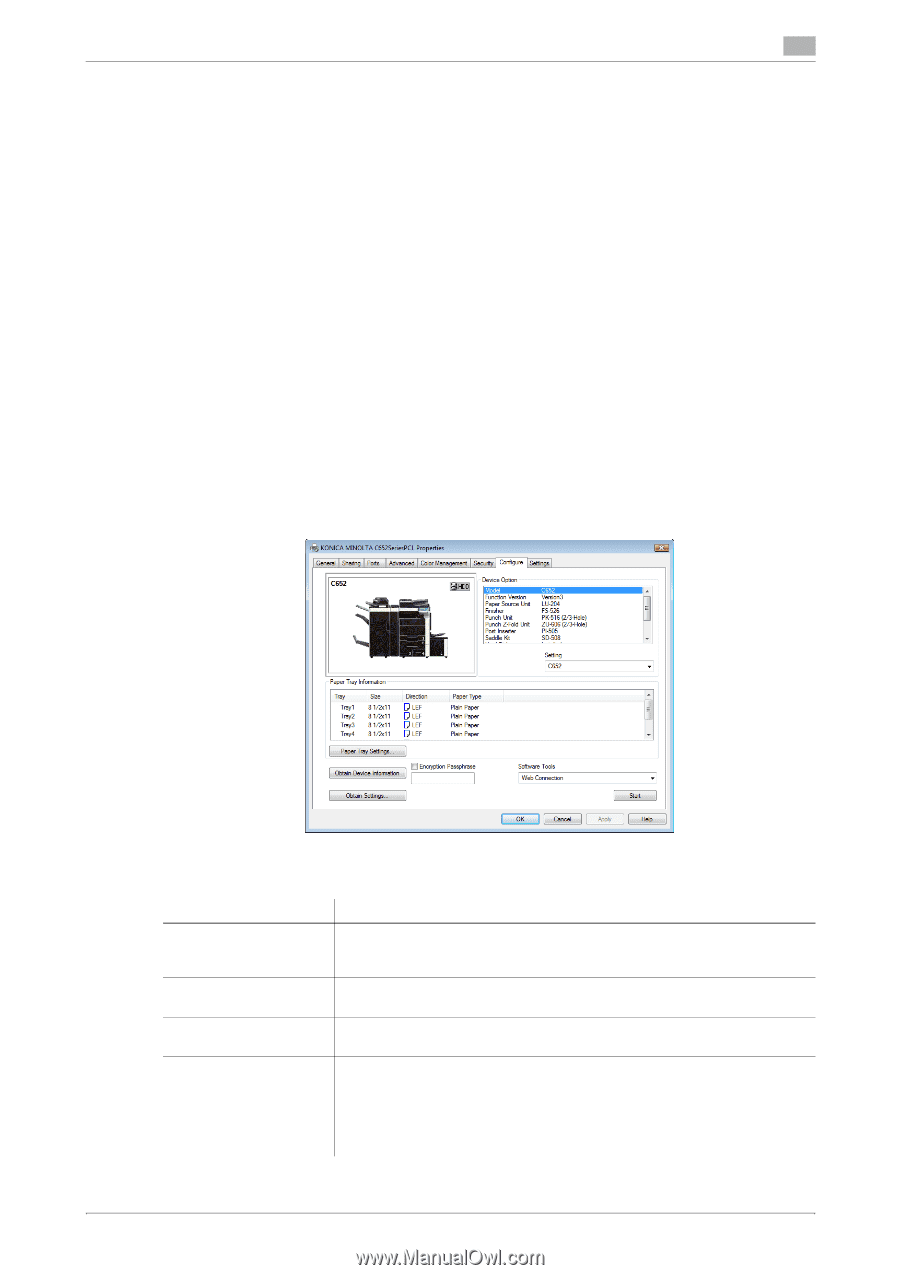
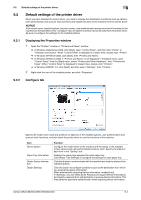
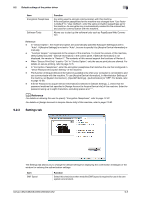
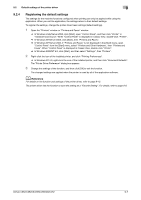
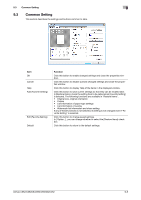
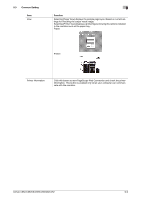
9.2 Default settings of the printer driver 9 9.2 Default settings of the printer driver When you have installed the printer driver, you need to change the initialization conditions such as options, user authentication and account track functions and enable functions of the machine from the printer driver. NOTICE If the model name, installed options, function version, user authentication and account track functions for the machine are not specified on the "Configure" tab, the option functions cannot be used from the printer driver. Be sure to configure the settings for the installed options. 9.2.1 Displaying the Properties window 1 Open the "Printers" window or "Printers and Faxes" window. % In Windows Vista/Server 2008, click [Start], open "Control Panel", and then click "Printer" in "Hardware and Sound". When "Control Panel" is displayed in Classic View, double-click "Printer". % In Windows XP/Server 2003, click [Start], then "Printers and Faxes". % In Windows XP/Server 2003, if "Printers and Faxes" is not displayed in the [Start] menu, open "Control Panel" from the [Start] menu, select "Printers and Other Hardware", then "Printers and Faxes". When "Control Panel" is displayed in Classic View, double-click "Printers". % In Windows 2000/NT 4.0, click [Start], and then select "Settings", then "Printers". 2 Right-click the icon of the installed printer, and click "Properties". 9.2.2 Configure tab Specify the model name used and presence or absence of the installed options, user authentication and account track functions, and then allow the printer driver to use the functions of the machine. Item Device Option Paper Tray Information Obtain Device Information Obtain Settings Function Configure the model name of the machine and the status of the installed printer options and user authentication/account track. Specify the status of each item in the "Setting" box. Displays the paper type assigned for each paper tray. Click [Paper Tray Settings] to configure the settings for each paper tray. Click this button to communicate with the machine and load the status of the installed options. Click this button to configure conditions such as the destination from which you acquire the device information. When automatically acquiring device information, enable [Auto]. If necessary, you can select [Enter Password to acquire Device Information] and specify a password for authentication to acquire device information. This then performs password authentication when acquiring device information. bizhub C652/C652DS/C552/C552DS/C452 9-4
-
 1
1 -
2
-
3
-
4
-
5
-
6
-
7
-
8
-
9
-
10
-
11
-
12
-
13
-
14
-
15
-
16
-
17
-
18
-
19
-
20
-
21
-
22
-
23
-
24
-
25
-
26
-
27
-
28
-
29
-
30
-
31
-
32
-
33
-
34
-
35
-
36
-
37
-
38
-
39
-
40
-
41
-
42
-
43
-
44
-
45
-
46
-
47
-
48
-
49
-
50
-
51
-
52
-
53
-
54
-
55
-
56
-
57
-
58
-
59
-
60
-
61
-
62
-
63
-
64
-
65
-
66
-
67
-
68
-
69
-
70
-
71
-
72
-
73
-
74
-
75
-
76
-
77
-
78
-
79
-
80
-
81
-
82
-
83
-
84
-
85
-
86
-
87
-
88
-
 89
89 -
 90
90 -
 91
91 -
 92
92 -
 93
93 -
 94
94 -
 95
95 -
 96
96 -
 97
97 -
 98
98 -
 99
99 -
100
-
101
-
102
-
103
-
104
-
105
-
106
-
107
-
108
-
109
-
110
-
111
-
112
-
113
-
114
-
115
-
116
-
117
-
118
-
119
-
120
-
121
-
122
-
123
-
124
-
125
-
126
-
127
-
128
-
129
-
130
-
131
-
132
-
133
-
134
-
135
-
136
-
137
-
138
-
139
-
140
-
141
-
142
-
143
-
144
-
145
-
146
-
147
-
148
-
149
-
150
-
151
-
152
-
153
-
154
-
155
-
156
-
157
-
158
-
159
-
160
-
161
-
162
-
163
-
164
-
165
-
166
-
167
-
168
-
169
-
170
-
171
-
172
-
173
-
174
-
175
-
176
-
177
-
178
-
179
-
180
-
181
-
182
-
183
-
184
-
185
-
186
-
187
-
188
-
189
-
190
-
191
-
192
-
193
-
194
-
195
-
196
-
197
-
198
-
199
-
200
-
201
-
202
-
203
-
204
-
205
-
206
-
207
-
208
-
209
-
210
-
211
-
212
-
213
-
214
-
215
-
216
-
217
-
218
-
219
-
220
-
221
-
222
-
223
-
224
-
225
-
226
-
227
-
228
-
229
-
230
-
231
-
232
-
233
-
234
-
235
-
236
-
237
-
238
-
239
-
240
-
241
-
242
-
243
-
244
-
245
-
246
-
247
-
248
-
249
-
250
-
251
-
252
-
253
-
254
-
255
-
256
-
257
-
258
-
259
-
260
-
261
-
262
-
263
-
264
-
265
-
266
-
267
-
268
-
269
-
270
-
271
-
272
-
273
-
274
-
275
-
276
-
277
-
278
-
279
-
280
-
281
-
282
-
283
-
284
-
285
-
286
-
287
-
288
-
289
-
290
-
291
-
292
-
293
-
294
-
295
-
296
-
297
-
298
-
299
-
300
-
301
-
302
-
303
-
304
-
305
-
306
-
307
-
308
-
309
-
310
-
311
-
312
 |
 |