Konica Minolta bizhub C650 bizhub C650 Box Operations User Manual - Page 264
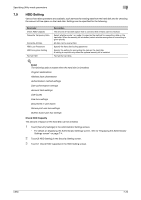
HDD Lock Password, Touch [4 HDD Lock Password] in the HDD Setting screen.
 |
View all Konica Minolta bizhub C650 manuals
Add to My Manuals
Save this manual to your list of manuals |
Page 264 highlights
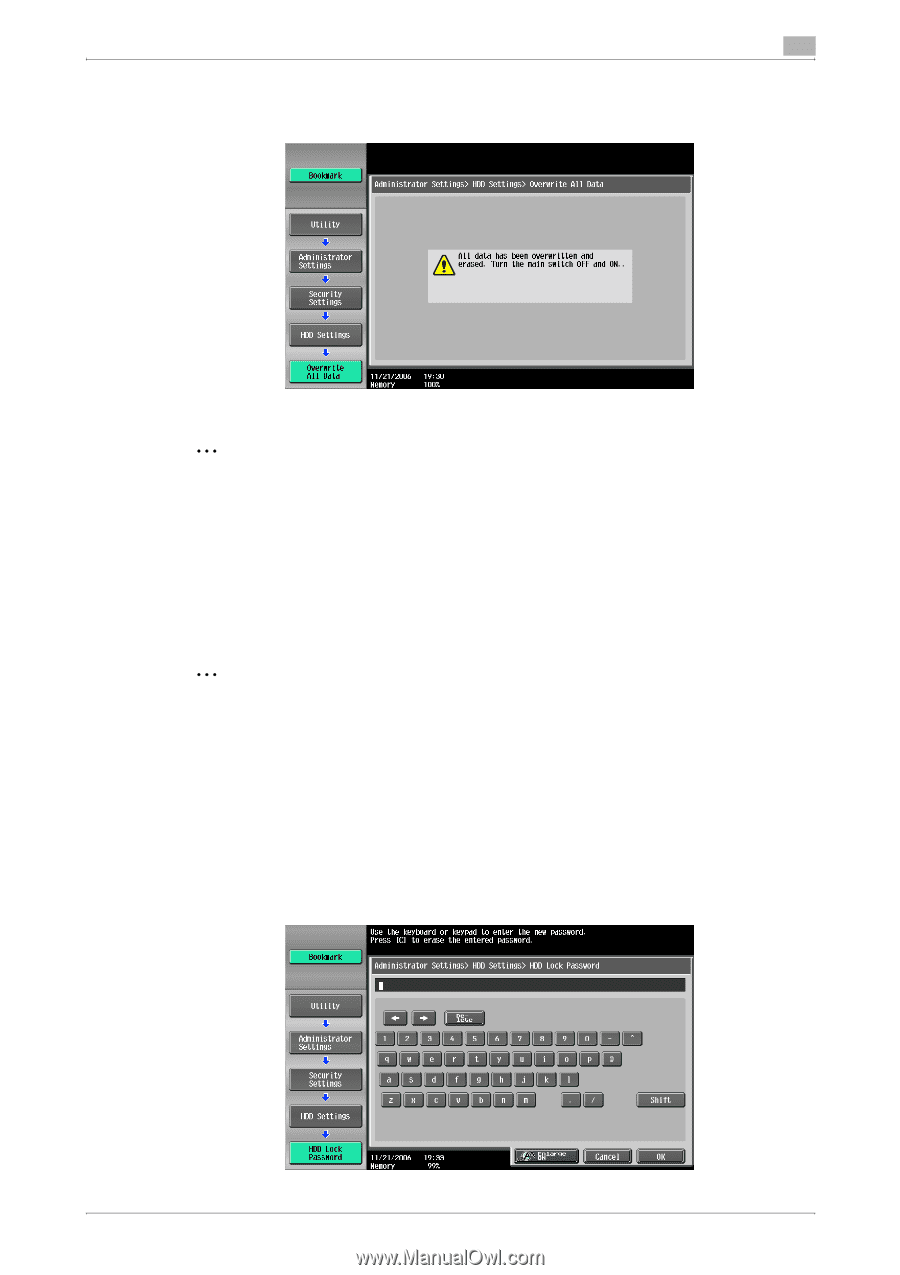
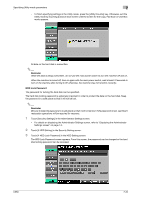
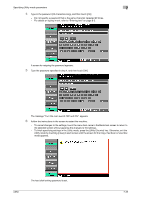
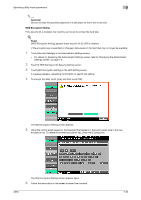
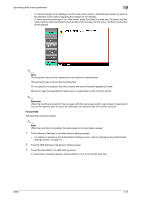
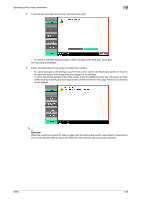
Specifying Utility mode parameters 7 - To finish specifying settings in the Utility mode, press the [Utility/Counter] key. Otherwise, exit the Utility mode by touching [Close] in each screen until the screen for the Copy, Fax/Scan or User Box mode appears. All data on the hard disk is overwritten. 2 Reminder While the data is being overwritten, do not use the main power switch to turn the machine off and on. When the machine is turned off, then on again with the main power switch, wait at least 10 seconds to turn on the machine after turning it off; otherwise, the machine may not function correctly. HDD Lock Password The password for locking the hard disk can be specified. The hard disk locking password is extremely important in order to protect the data on the hard disk. Keep the password in a safe place so that it will not be lost. 2 Reminder Be sure to keep the password in a safe place so that it will not be lost. If the password is lost, significant restoration operations will be required for recovery. 1 Touch [Security Settings] in the Administrator Settings screen. - For details on displaying the Administrator Settings screen, refer to "Displaying the Administrator Settings screen" on page 7-4. 2 Touch [6 HDD Setting] in the Security Setting screen. 3 Touch [4 HDD Lock Password] in the HDD Setting screen. The HDD Lock Password screen appears. From this screen, the password can be changed or the hard disk locking password can be canceled. C650 7-34
-
 1
1 -
2
-
3
-
4
-
5
-
6
-
7
-
8
-
9
-
10
-
11
-
12
-
13
-
14
-
15
-
16
-
17
-
18
-
19
-
20
-
21
-
22
-
23
-
24
-
25
-
26
-
27
-
28
-
29
-
30
-
31
-
32
-
33
-
34
-
35
-
36
-
37
-
38
-
39
-
40
-
41
-
42
-
43
-
44
-
45
-
46
-
47
-
48
-
49
-
50
-
51
-
52
-
53
-
54
-
55
-
56
-
57
-
58
-
59
-
60
-
61
-
62
-
63
-
64
-
65
-
66
-
67
-
68
-
69
-
70
-
71
-
72
-
73
-
74
-
75
-
76
-
77
-
78
-
79
-
80
-
81
-
82
-
83
-
84
-
85
-
86
-
87
-
88
-
89
-
90
-
91
-
92
-
93
-
94
-
95
-
96
-
97
-
98
-
99
-
100
-
101
-
102
-
103
-
104
-
105
-
106
-
107
-
108
-
109
-
110
-
111
-
112
-
113
-
114
-
115
-
116
-
117
-
118
-
119
-
120
-
121
-
122
-
123
-
124
-
125
-
126
-
127
-
128
-
129
-
130
-
131
-
132
-
133
-
134
-
135
-
136
-
137
-
138
-
139
-
140
-
141
-
142
-
143
-
144
-
145
-
146
-
147
-
148
-
149
-
150
-
151
-
152
-
153
-
154
-
155
-
156
-
157
-
158
-
159
-
160
-
161
-
162
-
163
-
164
-
165
-
166
-
167
-
168
-
169
-
170
-
171
-
172
-
173
-
174
-
175
-
176
-
177
-
178
-
179
-
180
-
181
-
182
-
183
-
184
-
185
-
186
-
187
-
188
-
189
-
190
-
191
-
192
-
193
-
194
-
195
-
196
-
197
-
198
-
199
-
200
-
201
-
202
-
203
-
204
-
205
-
206
-
207
-
208
-
209
-
210
-
211
-
212
-
213
-
214
-
215
-
216
-
217
-
218
-
219
-
220
-
221
-
222
-
223
-
224
-
225
-
226
-
227
-
228
-
229
-
230
-
231
-
232
-
233
-
234
-
235
-
236
-
237
-
238
-
239
-
240
-
241
-
242
-
243
-
244
-
245
-
246
-
247
-
248
-
249
-
250
-
251
-
252
-
253
-
254
-
255
-
256
-
257
-
258
-
 259
259 -
 260
260 -
 261
261 -
 262
262 -
 263
263 -
 264
264 -
 265
265 -
 266
266 -
 267
267 -
 268
268 -
 269
269 -
270
-
271
-
272
-
273
-
274
-
275
-
276
-
277
-
278
-
279
-
280
 |
 |