Lexmark E260dn User Guide - Page 116
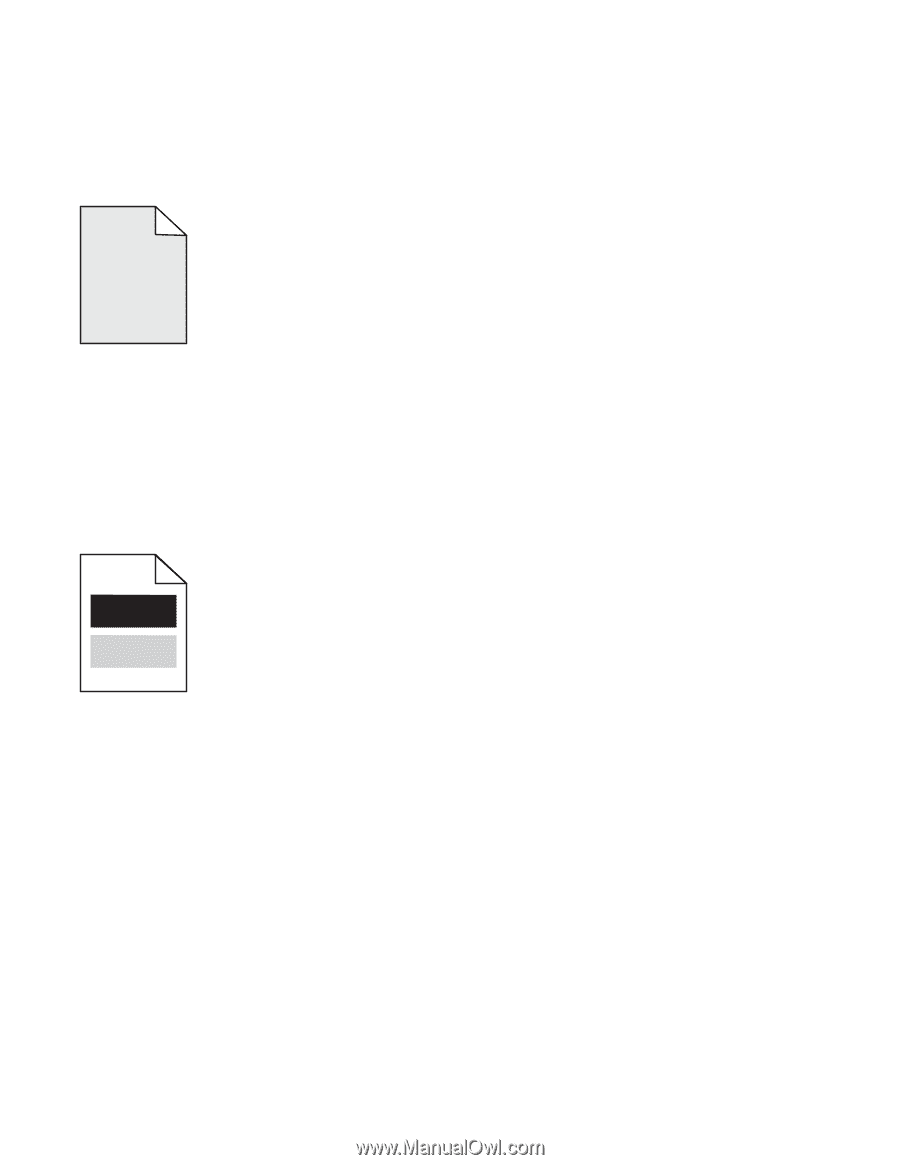
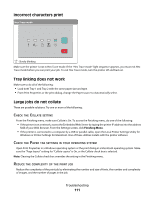
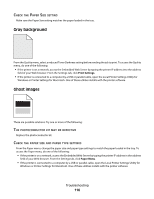
Gray background, Ghost images, Print Settings, Paper Menu
 |
View all Lexmark E260dn manuals
Add to My Manuals
Save this manual to your list of manuals |
Page 116 highlights
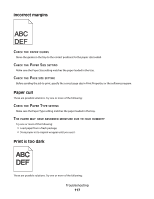
CHECK THE PAPER SIZE SETTING Make sure the Paper Size setting matches the paper loaded in the tray. Gray background From the Quality menu, select a reduced Toner Darkness setting before sending the job to print. To access the Quality menu, do one of the following: • If the printer is on a network, access the Embedded Web Server by typing the printer IP address into the address field of your Web browser. From the Settings tab, click Print Settings. • If the printer is connected to a computer by a USB or parallel cable, open the Local Printer Settings Utility for Windows or Printer Settings for Macintosh. One of these utilities installs with the printer software. Ghost images These are possible solutions. Try one or more of the following: THE PHOTOCONDUCTOR KIT MAY BE DEFECTIVE Replace the photoconductor kit. CHECK THE PAPER SIZE AND PAPER TYPE SETTINGS From the Paper menu, change the paper size and paper type settings to match the paper loaded in the tray. To access the Paper menu, do one of the following: • If the printer is on a network, access the Embedded Web Server by typing the printer IP address in the address field of your Web browser. From the Settings tab, click Paper Menu. • If the printer is connected to a computer by a USB or parallel cable, open the Local Printer Settings Utility for Windows or Printer Settings for Macintosh. One of these utilities installs with the printer software. Troubleshooting 116
-
 1
1 -
2
-
3
-
4
-
5
-
6
-
7
-
8
-
9
-
10
-
11
-
12
-
13
-
14
-
15
-
16
-
17
-
18
-
19
-
20
-
21
-
22
-
23
-
24
-
25
-
26
-
27
-
28
-
29
-
30
-
31
-
32
-
33
-
34
-
35
-
36
-
37
-
38
-
39
-
40
-
41
-
42
-
43
-
44
-
45
-
46
-
47
-
48
-
49
-
50
-
51
-
52
-
53
-
54
-
55
-
56
-
57
-
58
-
59
-
60
-
61
-
62
-
63
-
64
-
65
-
66
-
67
-
68
-
69
-
70
-
71
-
72
-
73
-
74
-
75
-
76
-
77
-
78
-
79
-
80
-
81
-
82
-
83
-
84
-
85
-
86
-
87
-
88
-
89
-
90
-
91
-
92
-
93
-
94
-
95
-
96
-
97
-
98
-
99
-
100
-
101
-
102
-
103
-
104
-
105
-
106
-
107
-
108
-
109
-
110
-
 111
111 -
 112
112 -
 113
113 -
 114
114 -
 115
115 -
 116
116 -
 117
117 -
 118
118 -
 119
119 -
 120
120 -
 121
121 -
122
-
123
-
124
-
125
-
126
-
127
-
128
-
129
-
130
-
131
-
132
-
133
-
134
-
135
-
136
-
137
-
138
-
139
-
140
-
141
 |
 |