Lexmark T620 Service Manual - Page 163
XX/7XX, Staple Jam - Check Stapler displayed., Paper feeds into finisher option output tray - Paper is not stapled, Paper does not align with the right side. - feed wheels
 |
View all Lexmark T620 manuals
Add to My Manuals
Save this manual to your list of manuals |
Page 163 highlights
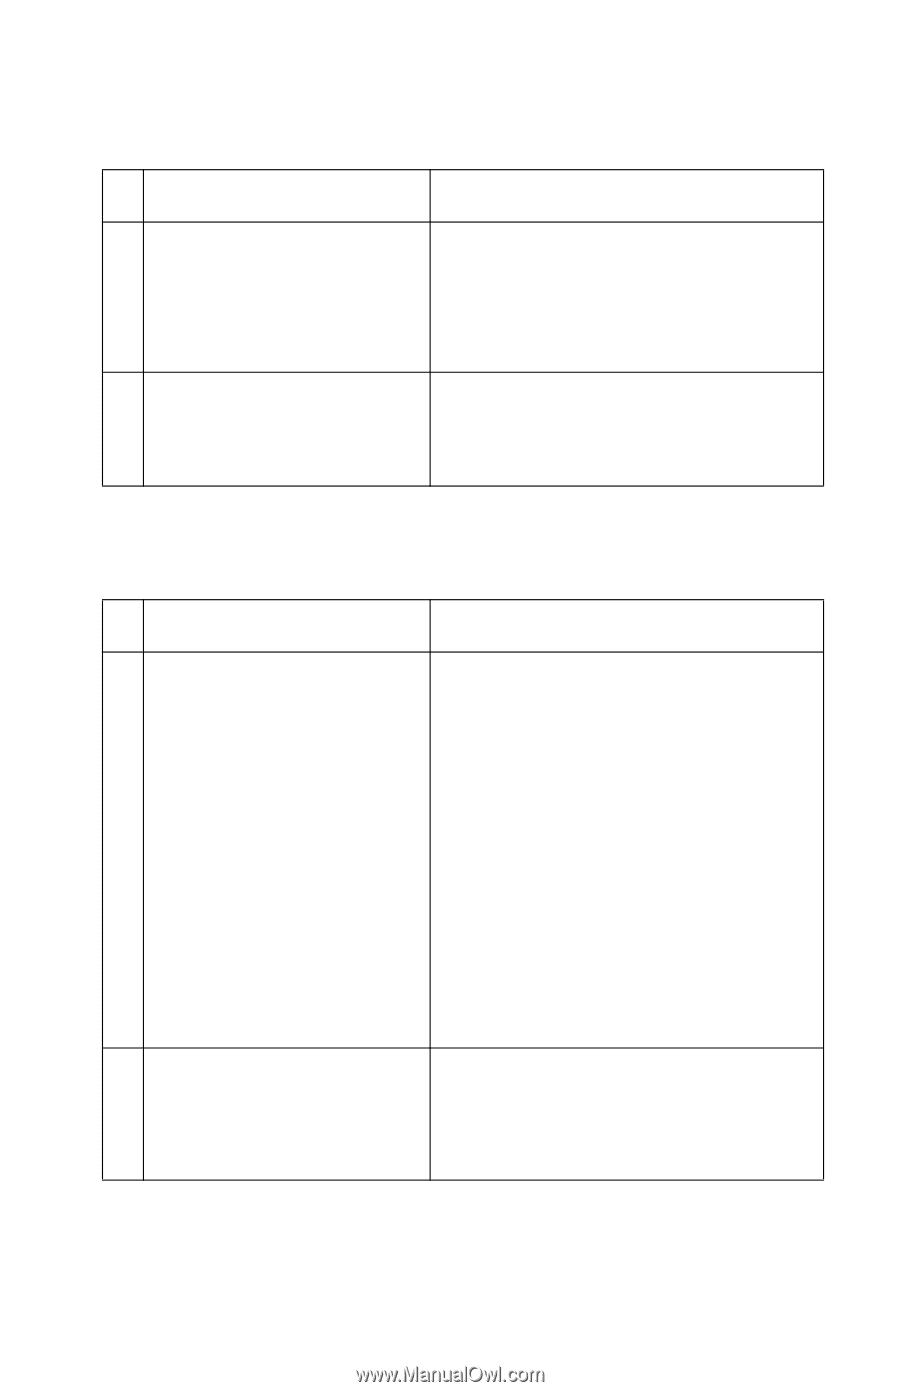
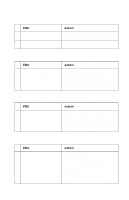
4069-5XX/7XX 283 Staple Jam - Check Stapler displayed. FRU 1 Staple Cartridge Holder 2 Staple Unit Action Check the staple cartridge holder for any signs of damage and for any jammed staples in the cartridge. Replace the staple cartridge holder if damaged. If staples are jammed in the cartridge, replace the old strip of staples with a new strip and try the finisher feed test from the diagnostic menu. Remove the staple cartridge holder from the staple unit and remove the staple unit. Check for any staples that might be in the staple unit mechanism. Check for correct operation and for any signs of damage. Paper feeds into finisher option output tray - Paper is not stapled Paper does not align with the right side. FRU 1 Paper Alignment Wheel (if installed) Paper Alignment Pad 2 Paper Wheel Aligner Assembly Action Check to make sure the gamma wheel aligner assembly is operating correctly and that the wheel is touching the paper. If the gamma wheel is not turning or touching the paper, go to step 2. If the wheel is turning and touching the paper, check the wheel for any signs of wear, damage or contamination. If any problem with the wheel is found, replace the wheel. Check to make sure the aligner assembly and pads are operating correctly. Make sure the pads are touching the paper and moving the paper to the right side frame. If the aligner pads are not moving into the lower position and touching the paper, go to step 3. If the aligner pads are touching the paper, then check the pads to make sure they are not worn, damaged or contaminated. Replace if necessary. Check the paper wheel aligner assembly to make sure it is mounted correctly. Check to make sure there are no broken gears or other mechanical parts. If any are found, replace the aligner assembly. If no problem is found, go to step 3. Diagnostic Information 2-135
-
 1
1 -
2
-
3
-
4
-
5
-
6
-
7
-
8
-
9
-
10
-
11
-
12
-
13
-
14
-
15
-
16
-
17
-
18
-
19
-
20
-
21
-
22
-
23
-
24
-
25
-
26
-
27
-
28
-
29
-
30
-
31
-
32
-
33
-
34
-
35
-
36
-
37
-
38
-
39
-
40
-
41
-
42
-
43
-
44
-
45
-
46
-
47
-
48
-
49
-
50
-
51
-
52
-
53
-
54
-
55
-
56
-
57
-
58
-
59
-
60
-
61
-
62
-
63
-
64
-
65
-
66
-
67
-
68
-
69
-
70
-
71
-
72
-
73
-
74
-
75
-
76
-
77
-
78
-
79
-
80
-
81
-
82
-
83
-
84
-
85
-
86
-
87
-
88
-
89
-
90
-
91
-
92
-
93
-
94
-
95
-
96
-
97
-
98
-
99
-
100
-
101
-
102
-
103
-
104
-
105
-
106
-
107
-
108
-
109
-
110
-
111
-
112
-
113
-
114
-
115
-
116
-
117
-
118
-
119
-
120
-
121
-
122
-
123
-
124
-
125
-
126
-
127
-
128
-
129
-
130
-
131
-
132
-
133
-
134
-
135
-
136
-
137
-
138
-
139
-
140
-
141
-
142
-
143
-
144
-
145
-
146
-
147
-
148
-
149
-
150
-
151
-
152
-
153
-
154
-
155
-
156
-
157
-
 158
158 -
 159
159 -
 160
160 -
 161
161 -
 162
162 -
 163
163 -
 164
164 -
 165
165 -
 166
166 -
 167
167 -
 168
168 -
169
-
170
-
171
-
172
-
173
-
174
-
175
-
176
-
177
-
178
-
179
-
180
-
181
-
182
-
183
-
184
-
185
-
186
-
187
-
188
-
189
-
190
-
191
-
192
-
193
-
194
-
195
-
196
-
197
-
198
-
199
-
200
-
201
-
202
-
203
-
204
-
205
-
206
-
207
-
208
-
209
-
210
-
211
-
212
-
213
-
214
-
215
-
216
-
217
-
218
-
219
-
220
-
221
-
222
-
223
-
224
-
225
-
226
-
227
-
228
-
229
-
230
-
231
-
232
-
233
-
234
-
235
-
236
-
237
-
238
-
239
-
240
-
241
-
242
-
243
-
244
-
245
-
246
-
247
-
248
-
249
-
250
-
251
-
252
-
253
-
254
-
255
-
256
-
257
-
258
-
259
-
260
-
261
-
262
-
263
-
264
-
265
-
266
-
267
-
268
-
269
-
270
-
271
-
272
-
273
-
274
-
275
-
276
-
277
-
278
-
279
-
280
-
281
-
282
-
283
-
284
-
285
-
286
-
287
-
288
-
289
-
290
-
291
-
292
-
293
-
294
-
295
-
296
-
297
-
298
-
299
-
300
-
301
-
302
-
303
-
304
-
305
-
306
-
307
-
308
-
309
-
310
-
311
-
312
-
313
-
314
-
315
-
316
-
317
-
318
-
319
-
320
-
321
-
322
-
323
-
324
-
325
-
326
-
327
-
328
-
329
-
330
-
331
-
332
-
333
-
334
-
335
-
336
-
337
-
338
-
339
-
340
-
341
-
342
-
343
-
344
-
345
-
346
-
347
-
348
-
349
-
350
-
351
-
352
-
353
-
354
-
355
-
356
-
357
-
358
-
359
-
360
-
361
-
362
-
363
-
364
-
365
-
366
-
367
-
368
-
369
-
370
-
371
-
372
-
373
-
374
-
375
-
376
-
377
-
378
-
379
-
380
-
381
-
382
-
383
-
384
-
385
-
386
-
387
-
388
-
389
-
390
-
391
-
392
-
393
-
394
-
395
-
396
-
397
-
398
-
399
-
400
-
401
-
402
-
403
-
404
-
405
-
406
-
407
-
408
-
409
-
410
-
411
-
412
-
413
-
414
-
415
-
416
-
417
-
418
-
419
-
420
-
421
-
422
-
423
-
424
-
425
-
426
-
427
-
428
-
429
-
430
-
431
-
432
-
433
-
434
 |
 |