Panasonic PV-GS29 Digital Video Camera - English/ Spanish - Page 55
PC CONNECTION WITH DV INTERFACE CABLE, Editing Mode, To Stop Dubbing - firewire
 |
UPC - 037988980123
View all Panasonic PV-GS29 manuals
Add to My Manuals
Save this manual to your list of manuals |
Page 55 highlights
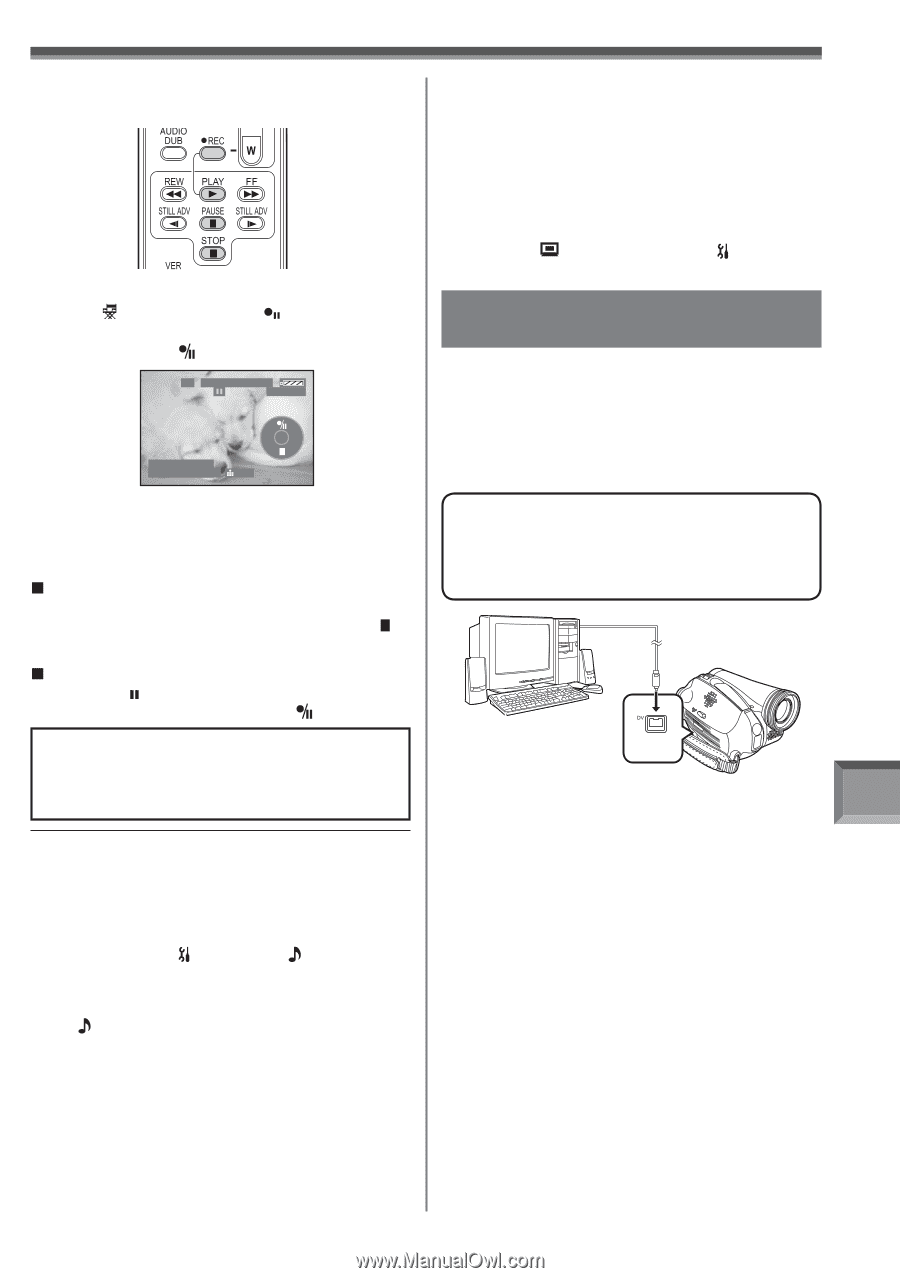
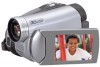
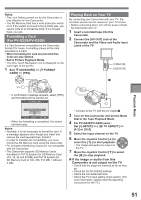
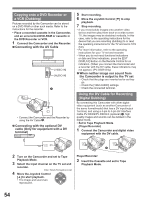
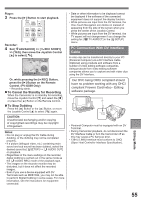
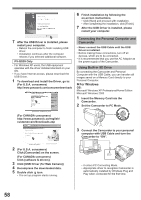
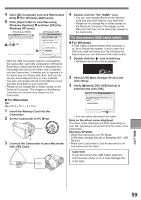
Player: 3 Press the [►] Button to start playback. Recorder: 4 Set [ ADVANCED] >> [ REC STDBY] >> [YES], then move the Joystick Control [▲] to select [ ]. SP 3h59m59s29f R 2:00 12:34:56AM JAN 2 2006 100 Or, while pressing the [● REC] Button, press the [►] Button on the Remote Control. (PV-GS59 Only) • Recording starts. „ To Cancel the Standby for Recording When the Camcorder is on standby for recording, move the Joystick Control [▼] and select the [ ] or press the [ ■ ] Button on the Remote Control. „ To Stop Dubbing Press the [ ] Button or the [ ■ ] Button, or move the Joystick Control [▲] to select [ ] again. CAUTION: Unauthorized exchanging and/or copying of copyrighted recordings may be copyright infringement. Notes: • Do not plug or unplug the DV Cable during dubbing, or the dubbing may not be completed properly. • If a picture (bilingual video, etc.) containing main sound and sub sound has been dubbed, select the desired sound by [ SETUP] >> [ AUDIO OUT] on playback. • Regardless of the menu settings on the recorder, digital dubbing is carried out in the same mode as the [ AUDIO REC] mode of the playback tape. • The images on the recorder monitor may be disturbed, but it does not affect the recorded images. • Even if you use a device equipped with DV Terminals such as IEEE1394, you may not be able to perform Digital Dubbing in some cases. For more information, see the instructions for equipment connected. • Date or other information to be displayed cannot be displayed if the software of the connected equipment does not support the display function. • While pictures are input from the DV terminal, the One-Touch Navigation icon blinks on instead of appearing from the side of the screen when you press the center of the Joystick Control. • While pictures are input from the DV terminal, the TV aspect will not change even if you change the setting for [ TV ASPECT] in the [ SETUP] menu. PC Connection With DV Interface Cable A video clip can be transferred directly to your PC (Personal Computer) via a DV Interface Cable (Optional) using products and software from a number of video editing software companies. Using products from video editing software companies allows you to capture and edit video clips using the DV Interface. Our DVC being OHCI compliant should have no problem working with any OHCI compliant Firewire Card/video - Editing software package. • Personal Computer must be equipped with an DV Terminal. • During Camcorder playback, do not disconnect the DV Interface Cable or turn the Camcorder off as this may cause a PC hang-up error. • 1394 (i.LINK) Interface must conform to OHCI (Open Host Controller Interface Specification). Editing Mode 55
-
 1
1 -
2
-
3
-
4
-
5
-
6
-
7
-
8
-
9
-
10
-
11
-
12
-
13
-
14
-
15
-
16
-
17
-
18
-
19
-
20
-
21
-
22
-
23
-
24
-
25
-
26
-
27
-
28
-
29
-
30
-
31
-
32
-
33
-
34
-
35
-
36
-
37
-
38
-
39
-
40
-
41
-
42
-
43
-
44
-
45
-
46
-
47
-
48
-
49
-
 50
50 -
 51
51 -
 52
52 -
 53
53 -
 54
54 -
 55
55 -
 56
56 -
 57
57 -
 58
58 -
 59
59 -
 60
60 -
61
-
62
-
63
-
64
-
65
-
66
-
67
-
68
-
69
-
70
-
71
-
72
-
73
-
74
-
75
-
76
-
77
-
78
-
79
-
80
-
81
-
82
-
83
-
84
-
85
-
86
-
87
-
88
-
89
-
90
-
91
-
92
 |
 |