Epson 1715C User's Guide - Page 39
Connecting to Video Equipment
 |
UPC - 010343858237
View all Epson 1715C manuals
Add to My Manuals
Save this manual to your list of manuals |
Page 39 highlights
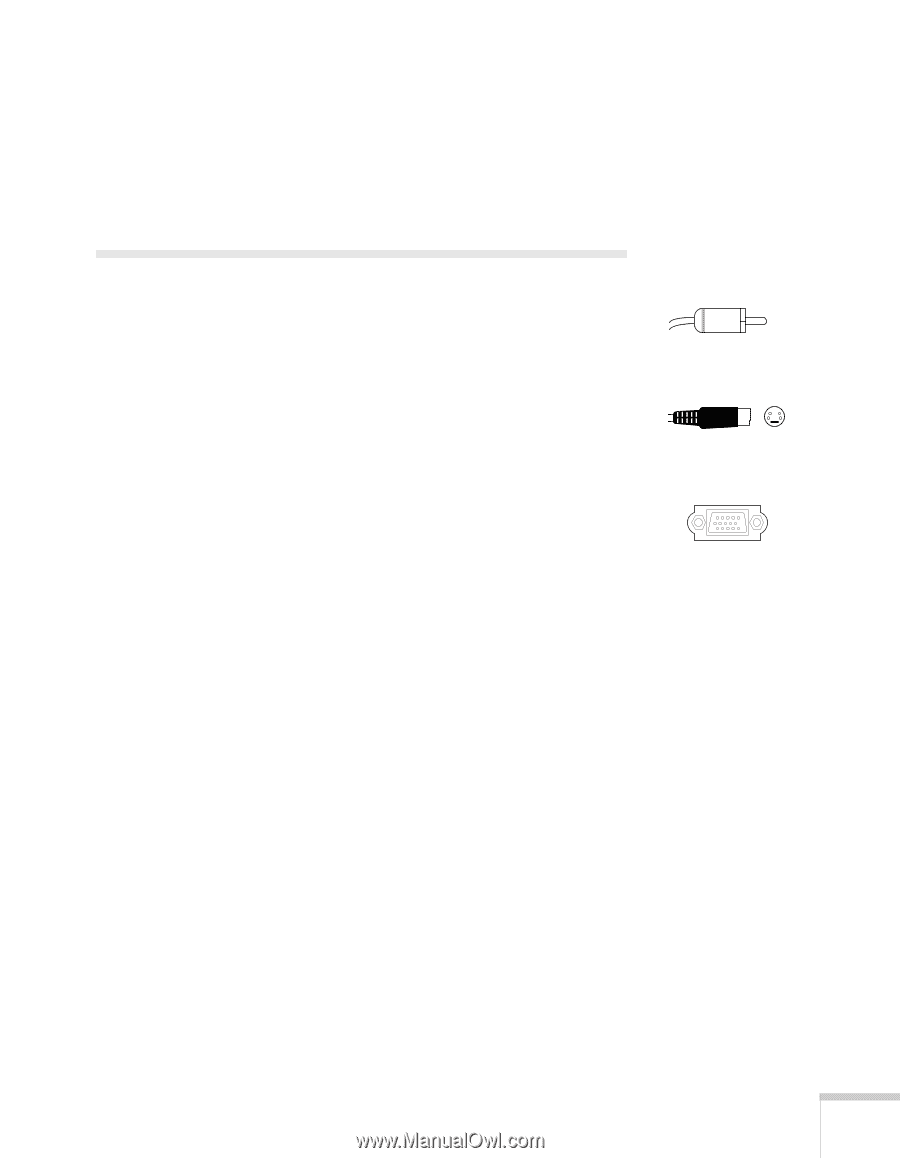
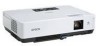
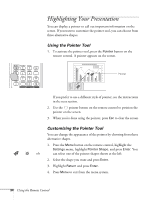
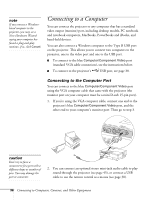
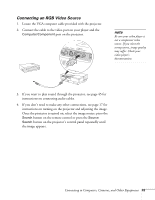
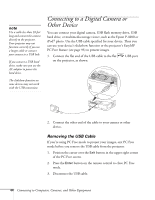
3. Connect the flat end of the cable to any available USB port on your notebook or desktop computer. 4. If necessary, configure your computer to work with an external USB mouse. See your computer documentation for details. Connecting to Video Equipment You can connect several video sources to the projector at the same time. Before starting, look at your video equipment to determine its available video output connections: ■ If your video player has a yellow RCA-style video output connector, see "Connecting a Composite Video Source" on page 40. ■ If your video player has an S-Video connector, see "Connecting an S-Video Source" on page 41. ■ If your video player has a component video port (three connectors labeled either Y/Cb/Cr or Y/Pb/Pr), see "Connecting a Component Video Source" on page 42. ■ If your video player has an RGB video port (either a single connector for a VGA-style monitor cable or three connectors labeled R/G/B), see "Connecting an RGB Video Source" on page 43. After connecting video cables, you may also want to connect an audio cable to play sound through the projector; see page 45. RCA connector (composite video) S-Video connector VGA connector (RGB video) Connecting to Computers, Cameras, and Other Equipment 39
-
 1
1 -
2
-
3
-
4
-
5
-
6
-
7
-
8
-
9
-
10
-
11
-
12
-
13
-
14
-
15
-
16
-
17
-
18
-
19
-
20
-
21
-
22
-
23
-
24
-
25
-
26
-
27
-
28
-
29
-
30
-
31
-
32
-
33
-
 34
34 -
 35
35 -
 36
36 -
 37
37 -
 38
38 -
 39
39 -
 40
40 -
 41
41 -
 42
42 -
 43
43 -
 44
44 -
45
-
46
-
47
-
48
-
49
-
50
-
51
-
52
-
53
-
54
-
55
-
56
-
57
-
58
-
59
-
60
-
61
-
62
-
63
-
64
-
65
-
66
-
67
-
68
-
69
-
70
-
71
-
72
-
73
-
74
-
75
-
76
-
77
-
78
-
79
-
80
-
81
-
82
-
83
-
84
-
85
-
86
-
87
-
88
-
89
-
90
-
91
-
92
-
93
-
94
-
95
-
96
-
97
-
98
-
99
-
100
-
101
-
102
-
103
-
104
-
105
-
106
-
107
-
108
-
109
-
110
-
111
-
112
-
113
-
114
-
115
-
116
-
117
-
118
-
119
-
120
-
121
-
122
-
123
-
124
-
125
-
126
-
127
-
128
-
129
-
130
-
131
-
132
-
133
-
134
-
135
-
136
-
137
-
138
-
139
-
140
-
141
-
142
-
143
-
144
-
145
-
146
-
147
-
148
-
149
-
150
-
151
-
152
-
153
-
154
-
155
-
156
-
157
-
158
-
159
-
160
-
161
-
162
-
163
-
164
-
165
-
166
-
167
-
168
-
169
-
170
-
171
-
172
-
173
-
174
-
175
-
176
-
177
-
178
-
179
-
180
-
181
-
182
-
183
-
184
-
185
-
186
-
187
-
188
-
189
-
190
-
191
-
192
-
193
-
194
-
195
-
196
-
197
-
198
 |
 |