Epson 9600 User Manual - Page 116
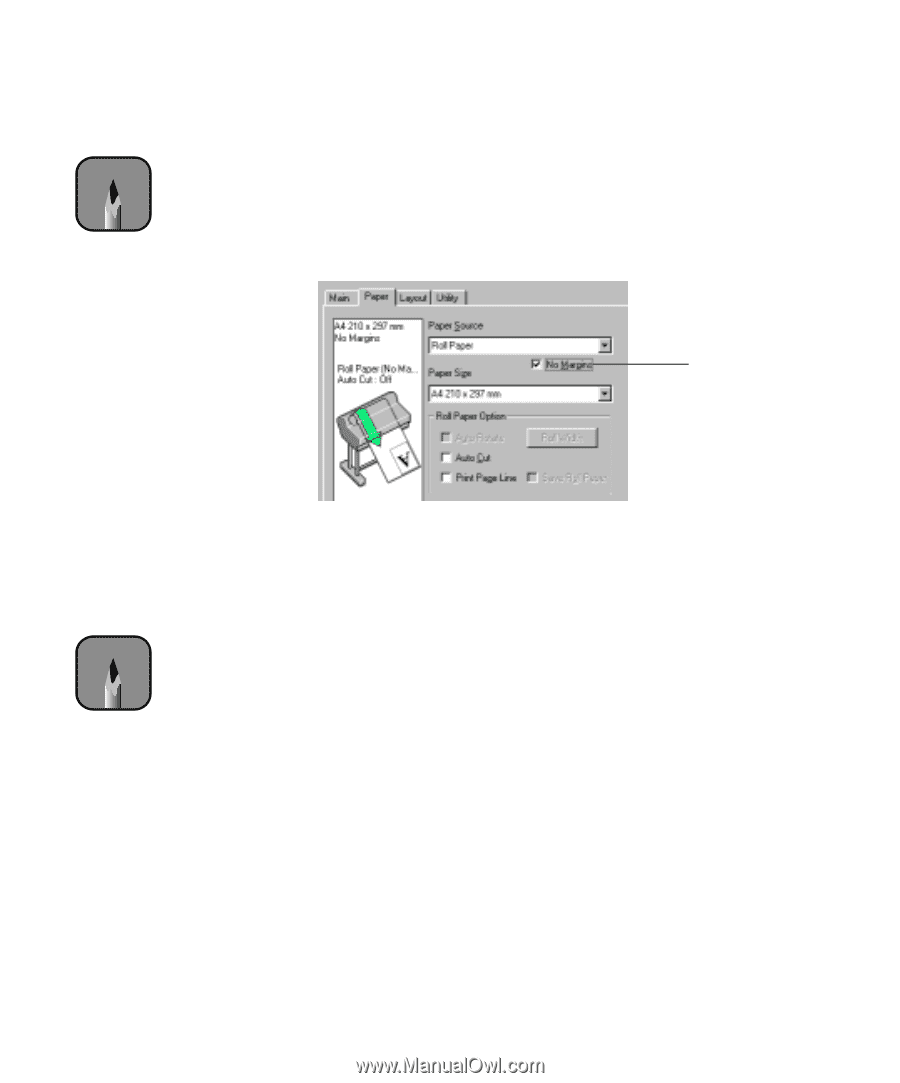
when printing without left and right margins only, when printing without any margins
 |
UPC - 010343841888
View all Epson 9600 manuals
Add to My Manuals
Save this manual to your list of manuals |
Page 116 highlights
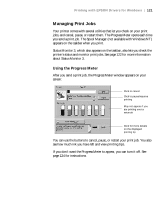
116 | Printing with EPSON Drivers for Windows Note Not all paper sizes are available when No Margins is turned on. To print without borders on one of the listed paper sizes, follow these steps: 1. Make sure your image size is at least 1/4 inch larger all around than the size of paper you're printing on. If your application has margin settings, be sure they're turned off. 2. Select No Margins in your printer software: Select No Margins Note For more information on using cutting options and printing without borders, visit www.epson.com. Under Drivers & Support, select Manuals & Documents. Select your printer, then select Product Support Bulletin. 3. On the printer's control panel, press the SelecType button until Printer Setup appears on the display. 4. Press the SelecType r button again to open the menu options, then press the d button until No Margins is displayed. 5. Press the r button, then press the d button to select one of these paper cutting options: • L/R ONLY when printing without left and right margins only • 1CUT or 2CUTS when printing without any margins (1CUT causes the images to be printed end-to-end. If you prefer additional space between your images, select 2CUT. This extends the space between the images and the paper is cut twice inside this space.) 6. Press Enter to activate the setting, then press Pause to exit the setup mode and return to normal printer operation. 7. Print your image. 4-116
-
 1
1 -
2
-
3
-
4
-
5
-
6
-
7
-
8
-
9
-
10
-
11
-
12
-
13
-
14
-
15
-
16
-
17
-
18
-
19
-
20
-
21
-
22
-
23
-
24
-
25
-
26
-
27
-
28
-
29
-
30
-
31
-
32
-
33
-
34
-
35
-
36
-
37
-
38
-
39
-
40
-
41
-
42
-
43
-
44
-
45
-
46
-
47
-
48
-
49
-
50
-
51
-
52
-
53
-
54
-
55
-
56
-
57
-
58
-
59
-
60
-
61
-
62
-
63
-
64
-
65
-
66
-
67
-
68
-
69
-
70
-
71
-
72
-
73
-
74
-
75
-
76
-
77
-
78
-
79
-
80
-
81
-
82
-
83
-
84
-
85
-
86
-
87
-
88
-
89
-
90
-
91
-
92
-
93
-
94
-
95
-
96
-
97
-
98
-
99
-
100
-
101
-
102
-
103
-
104
-
105
-
106
-
107
-
108
-
109
-
110
-
 111
111 -
 112
112 -
 113
113 -
 114
114 -
 115
115 -
 116
116 -
 117
117 -
 118
118 -
 119
119 -
 120
120 -
 121
121 -
122
-
123
-
124
-
125
-
126
-
127
-
128
-
129
-
130
-
131
-
132
-
133
-
134
-
135
-
136
-
137
-
138
-
139
-
140
-
141
-
142
-
143
-
144
-
145
-
146
-
147
-
148
-
149
-
150
-
151
-
152
-
153
-
154
-
155
-
156
-
157
-
158
-
159
-
160
-
161
-
162
-
163
-
164
-
165
-
166
-
167
-
168
-
169
-
170
-
171
-
172
-
173
-
174
-
175
-
176
-
177
-
178
-
179
-
180
-
181
-
182
-
183
-
184
-
185
-
186
-
187
-
188
-
189
-
190
-
191
-
192
 |
 |