Epson C831 Users Manual - Page 22
Removing continuous paper, Tear Off, Load/Eject
 |
View all Epson C831 manuals
Add to My Manuals
Save this manual to your list of manuals |
Page 22 highlights
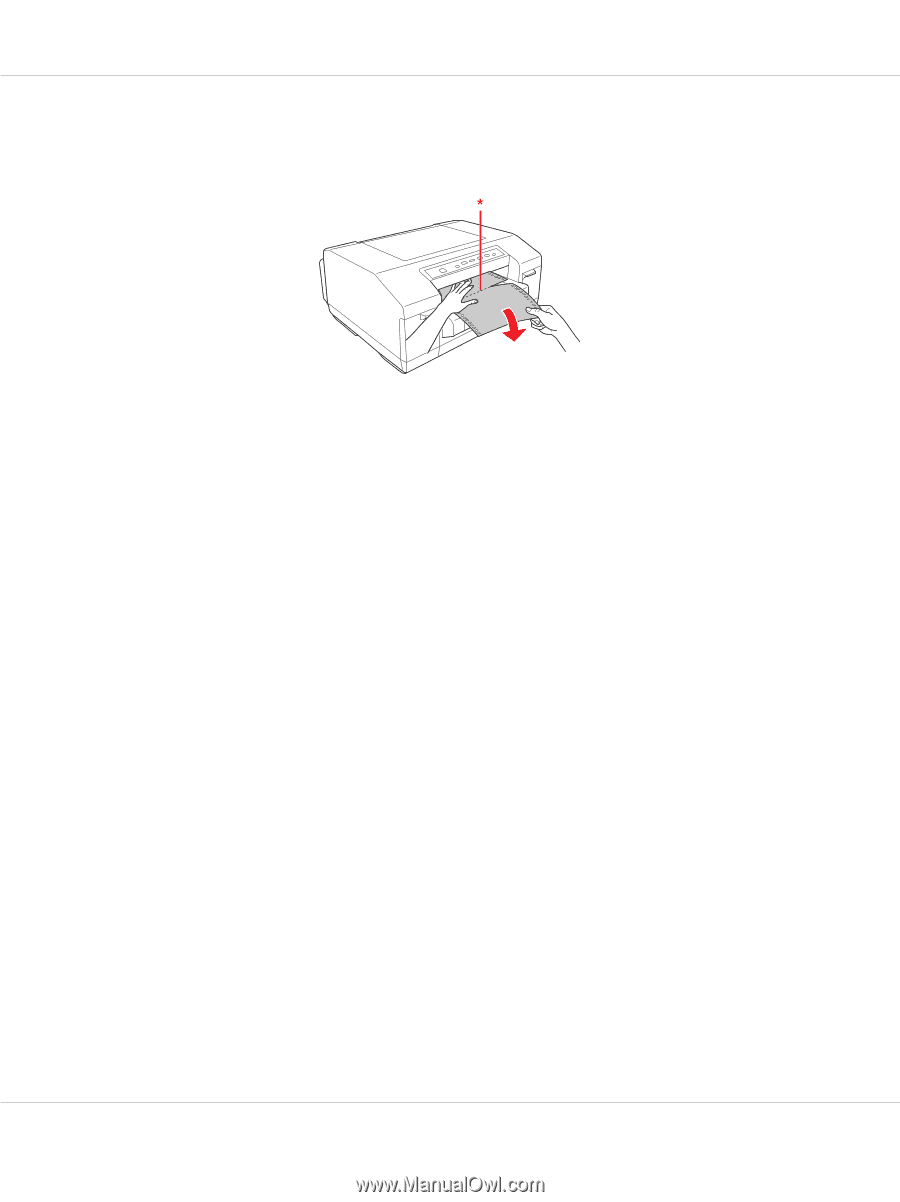
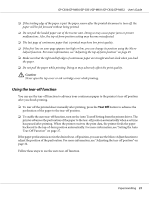
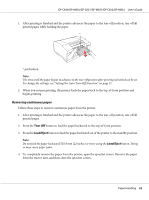
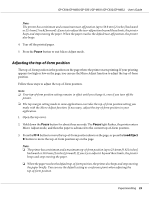
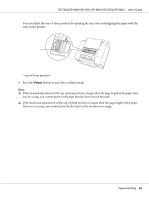
GP-C830/GP-M830/GP-C831/GP-M831/GP-C832/GP-M832 User's Guide 1. After printing is finished and the printer advances the paper to the tear-off position, tear off all printed pages while holding the paper. * perforation Note: The time until the paper begins to advance to the tear-off position after printing is finished can be set. To change the settings, see "Setting the Auto Tear-Off Function" on page 37. 2. When you resume printing, the printer feeds the paper back to the top-of-form position and begins printing. Removing continuous paper Follow these steps to remove continuous paper from the printer. 1. After printing is finished and the printer advances the paper to the tear-off position, tear off all printed pages. 2. Press the Tear Off button to feed the paper backward to the top-of-form position. 3. Press the Load/Eject button to feed the paper backward out of the printer to the standby position. Note: Do not feed the paper backward 558.8 mm (22 inches) or more using the Load/Eject button. Doing so may cause paper jams. 4. To completely remove the paper from the printer, open the sprocket covers. Remove the paper from the tractor unit, and then close the sprocket covers. Paper Handling 22
-
 1
1 -
2
-
3
-
4
-
5
-
6
-
7
-
8
-
9
-
10
-
11
-
12
-
13
-
14
-
15
-
16
-
 17
17 -
 18
18 -
 19
19 -
 20
20 -
 21
21 -
 22
22 -
 23
23 -
 24
24 -
 25
25 -
 26
26 -
 27
27 -
28
-
29
-
30
-
31
-
32
-
33
-
34
-
35
-
36
-
37
-
38
-
39
-
40
-
41
-
42
-
43
-
44
-
45
-
46
-
47
-
48
-
49
-
50
-
51
-
52
-
53
-
54
-
55
-
56
-
57
-
58
-
59
-
60
-
61
-
62
-
63
-
64
-
65
-
66
-
67
-
68
-
69
-
70
-
71
-
72
-
73
-
74
-
75
-
76
-
77
-
78
-
79
-
80
-
81
-
82
-
83
-
84
-
85
-
86
-
87
-
88
-
89
-
90
-
91
-
92
-
93
-
94
-
95
-
96
-
97
-
98
-
99
-
100
-
101
-
102
-
103
-
104
-
105
-
106
-
107
-
108
-
109
-
110
-
111
-
112
-
113
-
114
-
115
-
116
-
117
-
118
 |
 |