HP 4650n HP Color LaserJet 4650 series printer - User Guide - Page 183
New Fuser Kit, Reset Supplies
 |
UPC - 829160046532
View all HP 4650n manuals
Add to My Manuals
Save this manual to your list of manuals |
Page 183 highlights
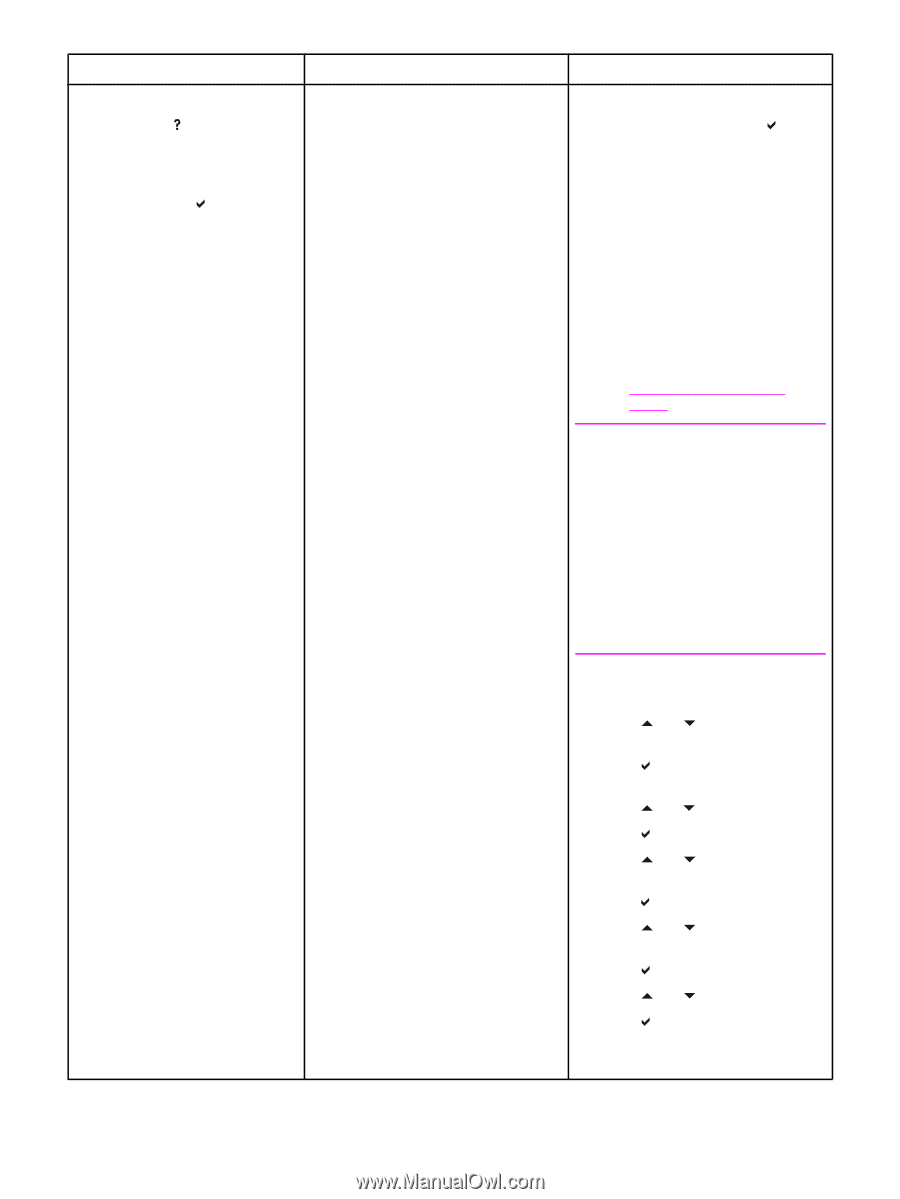
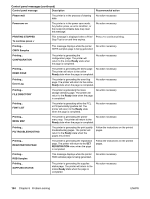
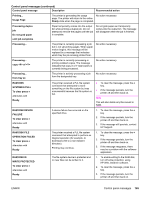
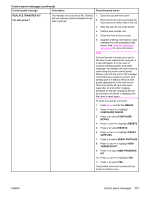
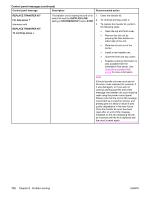
Control panel messages (continued) Control panel message Description Recommended action REPLACE FUSER KIT For help press alternates with REPLACE FUSER KIT To continue press The fuser is nearing the end of its useful life and the SUPPLIES LOW setting in SYSTEM SETUP is set to STOP. 1. Order the fuser kit. 2. To continue printing, press . 3. To replace the fuser kit, perform the following steps: ● Open the top cover. ● Loosen the blue thumb screws. ● Remove the old fuser unit. ● Install a new fuser unit and secure with thumb screws. ● Close the top cover. ● Supplies ordering information is also available from the embedded Web server. See Using the embedded Web server for more information. Note If you want to continue printing past the end-of-life message, the fuser kit count must be reset using the printer control panel. Please note that the end-of-life message is provided as a customer service, and printing past it is likely to result in print quality degradation in the near future. Once the fuser kit count has been reset after an end-of-life message, feedback on the kit's remaining life will be incorrect until the kit is replaced and the count is reset again. To reset the fuser count 1. Press MENU to enter the MENUS. 2. Press and to highlight CONFIGURE DEVICE. 3. Press to select CONFIGURE DEVICE. 4. Press and to highlight RESETS. 5. Press to select RESETS. 6. Press and to highlight RESET SUPPLIES. 7. Press to select RESET SUPPLIES. 8. Press and to highlight NEW FUSER KIT. 9. Press to select NEW FUSER KIT. 10. Press and to highlight YES. 11. Press to select YES. The fuser count is reset and the printer is ready to use. ENWW Control panel messages 169
-
 1
1 -
2
-
3
-
4
-
5
-
6
-
7
-
8
-
9
-
10
-
11
-
12
-
13
-
14
-
15
-
16
-
17
-
18
-
19
-
20
-
21
-
22
-
23
-
24
-
25
-
26
-
27
-
28
-
29
-
30
-
31
-
32
-
33
-
34
-
35
-
36
-
37
-
38
-
39
-
40
-
41
-
42
-
43
-
44
-
45
-
46
-
47
-
48
-
49
-
50
-
51
-
52
-
53
-
54
-
55
-
56
-
57
-
58
-
59
-
60
-
61
-
62
-
63
-
64
-
65
-
66
-
67
-
68
-
69
-
70
-
71
-
72
-
73
-
74
-
75
-
76
-
77
-
78
-
79
-
80
-
81
-
82
-
83
-
84
-
85
-
86
-
87
-
88
-
89
-
90
-
91
-
92
-
93
-
94
-
95
-
96
-
97
-
98
-
99
-
100
-
101
-
102
-
103
-
104
-
105
-
106
-
107
-
108
-
109
-
110
-
111
-
112
-
113
-
114
-
115
-
116
-
117
-
118
-
119
-
120
-
121
-
122
-
123
-
124
-
125
-
126
-
127
-
128
-
129
-
130
-
131
-
132
-
133
-
134
-
135
-
136
-
137
-
138
-
139
-
140
-
141
-
142
-
143
-
144
-
145
-
146
-
147
-
148
-
149
-
150
-
151
-
152
-
153
-
154
-
155
-
156
-
157
-
158
-
159
-
160
-
161
-
162
-
163
-
164
-
165
-
166
-
167
-
168
-
169
-
170
-
171
-
172
-
173
-
174
-
175
-
176
-
177
-
 178
178 -
 179
179 -
 180
180 -
 181
181 -
 182
182 -
 183
183 -
 184
184 -
 185
185 -
 186
186 -
 187
187 -
 188
188 -
189
-
190
-
191
-
192
-
193
-
194
-
195
-
196
-
197
-
198
-
199
-
200
-
201
-
202
-
203
-
204
-
205
-
206
-
207
-
208
-
209
-
210
-
211
-
212
-
213
-
214
-
215
-
216
-
217
-
218
-
219
-
220
-
221
-
222
-
223
-
224
-
225
-
226
-
227
-
228
-
229
-
230
-
231
-
232
-
233
-
234
-
235
-
236
-
237
-
238
-
239
-
240
-
241
-
242
-
243
-
244
-
245
-
246
-
247
-
248
-
249
-
250
-
251
-
252
-
253
-
254
-
255
-
256
-
257
-
258
-
259
-
260
-
261
-
262
-
263
-
264
-
265
-
266
-
267
-
268
-
269
-
270
-
271
-
272
-
273
-
274
-
275
-
276
 |
 |