HP Blackbird 002-21A HP Blackbird Gaming System - Getting Started Guide - Page 13
Using DVI Connectors with SLI Technology, NVIDIA Control Panel, Set SLI, configuration, 3D settings - graphic card
 |
View all HP Blackbird 002-21A manuals
Add to My Manuals
Save this manual to your list of manuals |
Page 13 highlights
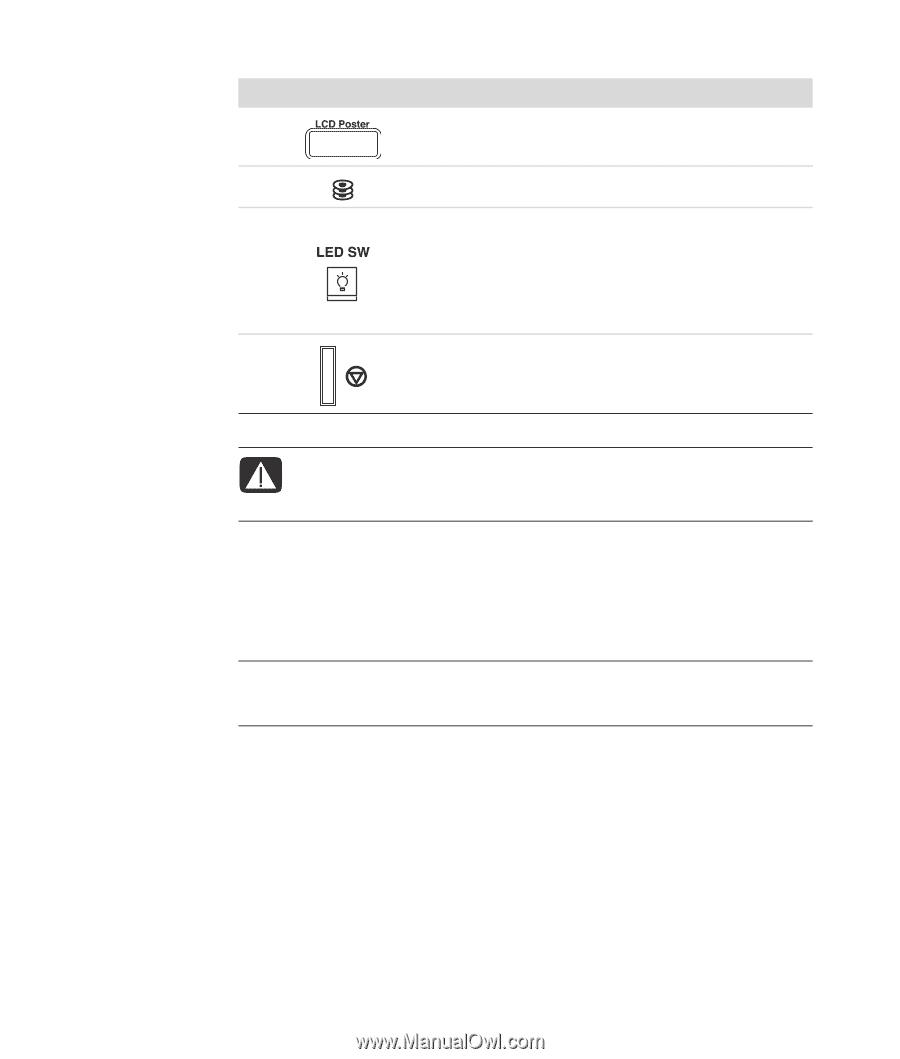
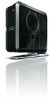
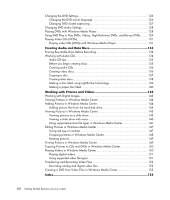
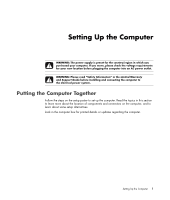
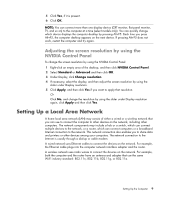
Connector/LED/Button Description and function (continued) LCD Poster display window displays system activity such as boot error messages. Hard disk drive is active LED. Onboard LED SW button turns internal motherboard LEDs on and off. These blue lights are strategically located beside key motherboard connectors to allow you to install components conveniently without a flashlight. See the following Warning. Reset button allows you to restart the computer without turning off the power. WARNING: Before you install or remove any component, make sure to press the onboard LED SW button first, and make sure the standby power LED is off. Failure to do so may cause injury or severe damage to the motherboard, peripherals, and/or components. Using DVI Connectors with SLI Technology The computer models that include dual graphics cards come configured with Scalable Link Interface (SLI) enabled. Dual graphics cards with SLI technology work together to render 3D applications to create a better performance experience. IMPORTANT: In SLI mode only one of the top two DVI connectors is active. This means you cannot use the other three DVI connectors. If you do not have SLI mode enabled, you can use up to four of the DVI connectors on the back of the computer. If you are not sure if you have SLI Mode, you can find out by completing the following steps: 1 Right-click anywhere on the desktop, and then click NVIDIA Control Panel. 2 On the left-hand side of the window, under 3D Settings, click Set SLI configuration. 3 From the menu bar, click 3D settings. 4 Click the drop-down menu and select Show SLI Visual Indicators. This window helps you to determine if SLI technology is enabled and working. Setting Up the Computer 5
-
 1
1 -
2
-
3
-
4
-
5
-
6
-
7
-
 8
8 -
 9
9 -
 10
10 -
 11
11 -
 12
12 -
 13
13 -
 14
14 -
 15
15 -
 16
16 -
 17
17 -
 18
18 -
19
-
20
-
21
-
22
-
23
-
24
-
25
-
26
-
27
-
28
-
29
-
30
-
31
-
32
-
33
-
34
-
35
-
36
-
37
-
38
-
39
-
40
-
41
-
42
-
43
-
44
-
45
-
46
-
47
-
48
-
49
-
50
-
51
-
52
-
53
-
54
-
55
-
56
-
57
-
58
-
59
-
60
-
61
-
62
-
63
-
64
-
65
-
66
-
67
-
68
-
69
-
70
-
71
-
72
-
73
-
74
-
75
-
76
-
77
-
78
-
79
-
80
-
81
-
82
-
83
-
84
-
85
-
86
-
87
-
88
-
89
-
90
-
91
-
92
-
93
-
94
-
95
-
96
-
97
-
98
-
99
-
100
-
101
-
102
-
103
-
104
-
105
-
106
-
107
-
108
-
109
-
110
-
111
-
112
-
113
-
114
-
115
-
116
-
117
-
118
-
119
-
120
-
121
-
122
-
123
-
124
-
125
-
126
-
127
-
128
-
129
-
130
-
131
-
132
-
133
-
134
-
135
-
136
-
137
-
138
-
139
-
140
-
141
-
142
-
143
-
144
-
145
-
146
-
147
-
148
-
149
-
150
-
151
-
152
-
153
-
154
-
155
-
156
-
157
-
158
-
159
-
160
-
161
-
162
-
163
-
164
 |
 |