HP Blackbird 002-21A HP Blackbird Gaming System - Getting Started Guide - Page 64
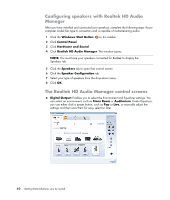
Selecting a microphone, The Sound window opens.
 |
View all HP Blackbird 002-21A manuals
Add to My Manuals
Save this manual to your list of manuals |
Page 64 highlights
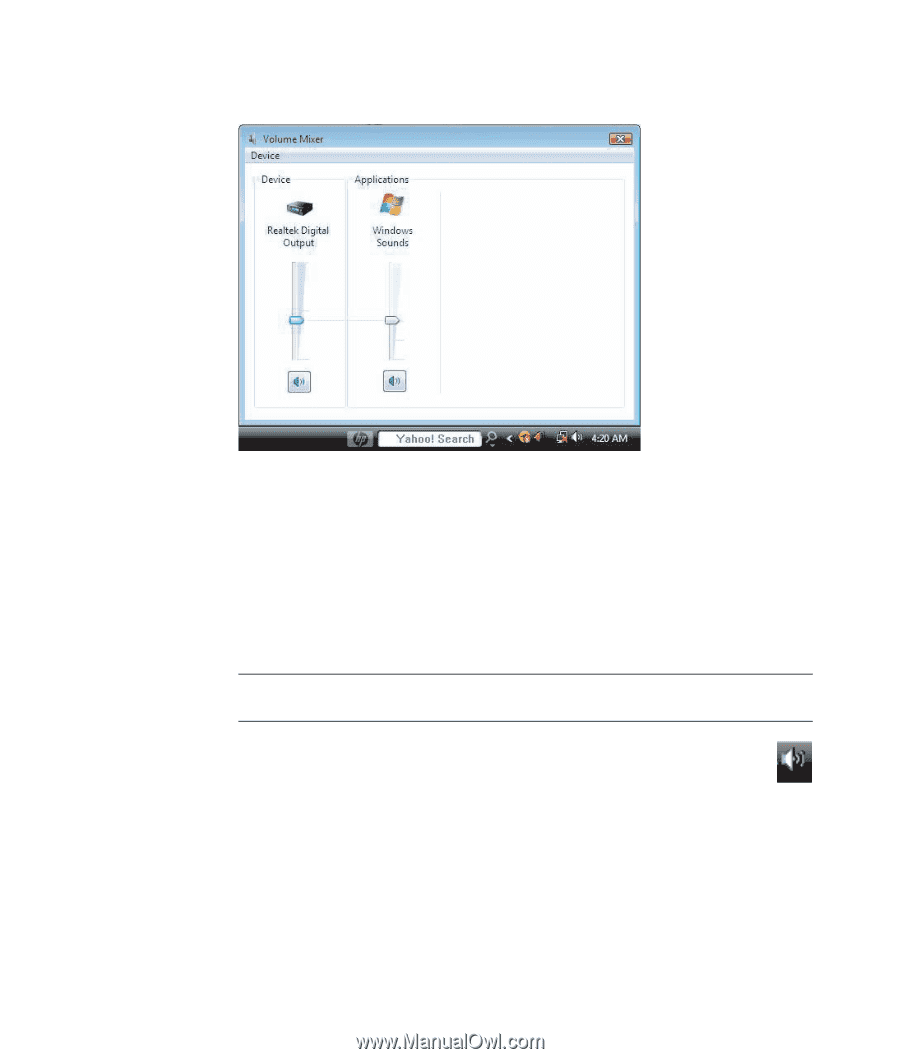
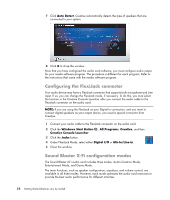
3 When you are satisfied with the sound level, click the Close box (the X in the upper-right corner) to close this window. Selecting a microphone Your computer comes with one microphone connector on the back of the computer. Some models have a second microphone connector on the front of the computer. Only one microphone connector works at a time, and the back connector is ready to use unless you have the multichannel audio speakers option. For computers with the multichannel audio speakers option, the microphone connector on the front of the computer, if it is present, is ready to use. To use a microphone connected to the front of your computer (select models only), select the working microphone: NOTE: If you connect your microphone to the back of your computer, you do not need to perform this procedure. 1 Right-click the white Microsoft Volume icon on the taskbar, and then click Recording Devices. The Sound window opens. 2 Select the Recording tab. 3 Double-click Microphone, and select the General tab. 4 Click the microphone connector that you want to use, and then click Apply. 5 Click OK. 56 Getting Started (features vary by model)
-
 1
1 -
2
-
3
-
4
-
5
-
6
-
7
-
8
-
9
-
10
-
11
-
12
-
13
-
14
-
15
-
16
-
17
-
18
-
19
-
20
-
21
-
22
-
23
-
24
-
25
-
26
-
27
-
28
-
29
-
30
-
31
-
32
-
33
-
34
-
35
-
36
-
37
-
38
-
39
-
40
-
41
-
42
-
43
-
44
-
45
-
46
-
47
-
48
-
49
-
50
-
51
-
52
-
53
-
54
-
55
-
56
-
57
-
58
-
 59
59 -
 60
60 -
 61
61 -
 62
62 -
 63
63 -
 64
64 -
 65
65 -
 66
66 -
 67
67 -
 68
68 -
 69
69 -
70
-
71
-
72
-
73
-
74
-
75
-
76
-
77
-
78
-
79
-
80
-
81
-
82
-
83
-
84
-
85
-
86
-
87
-
88
-
89
-
90
-
91
-
92
-
93
-
94
-
95
-
96
-
97
-
98
-
99
-
100
-
101
-
102
-
103
-
104
-
105
-
106
-
107
-
108
-
109
-
110
-
111
-
112
-
113
-
114
-
115
-
116
-
117
-
118
-
119
-
120
-
121
-
122
-
123
-
124
-
125
-
126
-
127
-
128
-
129
-
130
-
131
-
132
-
133
-
134
-
135
-
136
-
137
-
138
-
139
-
140
-
141
-
142
-
143
-
144
-
145
-
146
-
147
-
148
-
149
-
150
-
151
-
152
-
153
-
154
-
155
-
156
-
157
-
158
-
159
-
160
-
161
-
162
-
163
-
164
 |
 |