IBM x3400 Installation Guide - Page 37
Installing, hot-swap, drive
 |
View all IBM x3400 manuals
Add to My Manuals
Save this manual to your list of manuals |
Page 37 highlights
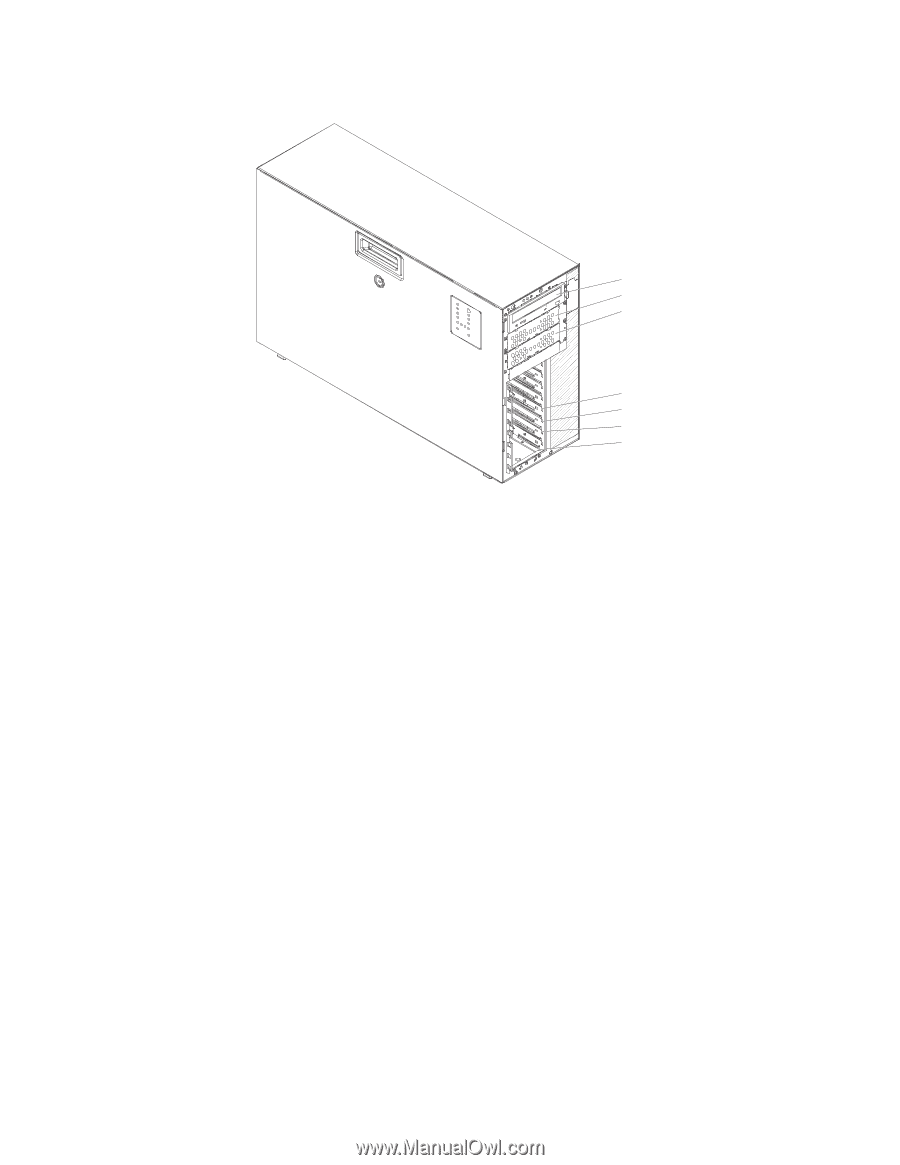
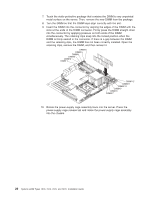
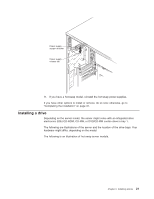
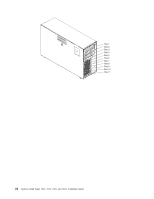
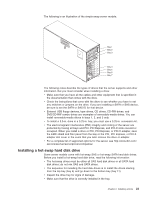
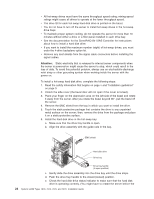
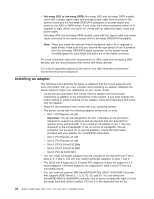
The following is an illustration of the simple-swap server models. Bay 1 Bay 2 Bay 3 Bay 4 Bay 5 Bay 6 Bay 7 The following notes describe the types of drives that the server supports and other information that you must consider when installing a drive: v Make sure that you have all the cables and other equipment that is specified in the documentation that comes with the drive. v Check the instructions that come with the drive to see whether you have to set any switches or jumpers on the drive. If you are installing a SATA or SAS device, be sure to set the SATA or SAS ID for that device. v External USB floppy devices, tape drives, CD drives, CD-RW drives, and DVD/CD-RW combo drives are examples of removable-media drives. You can install removable-media drives in bays 1, 2, and 3 only. v To install a 3.5-in. drive in a 5.25-in. bay, you must use a 5.25-in. conversion kit. v The electromagnetic interference (EMI) integrity and cooling of the server are protected by having all bays and PCI, PCI Express, and PCI-X slots covered or occupied. When you install a drive or PCI, PCI Express, or PCI-X adapter, save the EMC shield and filler panel from the bay or the PCI, PCI Express, or PCI-X adapter slot cover in the event that you later remove the drive or adapter. v For a complete list of supported options for the server, see http://www.ibm.com/ servers/eserver/serverproven/compat/us/. Installing a hot-swap hard disk drive Some server models come with hot-swap SAS or hot-swap SATA hard disk drives. Before you install a hot-swap hard disk drive, read the following information: v The hot-swap drives must be either all SAS hard disk drives or all SATA hard disk drives; do not mix SAS and SATA drives. v The sequence for installing the hard disk drives is to install the drives starting from the top bay (bay 4) and go down to the bottom bay (bay 11). v Inspect the drive tray for signs of damage. v Make sure that the drive is correctly installed in the tray. Chapter 2. Installing options 23
-
 1
1 -
2
-
3
-
4
-
5
-
6
-
7
-
8
-
9
-
10
-
11
-
12
-
13
-
14
-
15
-
16
-
17
-
18
-
19
-
20
-
21
-
22
-
23
-
24
-
25
-
26
-
27
-
28
-
29
-
30
-
31
-
 32
32 -
 33
33 -
 34
34 -
 35
35 -
 36
36 -
 37
37 -
 38
38 -
 39
39 -
 40
40 -
 41
41 -
 42
42 -
43
-
44
-
45
-
46
-
47
-
48
-
49
-
50
-
51
-
52
-
53
-
54
-
55
-
56
-
57
-
58
-
59
-
60
-
61
-
62
-
63
-
64
-
65
-
66
-
67
-
68
-
69
-
70
-
71
-
72
-
73
-
74
-
75
-
76
-
77
-
78
-
79
-
80
-
81
-
82
-
83
-
84
-
85
-
86
-
87
-
88
-
89
-
90
-
91
-
92
-
93
-
94
-
95
-
96
-
97
-
98
-
99
-
100
-
101
-
102
-
103
-
104
-
105
-
106
-
107
-
108
-
109
-
110
-
111
-
112
-
113
-
114
-
115
-
116
-
117
-
118
-
119
-
120
-
121
-
122
-
123
-
124
 |
 |