IBM x3400 Installation Guide - Page 46
Align, sliding, hinge, mount, assembly, chassis., Press, against, until, snaps, Close, bezel.
 |
View all IBM x3400 manuals
Add to My Manuals
Save this manual to your list of manuals |
Page 46 highlights
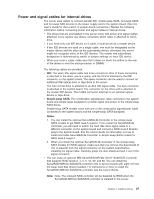
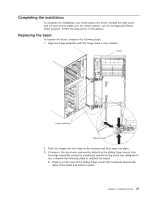
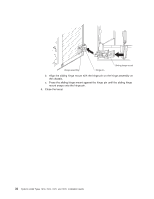
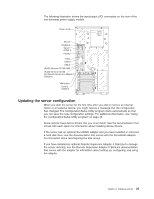
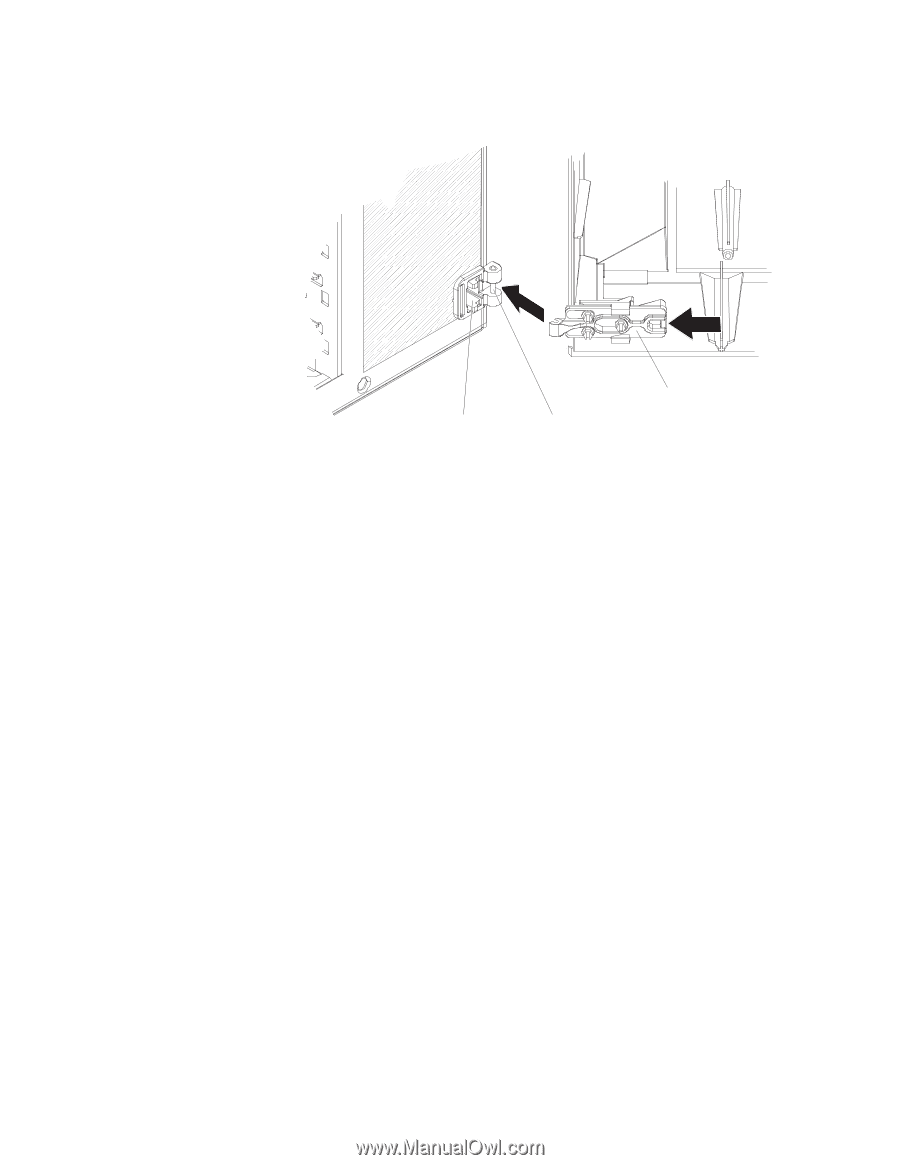
Hinge assembly Hinge pin Sliding hinge mount b. Align the sliding hinge mount with the hinge pin on the hinge assembly on the chassis. c. Press the sliding hinge mount against the hinge pin until the sliding hinge mount snaps onto the hinge pin. 4. Close the bezel. 32 System x3400 Types 7973, 7974, 7975, and 7976: Installation Guide
-
 1
1 -
2
-
3
-
4
-
5
-
6
-
7
-
8
-
9
-
10
-
11
-
12
-
13
-
14
-
15
-
16
-
17
-
18
-
19
-
20
-
21
-
22
-
23
-
24
-
25
-
26
-
27
-
28
-
29
-
30
-
31
-
32
-
33
-
34
-
35
-
36
-
37
-
38
-
39
-
40
-
 41
41 -
 42
42 -
 43
43 -
 44
44 -
 45
45 -
 46
46 -
 47
47 -
 48
48 -
 49
49 -
 50
50 -
 51
51 -
52
-
53
-
54
-
55
-
56
-
57
-
58
-
59
-
60
-
61
-
62
-
63
-
64
-
65
-
66
-
67
-
68
-
69
-
70
-
71
-
72
-
73
-
74
-
75
-
76
-
77
-
78
-
79
-
80
-
81
-
82
-
83
-
84
-
85
-
86
-
87
-
88
-
89
-
90
-
91
-
92
-
93
-
94
-
95
-
96
-
97
-
98
-
99
-
100
-
101
-
102
-
103
-
104
-
105
-
106
-
107
-
108
-
109
-
110
-
111
-
112
-
113
-
114
-
115
-
116
-
117
-
118
-
119
-
120
-
121
-
122
-
123
-
124
 |
 |
Sliding hinge mount
Hinge assembly
Hinge pin
b.
Align
the
sliding
hinge
mount
with
the
hinge
pin
on
the
hinge
assembly
on
the
chassis.
c.
Press
the
sliding
hinge
mount
against
the
hinge
pin
until
the
sliding
hinge
mount
snaps
onto
the
hinge
pin.
4.
Close
the
bezel.
32
System
x3400
Types
7973,
7974,
7975,
and
7976:
Installation
Guide