Pioneer 141FD Owner's Manual - Page 21
Basic Operations
 |
UPC - 012562905761
View all Pioneer 141FD manuals
Add to My Manuals
Save this manual to your list of manuals |
Page 21 highlights
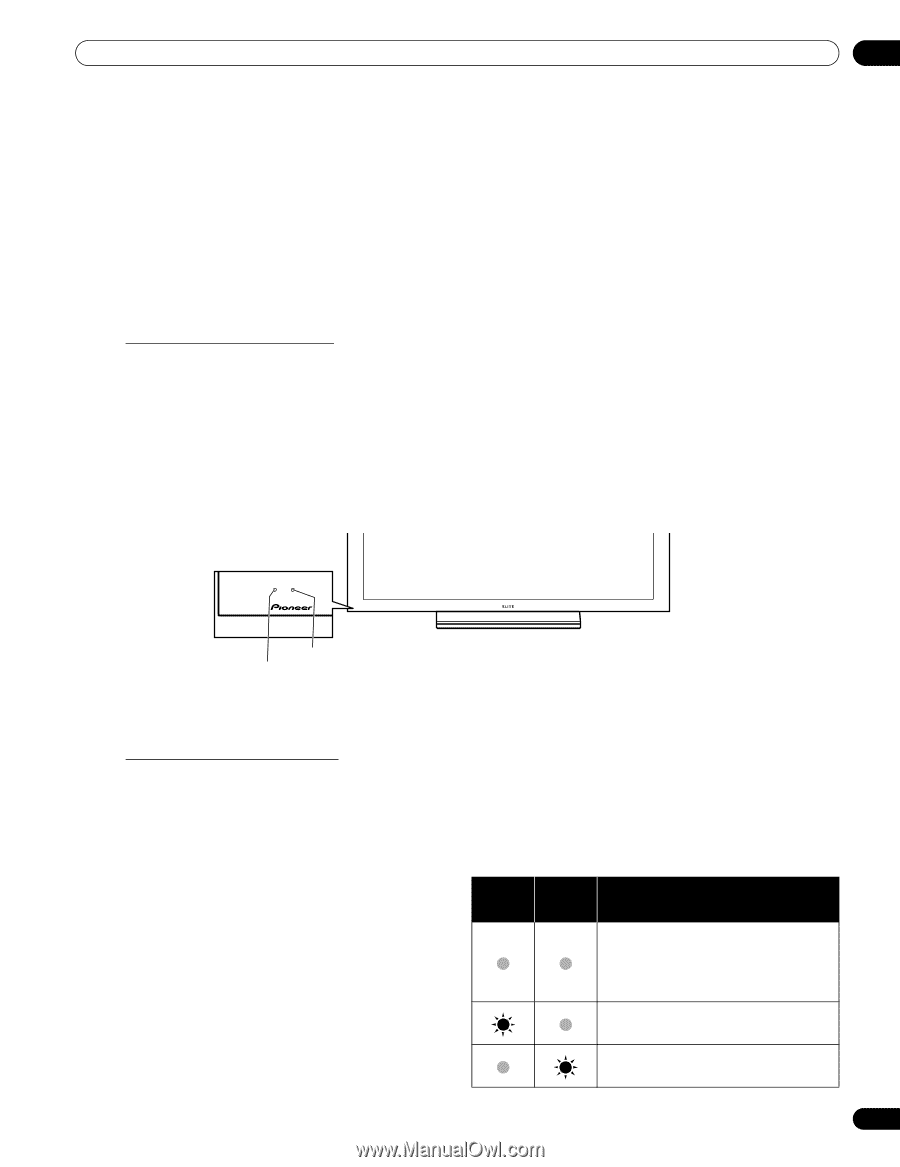
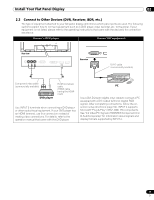
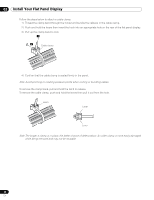
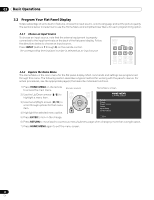
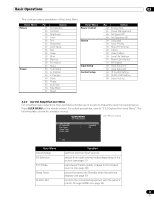
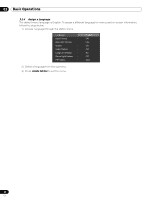
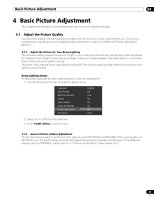
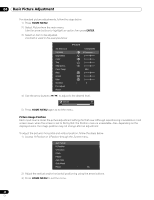
Basic Operations 03 3 Basic Operations This chapter explores day-to-day operations such as powering on your flat panel display, using the Home Menu, User Menu, and adjusting the display for the viewing area/room. The final section in this chapter provides hints and suggestions for those new to flat panel display features. 3.1 Turn the Flat Panel Display ON / OFF Your flat panel display has three activity levels: Power On, Standby, and Power Off. Standby saves energy but allows the remote control to turn on the panel. The following instructions use the remote control. To operate the flat panel display through the side panel buttons, refer to "1.2.1 Control Buttons and More on the Flat Panel Display" for button locations. Turn ON the Flat Panel Display To turn on the panel, follow the steps below. 1 ) Plug the flat panel display's power cord in to a properly grounded outlet. 2 ) Press any of the following buttons to turn the flat panel display On. • Power On button (a) on the panel's back in lower-left section (see page 7) • STANDBY/ON button on the side (PRO-141FD) or rear (PRO-101FD) of the panel (see page 7) • Remote control's MONITOR (a) button located in the upper left corner (see page 10) Images appear on the panel screen. 3 ) Confirm that the Power On indicator lights blue. (PRO-101FD) Standby indicator Power On indicator Note: While in Standby, pressing the remote control's MONITOR ( a ) button causes the flat panel display to turn On. Turn OFF the Flat Panel Display Turning off the flat panel display can mean entering Standby so features are still functional or it can mean cutting power to the panel. Unless the flat panel display is to sit idle for long periods, leave the panel in Standby. Note: While in Standby or when powered off, the display continues to draw some power as long as the panel is plugged in to an outlet. Follow the steps below to place the panel in Standby. 1 ) Press the remote control's MONITOR ( a ) button. 2 ) Confirm that the Standby indicator lights red. The table to the right provides samples of how the indicators light. Monitor the indicators on the front of the panel to check the power status. Power Standby Indicator Indicator Flat Panel Display Status Panel's power cord is disconnected or the power cord is connected but the flat panel display's Power On button ( a ) is off Power is on but waiting for activation Note: Select from Auto, High, Mid and Low. Selecting Auto toggles the brightness of the indicator between High, Mid and Low to match the brightness level of the viewing area. Refer to Panel is in Standby "4.2.2 Adjust the Power Indicator Brightness." 21 En
-
 1
1 -
2
-
3
-
4
-
5
-
6
-
7
-
8
-
9
-
10
-
11
-
12
-
13
-
14
-
15
-
 16
16 -
 17
17 -
 18
18 -
 19
19 -
 20
20 -
 21
21 -
 22
22 -
 23
23 -
 24
24 -
 25
25 -
 26
26 -
27
-
28
-
29
-
30
-
31
-
32
-
33
-
34
-
35
-
36
-
37
-
38
-
39
-
40
-
41
-
42
-
43
-
44
-
45
-
46
-
47
-
48
-
49
-
50
-
51
-
52
-
53
-
54
-
55
-
56
-
57
-
58
-
59
-
60
-
61
-
62
-
63
-
64
-
65
-
66
-
67
-
68
-
69
-
70
-
71
-
72
-
73
-
74
-
75
-
76
-
77
-
78
-
79
-
80
-
81
-
82
-
83
-
84
-
85
-
86
-
87
-
88
-
89
-
90
-
91
-
92
-
93
-
94
-
95
-
96
-
97
-
98
-
99
-
100
-
101
-
102
-
103
-
104
-
105
-
106
 |
 |