Pioneer 141FD Owner's Manual - Page 47
Use Other Equipment With Your Flat Panel Display
 |
UPC - 012562905761
View all Pioneer 141FD manuals
Add to My Manuals
Save this manual to your list of manuals |
Page 47 highlights
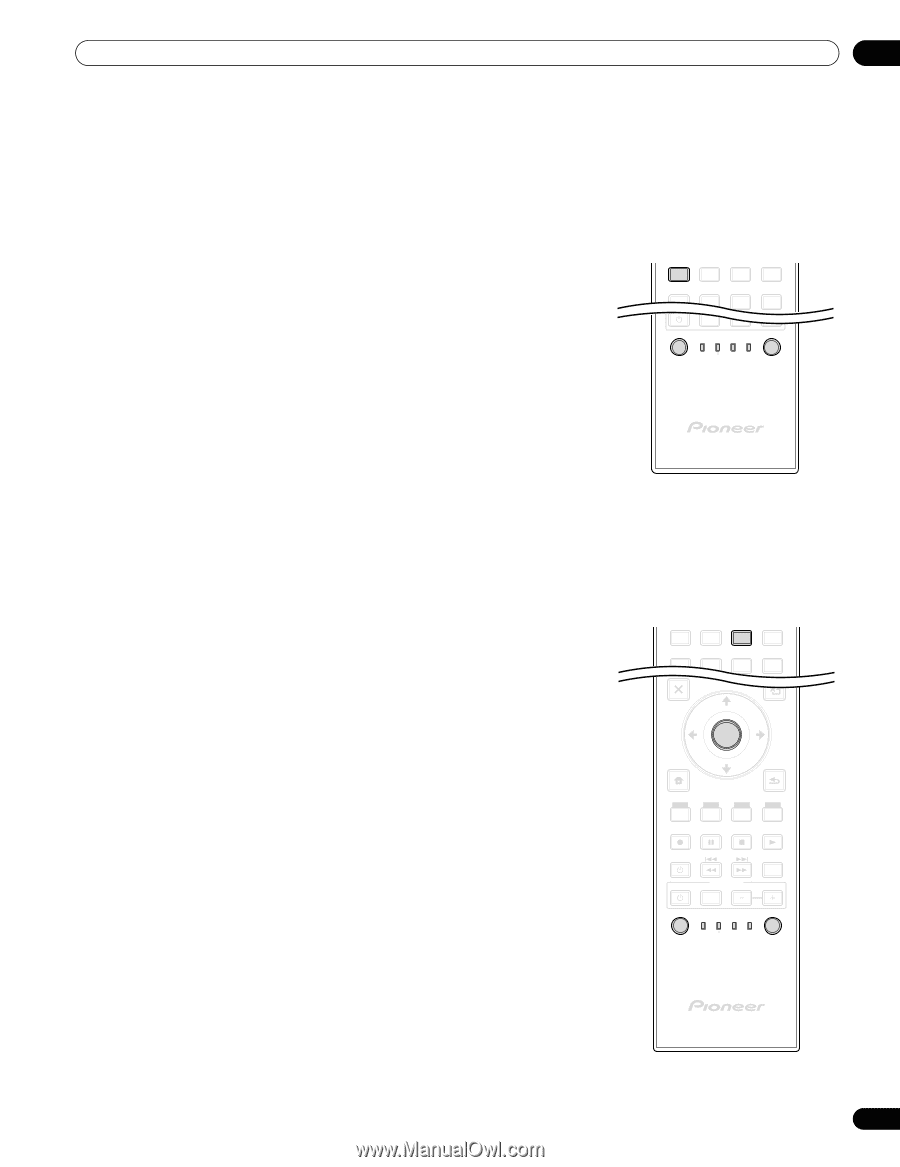
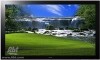
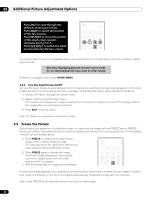
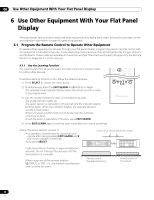
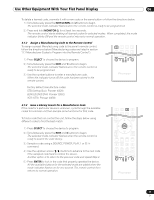
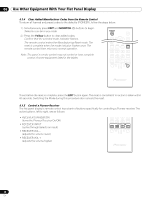
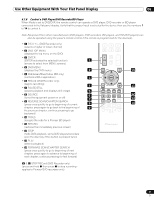
Use Other Equipment With Your Flat Panel Display 06 To delete a learned code, overwrite it with a new code on the same button or follow the directions below. 1 ) Simultaneously press the EDIT/LEARN and 2 buttons to begin. The selected mode indicator flashes when the remote control is ready to be programmed. 2 ) Press and hold MONITOR a for at least two seconds. The remote control starts deleting all learned codes for selected modes. When completed, the mode indicator blinks Off and the remote control returns to normal operation. 6.1.2 Assign a Manufacturing Code to the Remote Control To assign a preset Manufacturing code to the panel's remote control, follow the directions below (Manufacturing codes are listed in section "9.1 Manufacturer Codes to Program into the Remote Control"). 1 ) Press SELECT to choose the device to program. 2 ) Simultaneously press the EDIT and 1 buttons to begin. The selected mode indicator flashes when the remote control is ready to be programmed. 3 ) Use the number buttons to enter a manufacturer code. When the indicator turns off, the code has been stored in the remote control. 1 2 3 4 5 6 7 8 SUB PIP INPUT SELECT BDP EDIT/LEARN MONITOR STB LD VCR CBL DVD SAT DVR Factory default manufacture codes: STB (Set-top Box): Pioneer (0329) BDP/LD/DVD/DVR: Pioneer (2052) VCR (VTR): Pioneer (0058) 6.1.3 Issue a Library Search for a Manufacturer Code If the code for a particular device is unknown, cycle through the available codes for a similar unit then sample some functions for that code. To find a code that can control the unit, follow the steps below using different codes to find the best match. 1 ) Press SELECT to choose the device to program. 2 ) Simultaneously press the EDIT and 3 buttons to begin. The selected mode indicator flashes when the remote control is ready to search the code library. 3 ) Sample a code using a SOURCE POWER, PLAY, 1 or CH+ command. 4 ) Use the up/down arrow (/) buttons to advance to the next code if the sampled code fails to control the device. Another option is to return to the previous code and repeat Step 3. 5 ) Press ENTER to lock in the code that properly operates the device. All the available buttons for the selected mode are added when the mode indicator flashes on for one second. The remote control then returns to normal operation. 1 2 3 4 5 6 EXIT SUB 7 8 USEPRIMP ENU TOP MENU GUIDE HOME MENU ENTER TOOLS RETURN MENU ONDEMAND FAVORITE SOURCE DVD/HDD RECEIVER VOL INPUT SELECT BDP EDIT/LEARN MONITOR STB LD VCR CBL DVD SAT DVR 47 En
-
 1
1 -
2
-
3
-
4
-
5
-
6
-
7
-
8
-
9
-
10
-
11
-
12
-
13
-
14
-
15
-
16
-
17
-
18
-
19
-
20
-
21
-
22
-
23
-
24
-
25
-
26
-
27
-
28
-
29
-
30
-
31
-
32
-
33
-
34
-
35
-
36
-
37
-
38
-
39
-
40
-
41
-
 42
42 -
 43
43 -
 44
44 -
 45
45 -
 46
46 -
 47
47 -
 48
48 -
 49
49 -
 50
50 -
 51
51 -
 52
52 -
53
-
54
-
55
-
56
-
57
-
58
-
59
-
60
-
61
-
62
-
63
-
64
-
65
-
66
-
67
-
68
-
69
-
70
-
71
-
72
-
73
-
74
-
75
-
76
-
77
-
78
-
79
-
80
-
81
-
82
-
83
-
84
-
85
-
86
-
87
-
88
-
89
-
90
-
91
-
92
-
93
-
94
-
95
-
96
-
97
-
98
-
99
-
100
-
101
-
102
-
103
-
104
-
105
-
106
 |
 |