Pioneer 141FD Owner's Manual - Page 27
Enter, Home Menu, User Menu, Input, Swap, Av Selection
 |
UPC - 012562905761
View all Pioneer 141FD manuals
Add to My Manuals
Save this manual to your list of manuals |
Page 27 highlights
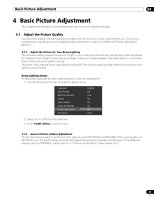
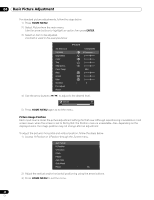
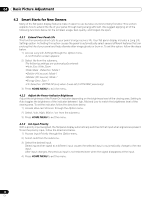
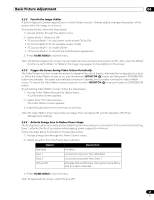
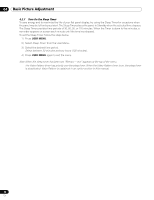
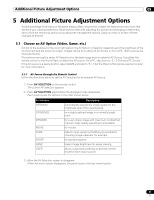
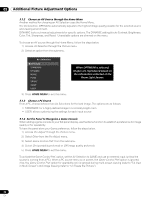
Basic Picture Adjustment 04 Restore Default Picture After making multiple adjustments, it may be difficult to reverse improper settings. To restore the factory default Picture settings, follow the directions below. 1 ) Access Reset from the Picture menu. 2 ) Press ENTER to continue with the picture reset. 3 ) Use the arrow buttons to highlight Yes. 4 ) Press ENTER. All Picture settings return to the original default values. 4.1.3 Compare Images When Adjusting the Picture When adjusting the picture, look for an overall improvement by adjusting each parameter or option one at a time. Many small adjustments lead to the best picture for your viewing area. As each option changes, refer back to the previously set image for comparison. This section includes adjustment notes and steps to adjust the picture. Each parameter/option must be adjusted separately. For example, if two options under AV Selection, STANDARD and MOVIE need adjustment, change/compare one option then save the preferred setting before moving on to the other option. Below are other guidelines for picture adjustment. • Adjustments are available while on the After screen. Trying to make adjustments while on the Before causes a warning message to appear. • Switch to another parameter/option only from the After screen. If viewing the Before screen when selecting another option, the Before data is lost. • Exiting an option from the Before screen stores that previous entry in memory and deactivates the button. • Exiting an option from the After screen stores the new entry in memory and deactivates the button. • Moving/changing the AV Selection parameter/option stores the option setting in memory (the button continues to work). Follow the steps below to adjust options for the preferred picture quality. 1 ) Press HOME MENU. 2 ) Select Picture from the main menu. Use the arrow buttons to highlight an option then press ENTER. 3 ) Select an option. 4 ) Press USER MENU while the adjustment menu is on screen. The word "Before" appears on screen with the unadjusted picture showing in Step 2. 5 ) Press USER MENU again. The adjusted picture appears and the word "Before" disappears. Pressing USER MENU toggles the picture between Before and After. 6 ) Repeat Steps 3 through 5 to adjust other picture options. 7 ) Press HOME MENU again to exit the menu. Notes: If no selections are made within 60 seconds, the menu closes automatically and the current settings are saved to memory. "Before" is canceled if: • The STANDBY/ON button, INPUT, SWAP or AV SELECTION is pressed • input signal changes To exit the menu without saving the changes, switch to the Before screen then press HOME MENU. 27 En
-
 1
1 -
2
-
3
-
4
-
5
-
6
-
7
-
8
-
9
-
10
-
11
-
12
-
13
-
14
-
15
-
16
-
17
-
18
-
19
-
20
-
21
-
 22
22 -
 23
23 -
 24
24 -
 25
25 -
 26
26 -
 27
27 -
 28
28 -
 29
29 -
 30
30 -
 31
31 -
 32
32 -
33
-
34
-
35
-
36
-
37
-
38
-
39
-
40
-
41
-
42
-
43
-
44
-
45
-
46
-
47
-
48
-
49
-
50
-
51
-
52
-
53
-
54
-
55
-
56
-
57
-
58
-
59
-
60
-
61
-
62
-
63
-
64
-
65
-
66
-
67
-
68
-
69
-
70
-
71
-
72
-
73
-
74
-
75
-
76
-
77
-
78
-
79
-
80
-
81
-
82
-
83
-
84
-
85
-
86
-
87
-
88
-
89
-
90
-
91
-
92
-
93
-
94
-
95
-
96
-
97
-
98
-
99
-
100
-
101
-
102
-
103
-
104
-
105
-
106
 |
 |