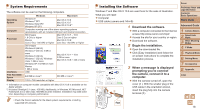
Canon PowerShot A2500 User Guide - Page 16
Erasing the Images, Choose an image to erase., Erase the image., Browse through your images., Play
 |
View all Canon PowerShot A2500 manuals
Add to My Manuals
Save this manual to your list of manuals |
Page 16 highlights
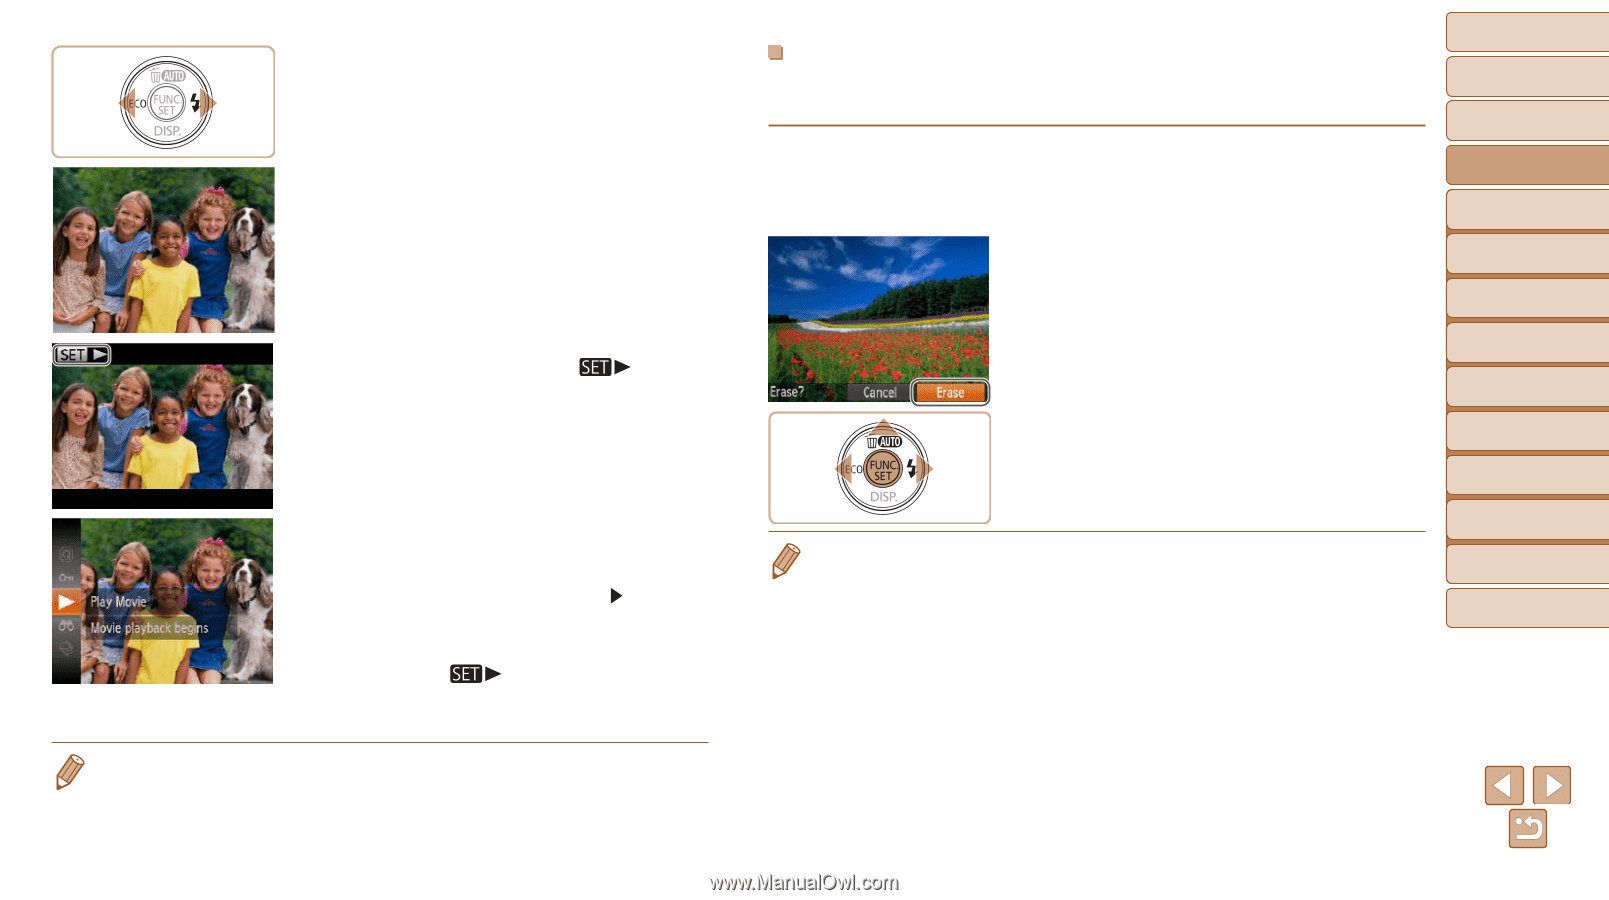
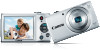
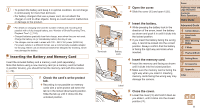
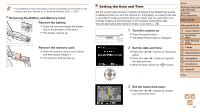
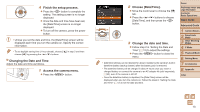
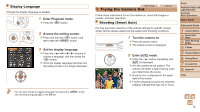
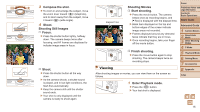
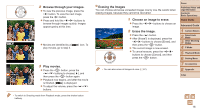
2 Browse through your images. zzTo view the previous image, press the button. To view the next image, press the button. zzPress and hold the buttons to browse through images quickly. Images appear grainy at this time. zzMovies are identified by a [ play movies, go to step 3. ] icon. To 3 Play movies. zzPress the button, press the buttons to choose [ ], and then press the button again. XXPlayback now begins, and after the movie is finished, [ ] is displayed. zzTo adjust the volume, press the buttons. • To switch to Shooting mode from Playback mode, press the shutter button halfway. Erasing the Images You can choose and erase unneeded images one by one. Be careful when erasing images, because they cannot be recovered. 1 Choose an image to erase. zzPress the buttons to choose an image. 2 Erase the image. zzPress the button. zzAfter [Erase?] is displayed, press the buttons to choose [Erase], and then press the button. XXThe current image is now erased. zzTo cancel erasure, press the buttons to choose [Cancel], and then press the button. • You can also erase all images at once (=67). Cover Preliminary Notes and Legal Information Contents: Basic Operations Basic Guide Advanced Guide 1 Camera Basics 2 Smart Auto Mode 3 Other Shooting Modes 4 P Mode 5 Playback Mode 6 Setting Menu 7 Accessories 8 Appendix Index 16
-
 1
1 -
2
-
3
-
4
-
5
-
6
-
7
-
8
-
9
-
10
-
 11
11 -
 12
12 -
 13
13 -
 14
14 -
 15
15 -
 16
16 -
 17
17 -
 18
18 -
 19
19 -
 20
20 -
 21
21 -
22
-
23
-
24
-
25
-
26
-
27
-
28
-
29
-
30
-
31
-
32
-
33
-
34
-
35
-
36
-
37
-
38
-
39
-
40
-
41
-
42
-
43
-
44
-
45
-
46
-
47
-
48
-
49
-
50
-
51
-
52
-
53
-
54
-
55
-
56
-
57
-
58
-
59
-
60
-
61
-
62
-
63
-
64
-
65
-
66
-
67
-
68
-
69
-
70
-
71
-
72
-
73
-
74
-
75
-
76
-
77
-
78
-
79
-
80
-
81
-
82
-
83
-
84
-
85
-
86
-
87
-
88
-
89
-
90
-
91
-
92
-
93
-
94
-
95
-
96
-
97
-
98
-
99
-
100
-
101
-
102
-
103
-
104
-
105
-
106
-
107
-
108
-
109
 |
 |