Canon PowerShot A2500 User Guide - Page 69
Editing Still Images
 |
View all Canon PowerShot A2500 manuals
Add to My Manuals
Save this manual to your list of manuals |
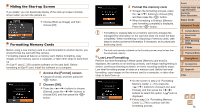
Page 69 highlights
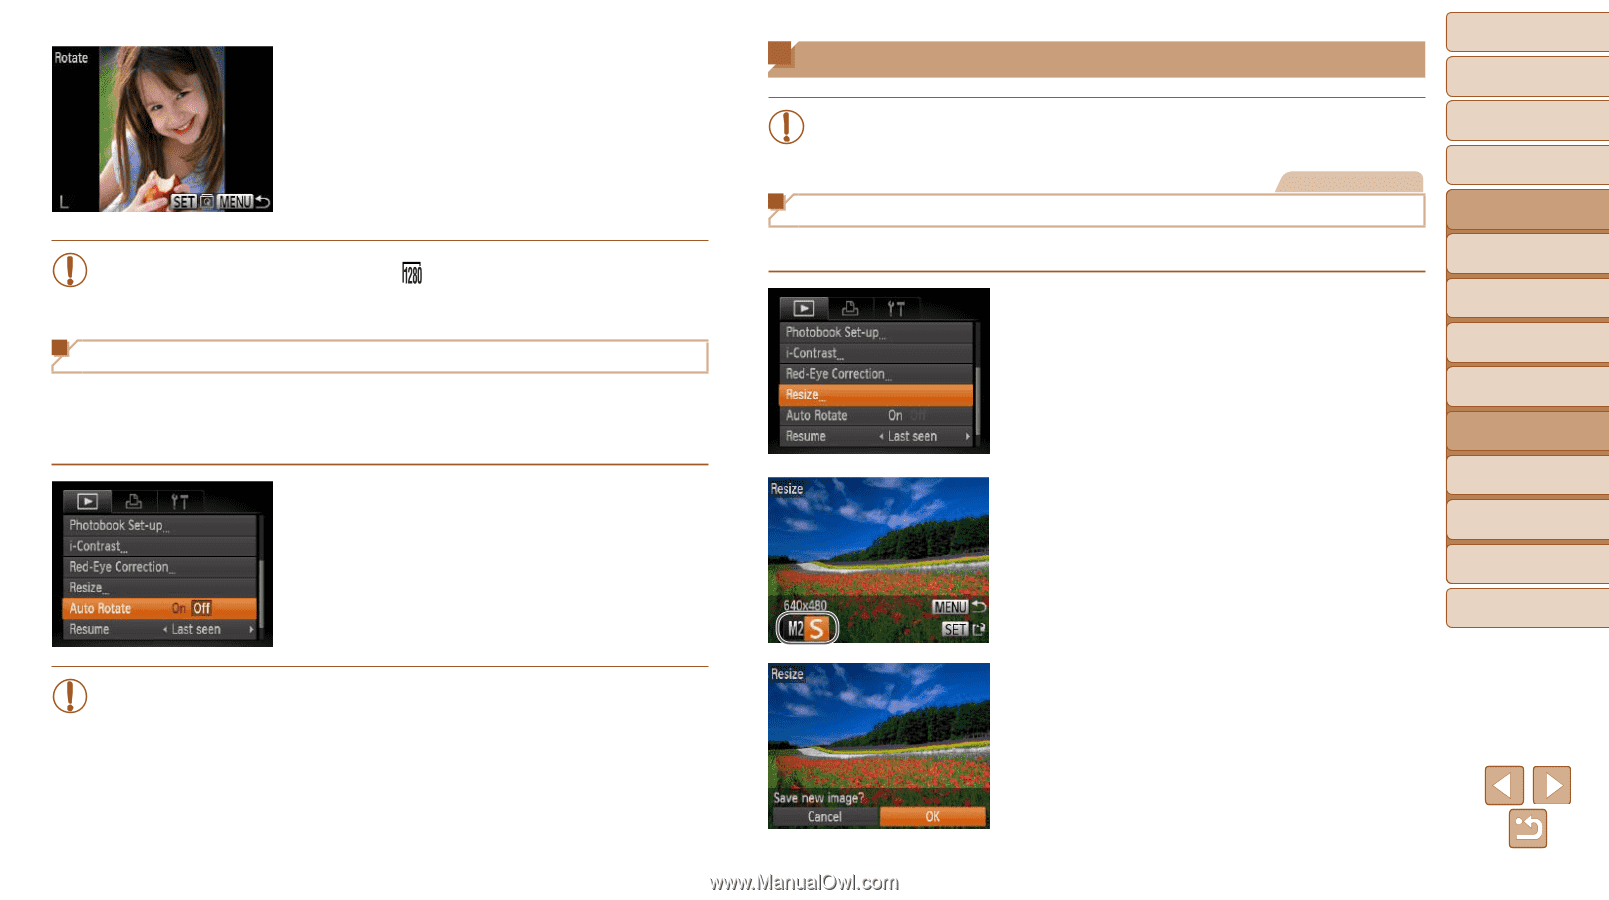
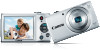
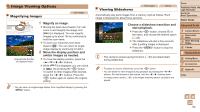
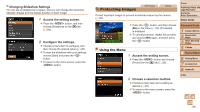
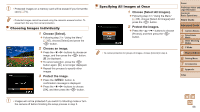
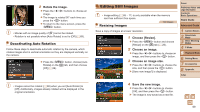
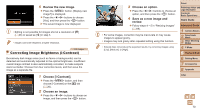
2 Rotate the image. zzPress the buttons to choose an image. zzThe image is rotated 90° each time you press the button. zzTo return to the menu screen, press the button. • Movies with an image quality of [ ] cannot be rotated. • Rotation is not possible when [Auto Rotate] is set to [Off] (=69). Deactivating Auto Rotation Follow these steps to deactivate automatic rotation by the camera, which rotates images shot in vertical orientation so they are displayed vertically on the camera. zzPress the button, choose [Auto Rotate] on the [1] tab, and then choose [Off] (=26). • Images cannot be rotated (=68) when you set [Auto Rotate] to [Off]. Additionally, images already rotated will be displayed in the original orientation. Editing Still Images • Image editing (=69 - 71) is only available when the memory card has sufficient free space. Still Images Resizing Images Save a copy of images at a lower resolution. 1 Choose [Resize]. zzPress the button and choose [Resize] on the [1] tab (=26). 2 Choose an image. zzPress the buttons to choose an image, and then press the button. 3 Choose an image size. zzPress the buttons to choose the size, and then press the button. XX[Save new image?] is displayed. Cover Preliminary Notes and Legal Information Contents: Basic Operations Basic Guide Advanced Guide 1 Camera Basics 2 Smart Auto Mode 3 Other Shooting Modes 4 P Mode 5 Playback Mode 6 Setting Menu 7 Accessories 8 Appendix Index 4 Save the new image. zzPress the buttons to choose [OK], and then press the button. XXThe image is now saved as a new file. 69
-
 1
1 -
2
-
3
-
4
-
5
-
6
-
7
-
8
-
9
-
10
-
11
-
12
-
13
-
14
-
15
-
16
-
17
-
18
-
19
-
20
-
21
-
22
-
23
-
24
-
25
-
26
-
27
-
28
-
29
-
30
-
31
-
32
-
33
-
34
-
35
-
36
-
37
-
38
-
39
-
40
-
41
-
42
-
43
-
44
-
45
-
46
-
47
-
48
-
49
-
50
-
51
-
52
-
53
-
54
-
55
-
56
-
57
-
58
-
59
-
60
-
61
-
62
-
63
-
 64
64 -
 65
65 -
 66
66 -
 67
67 -
 68
68 -
 69
69 -
 70
70 -
 71
71 -
 72
72 -
 73
73 -
 74
74 -
75
-
76
-
77
-
78
-
79
-
80
-
81
-
82
-
83
-
84
-
85
-
86
-
87
-
88
-
89
-
90
-
91
-
92
-
93
-
94
-
95
-
96
-
97
-
98
-
99
-
100
-
101
-
102
-
103
-
104
-
105
-
106
-
107
-
108
-
109
 |
 |