Canon PowerShot A2500 User Guide - Page 34
Customizing the Self-Timer, Choose
 |
View all Canon PowerShot A2500 manuals
Add to My Manuals
Save this manual to your list of manuals |
Page 34 highlights
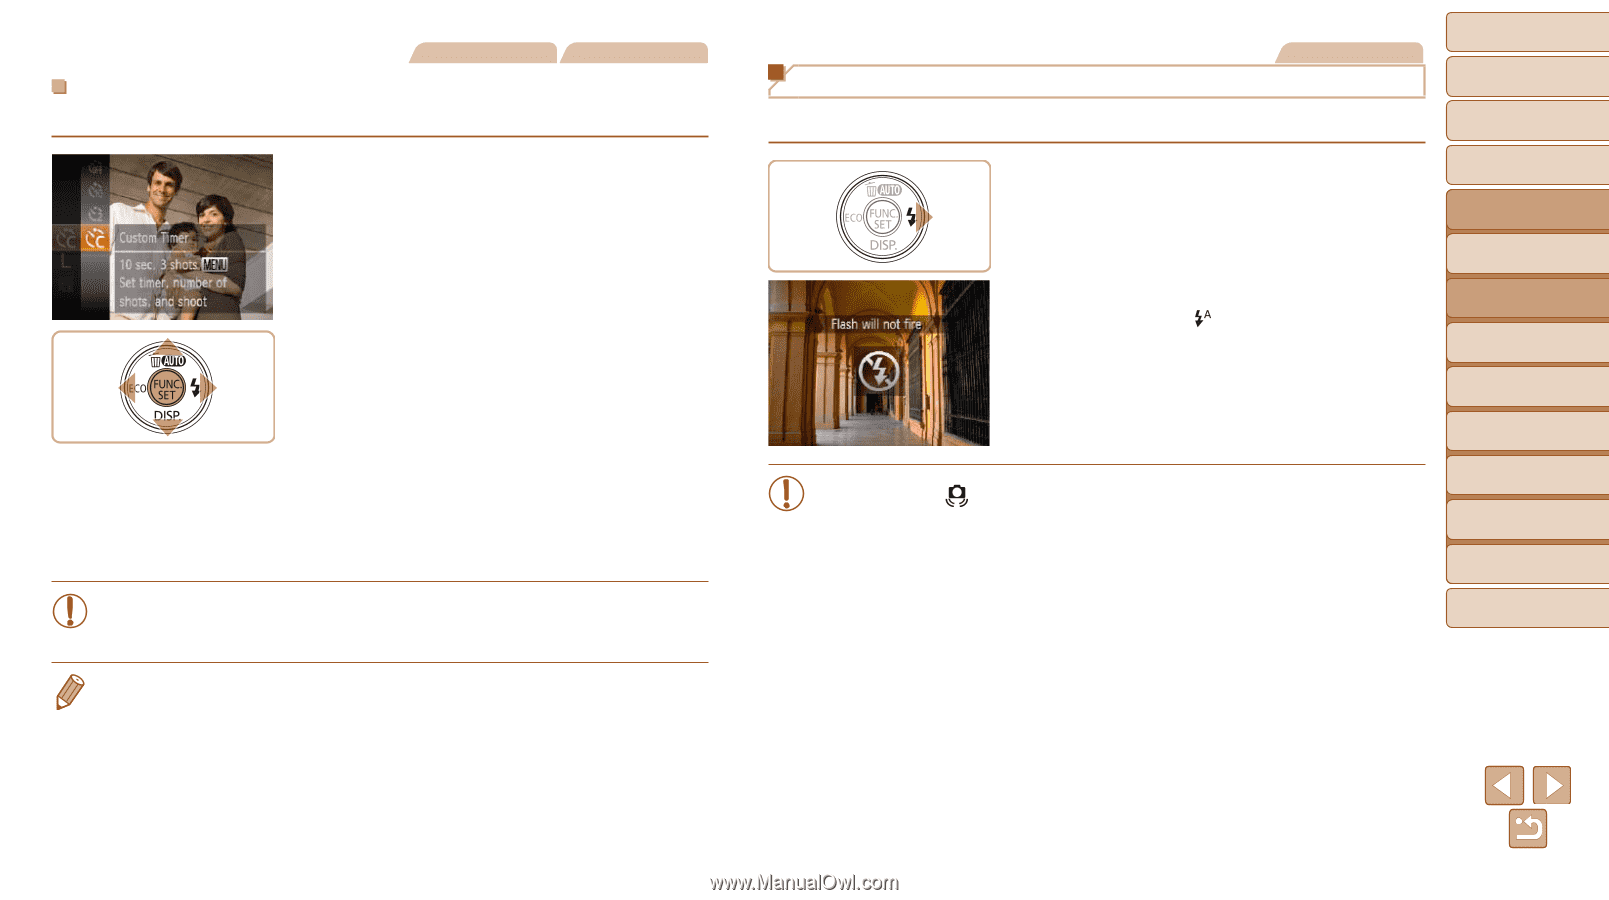
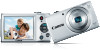
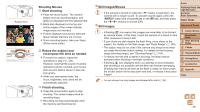
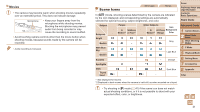
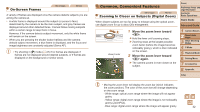
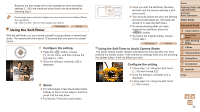
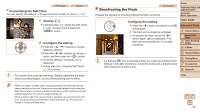
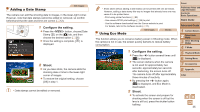
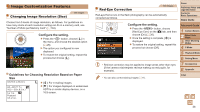
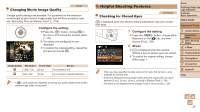
Still Images Movies Customizing the Self-Timer You can specify the delay (0 - 30 seconds) and number of shots (1 - 10). 1 Choose [$]. zzFollowing step 1 in "Using the Self-Timer" (=33), choose [$] and press the button. 2 Configure the setting. zzPress the buttons to choose [Delay] or [Shots]. zzPress the buttons to choose a value, and then press the button. XXOnce the setting is complete, [$] is displayed. zzFollow step 2 in "Using the Self-Timer" (=33) to shoot. • For movies shot using the self-timer, [Delay] represents the delay before recording begins, but the [Shots] setting has no effect. • When you specify multiple shots, image brightness and white balance are determined by the first shot. More time is required between shots when the flash fires or when you have specified to take many shots. Shooting will stop automatically when the memory card becomes full. • When a delay longer than two seconds is specified, two seconds before the shot, the lamp blinking and self-timer sound will speed up. (The lamp will remain lit in case the flash fires.) Deactivating the Flash Still Images Prepare the camera for shooting without the flash as follows. Configure the setting. zzPress the button repeatedly until [!] is displayed. XXThe flash will no longer be activated. zzTo activate the flash, press the button again. ([ ] is displayed.) The flash will automatically fire in low-light conditions. • If a flashing [ ] icon is displayed when you press the shutter button halfway in low-light conditions, mount the camera on a tripod or take other measures to keep it still. Cover Preliminary Notes and Legal Information Contents: Basic Operations Basic Guide Advanced Guide 1 Camera Basics 2 Smart Auto Mode 3 Other Shooting Modes 4 P Mode 5 Playback Mode 6 Setting Menu 7 Accessories 8 Appendix Index 34
-
 1
1 -
2
-
3
-
4
-
5
-
6
-
7
-
8
-
9
-
10
-
11
-
12
-
13
-
14
-
15
-
16
-
17
-
18
-
19
-
20
-
21
-
22
-
23
-
24
-
25
-
26
-
27
-
28
-
 29
29 -
 30
30 -
 31
31 -
 32
32 -
 33
33 -
 34
34 -
 35
35 -
 36
36 -
 37
37 -
 38
38 -
 39
39 -
40
-
41
-
42
-
43
-
44
-
45
-
46
-
47
-
48
-
49
-
50
-
51
-
52
-
53
-
54
-
55
-
56
-
57
-
58
-
59
-
60
-
61
-
62
-
63
-
64
-
65
-
66
-
67
-
68
-
69
-
70
-
71
-
72
-
73
-
74
-
75
-
76
-
77
-
78
-
79
-
80
-
81
-
82
-
83
-
84
-
85
-
86
-
87
-
88
-
89
-
90
-
91
-
92
-
93
-
94
-
95
-
96
-
97
-
98
-
99
-
100
-
101
-
102
-
103
-
104
-
105
-
106
-
107
-
108
-
109
 |
 |