Canon PowerShot A2500 User Guide - Page 41
Enter, mode., Shoot.
 |
View all Canon PowerShot A2500 manuals
Add to My Manuals
Save this manual to your list of manuals |
Page 41 highlights
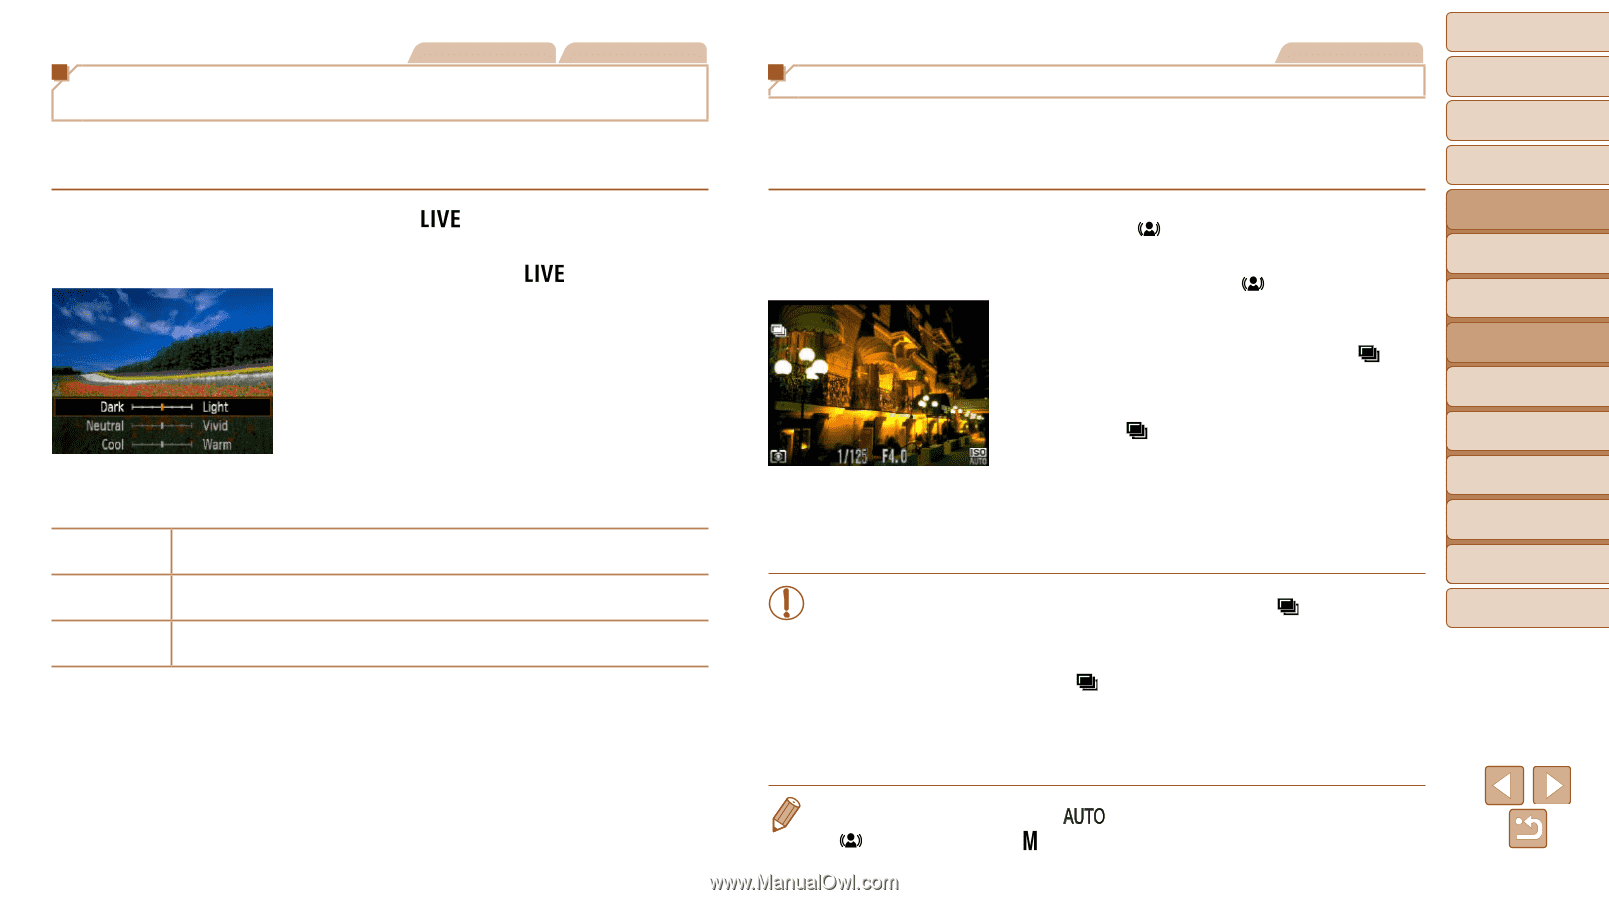
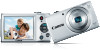
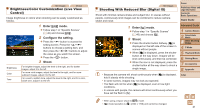
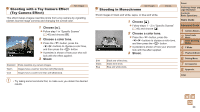
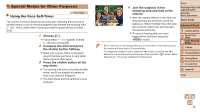
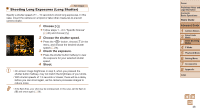
Still Images Movies Brightness/Color Customization (Live View Control) Image brightness or colors when shooting can be easily customized as follows. 1 Enter [ ] mode. zzFollow step 1 in "Specific Scenes" (=40) and choose [ ]. 2 Configure the setting. zzPress the button to access the setting screen. Press the buttons to choose a setting item, and then press the buttons to adjust the value as you watch the screen. zzPress the button. 3 Shoot. Brightness Color Tone For brighter images, adjust the level to the right, and for darker images, adjust it to the left. For more vivid images, adjust the level to the right, and for more subdued images, adjust it to the left. For a warm, reddish tone, adjust the level to the right, and for a cool, bluish tone, adjust it to the left. Still Images Shooting With Reduced Blur (Digital IS) Shoot with minimal camera shake and subject blur. In scenes without people, continuously shot images can be combined to reduce camera shake and noise. 1 Enter [ ] mode. zzFollow step 1 in "Specific Scenes" (=40) and choose [ ]. 2 Shoot. zzPress the shutter button halfway. [ ] is displayed on the left side of the screen in scenes without people. zzWhen [ ] is displayed, press the shutter button all the way down. Images will be shot continuously, and then be combined. zzWhen the icon is not displayed, press the shutter button all the way down to shoot a single image. • Because the camera will shoot continuously when [ ] is displayed, hold it steady while shooting. • In some scenes, images may not look as expected. • The flash will not fire when [ ] is displayed, even in low-light conditions. • In scenes with people, the camera will shoot continuously when you have set the flash to [!]. Cover Preliminary Notes and Legal Information Contents: Basic Operations Basic Guide Advanced Guide 1 Camera Basics 2 Smart Auto Mode 3 Other Shooting Modes 4 P Mode 5 Playback Mode 6 Setting Menu 7 Accessories 8 Appendix Index • When using a tripod, shoot in [ ] mode. • [ ] mode resolution is [ ] (2304 x 1728) and cannot be changed. 41
-
 1
1 -
2
-
3
-
4
-
5
-
6
-
7
-
8
-
9
-
10
-
11
-
12
-
13
-
14
-
15
-
16
-
17
-
18
-
19
-
20
-
21
-
22
-
23
-
24
-
25
-
26
-
27
-
28
-
29
-
30
-
31
-
32
-
33
-
34
-
35
-
 36
36 -
 37
37 -
 38
38 -
 39
39 -
 40
40 -
 41
41 -
 42
42 -
 43
43 -
 44
44 -
 45
45 -
 46
46 -
47
-
48
-
49
-
50
-
51
-
52
-
53
-
54
-
55
-
56
-
57
-
58
-
59
-
60
-
61
-
62
-
63
-
64
-
65
-
66
-
67
-
68
-
69
-
70
-
71
-
72
-
73
-
74
-
75
-
76
-
77
-
78
-
79
-
80
-
81
-
82
-
83
-
84
-
85
-
86
-
87
-
88
-
89
-
90
-
91
-
92
-
93
-
94
-
95
-
96
-
97
-
98
-
99
-
100
-
101
-
102
-
103
-
104
-
105
-
106
-
107
-
108
-
109
 |
 |