Garmin GPS III Plus Owner's Manual - Page 39
AutoLocate, Initialize Position, Set 2D Altitude
 |
UPC - 753759015817
View all Garmin GPS III Plus manuals
Add to My Manuals
Save this manual to your list of manuals |
Page 39 highlights
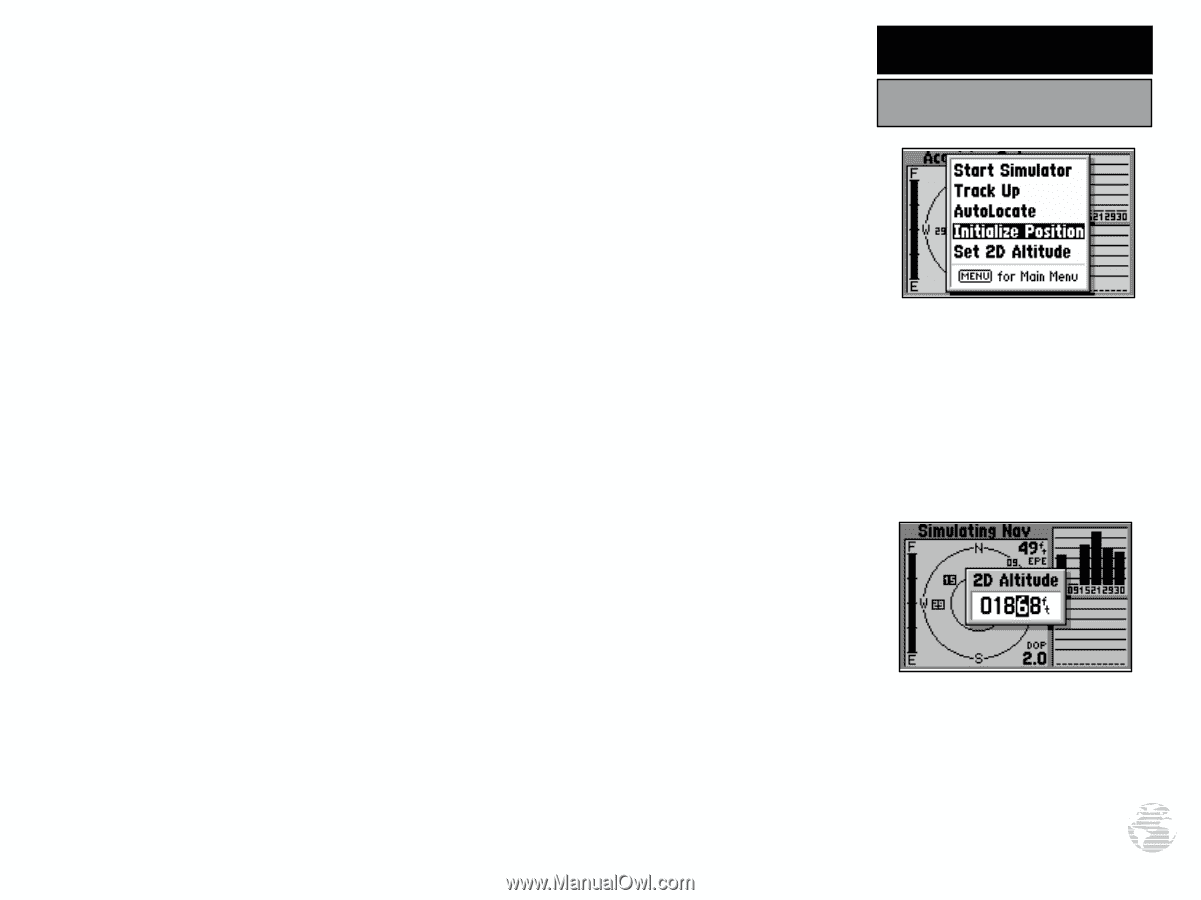
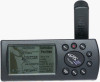
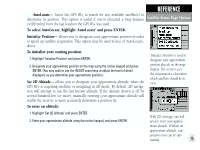
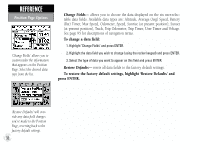
REFERENCE AutoLocate- forces the GPS III+ to search for any available satellite(s) to determine its position. This option is useful if you've relocated a long distance Satellite Status Page Options (>500 miles) from the last location the GPS III+ was used. To select AutoLocate, highlight 'AutoLocate' and press ENTER. Initialize Position- allows you to designate your approximate position in order to speed up satellite acquisition. This option may be used in lieu of 'AutoLocate', above. To initialize your starting position: 1. Highlight 'Initialize Position' and press ENTER. 2. Designate your approximate position on the map using the rocker keypad and press ENTER. (You may wish to use the IN/OUT zoom keys to adjust the level of detail displayed, as you determine your approximate position.) Set 2D Altitude- allows you to designate your approximate altitude, when the GPS III+ is acquiring satellites or navigating in 2D mode. By default, 2D navigation will attempt to use the last known altitude. If the altitude shown is off by several hundred feet (or more), manually entering your approximate altitude will enable the receiver to more accurately determine a position fix. 'Initialize Position' is used to designate your approximate position directly on the map display. The receiver uses this information to determine which satellites should be in view. To enter an altitude: 1. Highlight 'Set 2D Altitude' and press ENTER. 2. Enter your approximate altitude using the rocker keypad, and press ENTER. With 2D coverage, you will need to enter your approx- imate altitude. Without an approximate altitude, your position error can be sub- stantial. 29
-
 1
1 -
2
-
3
-
4
-
5
-
6
-
7
-
8
-
9
-
10
-
11
-
12
-
13
-
14
-
15
-
16
-
17
-
18
-
19
-
20
-
21
-
22
-
23
-
24
-
25
-
26
-
27
-
28
-
29
-
30
-
31
-
32
-
33
-
 34
34 -
 35
35 -
 36
36 -
 37
37 -
 38
38 -
 39
39 -
 40
40 -
 41
41 -
 42
42 -
 43
43 -
 44
44 -
45
-
46
-
47
-
48
-
49
-
50
-
51
-
52
-
53
-
54
-
55
-
56
-
57
-
58
-
59
-
60
-
61
-
62
-
63
-
64
-
65
-
66
-
67
-
68
-
69
-
70
-
71
-
72
-
73
-
74
-
75
-
76
-
77
-
78
-
79
-
80
-
81
-
82
-
83
-
84
-
85
-
86
-
87
-
88
-
89
-
90
-
91
-
92
-
93
-
94
-
95
-
96
-
97
-
98
-
99
-
100
-
101
-
102
-
103
-
104
-
105
-
106
-
107
-
108
-
109
-
110
-
111
-
112
-
113
-
114
 |
 |