Garmin GPS III Plus Owner's Manual - Page 68
activated, a TracBack route will lead you back to the oldest track log point stored
 |
UPC - 753759015817
View all Garmin GPS III Plus manuals
Add to My Manuals
Save this manual to your list of manuals |
Page 68 highlights
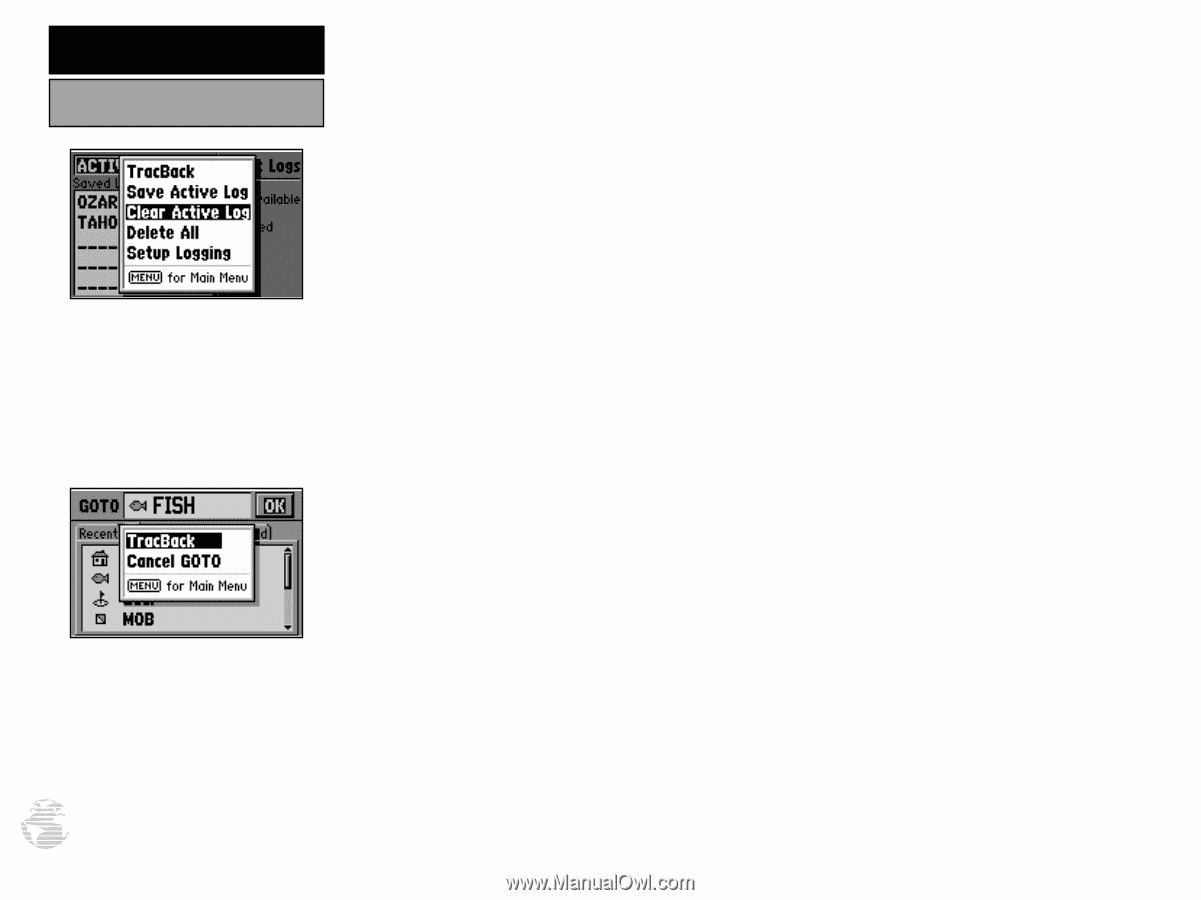
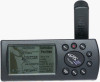
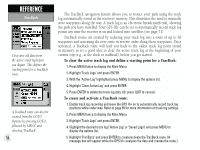
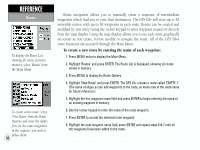
REFERENCE TracBack Clear any old data from the active track log before you depart. This defines the starting point for a TracBack route. A TracBack route can also be created from the GOTO Options by pressing GOTO, followed by MENU and selecting 'TracBack'. 58 The TracBack navigation feature allows you to retrace your path using the track log automatically stored in the receiver's memory. This eliminates the need to manually store waypoints along the way. A track log is an electronic breadcrumb trail, showing the path you have travelled. Your GPS III+ can be set to automatically record track log points any time the receiver is on and locked onto satellites (see page 71). TracBack routes are created by reducing your track log into a route of up to 30 waypoints and activating the new route in reverse order along those waypoints. Once activated, a TracBack route will lead you back to the oldest track log point stored in memory, so it's a good idea to clear the active track log at the beginning of your current trip (e.g., at the dock or trailhead), before you get started. To clear the active track log and define a starting point for a TracBack: 1. Press MENU twice to display the Main Menu. 2. Highlight 'Track Logs' and press ENTER. 3. With the 'Active Log' highlighted press MENU to display the options list. 4. Highlight 'Clear Active Log' and press ENTER. 5. Press ENTER to delete the track log data. (Or press QUIT to cancel.) To create and activate a TracBack route: 1. Enable track log recording and leave the GPS III+ on to automatically record track log positions while under way. Refer to page 69 for more information on track log settings. 2. Press MENU twice to display the Main Menu. 3. Highlight 'Track Logs' and press ENTER. 4. Highlight the desired track log ('Active Log' or 'Saved Logs') and press MENU to display the options list. 5. Highlight 'TracBack' and press ENTER to create/activate the TracBack route. (A message box will appear while the GPS III+ analyzes the data and creates the route.)
-
 1
1 -
2
-
3
-
4
-
5
-
6
-
7
-
8
-
9
-
10
-
11
-
12
-
13
-
14
-
15
-
16
-
17
-
18
-
19
-
20
-
21
-
22
-
23
-
24
-
25
-
26
-
27
-
28
-
29
-
30
-
31
-
32
-
33
-
34
-
35
-
36
-
37
-
38
-
39
-
40
-
41
-
42
-
43
-
44
-
45
-
46
-
47
-
48
-
49
-
50
-
51
-
52
-
53
-
54
-
55
-
56
-
57
-
58
-
59
-
60
-
61
-
62
-
 63
63 -
 64
64 -
 65
65 -
 66
66 -
 67
67 -
 68
68 -
 69
69 -
 70
70 -
 71
71 -
 72
72 -
 73
73 -
74
-
75
-
76
-
77
-
78
-
79
-
80
-
81
-
82
-
83
-
84
-
85
-
86
-
87
-
88
-
89
-
90
-
91
-
92
-
93
-
94
-
95
-
96
-
97
-
98
-
99
-
100
-
101
-
102
-
103
-
104
-
105
-
106
-
107
-
108
-
109
-
110
-
111
-
112
-
113
-
114
 |
 |