HP Officejet 6600 User Guide - Page 29
Clean the exterior, Clean the automatic document feeder, CAUTION, WARNING - scanner
 |
View all HP Officejet 6600 manuals
Add to My Manuals
Save this manual to your list of manuals |
Page 29 highlights
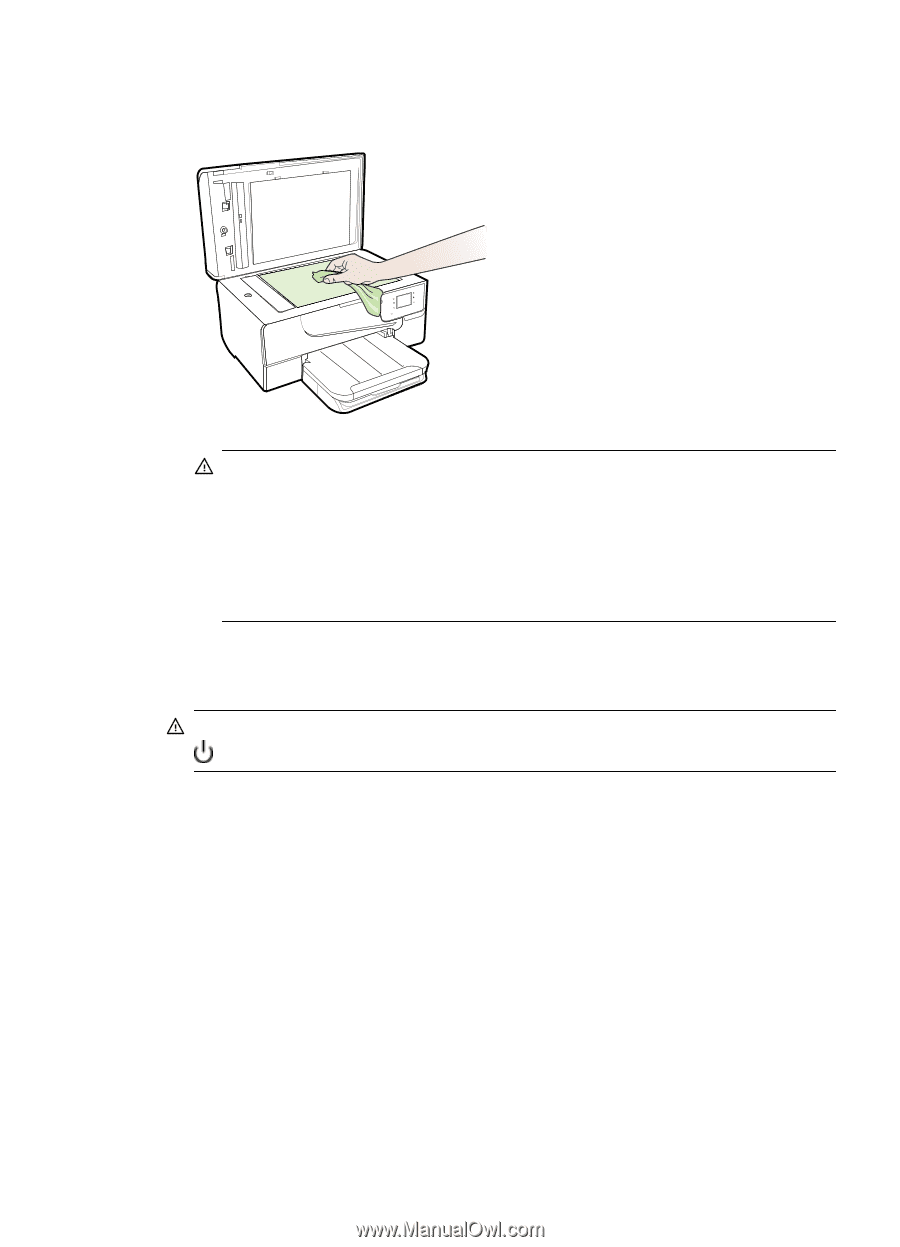
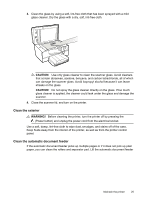
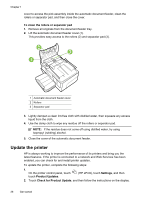
3. Clean the glass by using a soft, lint-free cloth that has been sprayed with a mild glass cleaner. Dry the glass with a dry, soft, lint-free cloth. CAUTION: Use only glass cleaner to clean the scanner glass. Avoid cleaners that contain abrasives, acetone, benzene, and carbon tetrachloride, all of which can damage the scanner glass. Avoid isopropyl alcohol because it can leave streaks on the glass. CAUTION: Do not spray the glass cleaner directly on the glass. If too much glass cleaner is applied, the cleaner could leak under the glass and damage the scanner. 4. Close the scanner lid, and turn on the printer. Clean the exterior WARNING! Before cleaning the printer, turn the printer off by pressing the (Power button) and unplug the power cord from the electrical socket. Use a soft, damp, lint-free cloth to wipe dust, smudges, and stains off of the case. Keep fluids away from the interior of the printer, as well as from the printer control panel. Clean the automatic document feeder If the automatic document feeder picks up multiple pages or if it does not pick up plain paper, you can clean the rollers and separator pad. Lift the automatic document feeder Maintain the printer 25
-
 1
1 -
2
-
3
-
4
-
5
-
6
-
7
-
8
-
9
-
10
-
11
-
12
-
13
-
14
-
15
-
16
-
17
-
18
-
19
-
20
-
21
-
22
-
23
-
 24
24 -
 25
25 -
 26
26 -
 27
27 -
 28
28 -
 29
29 -
 30
30 -
 31
31 -
 32
32 -
 33
33 -
 34
34 -
35
-
36
-
37
-
38
-
39
-
40
-
41
-
42
-
43
-
44
-
45
-
46
-
47
-
48
-
49
-
50
-
51
-
52
-
53
-
54
-
55
-
56
-
57
-
58
-
59
-
60
-
61
-
62
-
63
-
64
-
65
-
66
-
67
-
68
-
69
-
70
-
71
-
72
-
73
-
74
-
75
-
76
-
77
-
78
-
79
-
80
-
81
-
82
-
83
-
84
-
85
-
86
-
87
-
88
-
89
-
90
-
91
-
92
-
93
-
94
-
95
-
96
-
97
-
98
-
99
-
100
-
101
-
102
-
103
-
104
-
105
-
106
-
107
-
108
-
109
-
110
-
111
-
112
-
113
-
114
-
115
-
116
-
117
-
118
-
119
-
120
-
121
-
122
-
123
-
124
-
125
-
126
-
127
-
128
-
129
-
130
-
131
-
132
-
133
-
134
-
135
-
136
-
137
-
138
-
139
-
140
-
141
-
142
-
143
-
144
-
145
-
146
-
147
-
148
-
149
-
150
-
151
-
152
-
153
-
154
-
155
-
156
-
157
-
158
-
159
-
160
-
161
-
162
-
163
-
164
-
165
-
166
-
167
-
168
-
169
-
170
-
171
-
172
-
173
-
174
-
175
-
176
-
177
-
178
-
179
-
180
-
181
-
182
-
183
-
184
-
185
-
186
-
187
-
188
-
189
-
190
-
191
-
192
-
193
-
194
-
195
-
196
-
197
-
198
-
199
-
200
-
201
-
202
-
203
-
204
-
205
-
206
-
207
-
208
-
209
-
210
-
211
-
212
-
213
-
214
-
215
-
216
-
217
-
218
-
219
-
220
 |
 |