HP Rp2430 rp24xx A180 User Manual - Page 93
Disk Drive and Bracket Removal, Remove the Bracket Containing the Disk Drive(s), Remove the Disk
 |
View all HP Rp2430 manuals
Add to My Manuals
Save this manual to your list of manuals |
Page 93 highlights
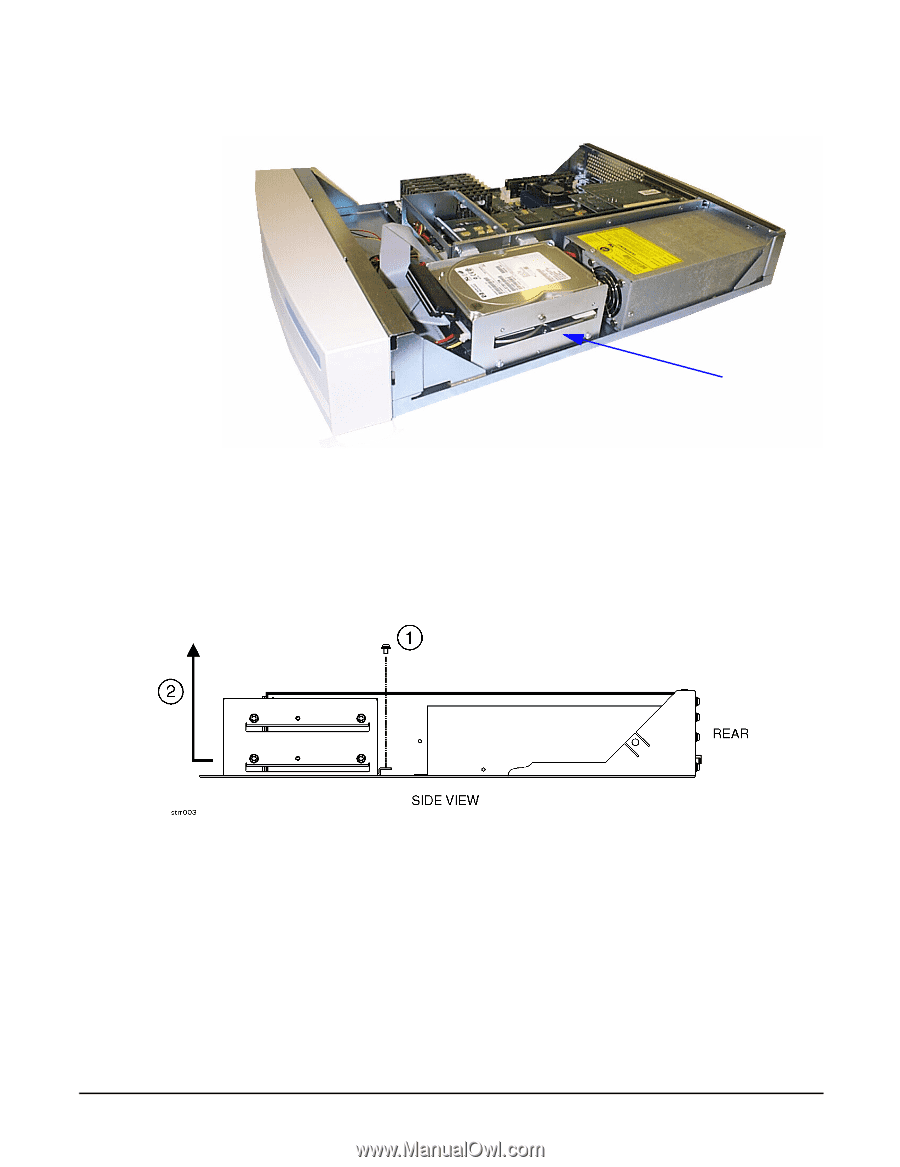
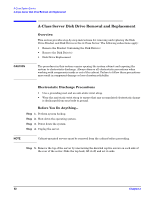
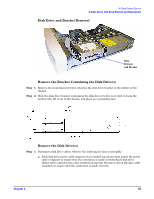
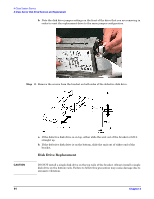
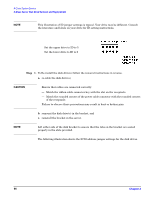
A-Class System Service A-Class Server Disk Drive Removal and Replacement Disk Drive and Bracket Removal Disk Drive(s) and Bracket Remove the Bracket Containing the Disk Drive(s) Step 1. Remove the mounting screw that attaches the disk drive bracket to the bottom of the chassis. Step 2. Slide the disk drive bracket (containing the disk drives) to the rear until it clears the anchor tabs, lift it out of the chassis, and place on a grounding mat. Remove the Disk Drive(s) Step 1. Disconnect disk drive cables. Observe the following for later reassembly: a. Each disk drive power cable connector has rounded top corners that match the power cable receptacle to ensure that the connection is made correctly.Each disk drive ribbon cable connector has a key centered on top that fits into a slot on the data cable receptacle to ensure that the connection is made correctly. Chapter 3 93
-
 1
1 -
2
-
3
-
4
-
5
-
6
-
7
-
8
-
9
-
10
-
11
-
12
-
13
-
14
-
15
-
16
-
17
-
18
-
19
-
20
-
21
-
22
-
23
-
24
-
25
-
26
-
27
-
28
-
29
-
30
-
31
-
32
-
33
-
34
-
35
-
36
-
37
-
38
-
39
-
40
-
41
-
42
-
43
-
44
-
45
-
46
-
47
-
48
-
49
-
50
-
51
-
52
-
53
-
54
-
55
-
56
-
57
-
58
-
59
-
60
-
61
-
62
-
63
-
64
-
65
-
66
-
67
-
68
-
69
-
70
-
71
-
72
-
73
-
74
-
75
-
76
-
77
-
78
-
79
-
80
-
81
-
82
-
83
-
84
-
85
-
86
-
87
-
 88
88 -
 89
89 -
 90
90 -
 91
91 -
 92
92 -
 93
93 -
 94
94 -
 95
95 -
 96
96 -
 97
97 -
 98
98 -
99
-
100
-
101
-
102
-
103
-
104
-
105
-
106
 |
 |