HP Rp2430 rp24xx A180 User Manual - Page 99
I/O Card Replacement
 |
View all HP Rp2430 manuals
Add to My Manuals
Save this manual to your list of manuals |
Page 99 highlights
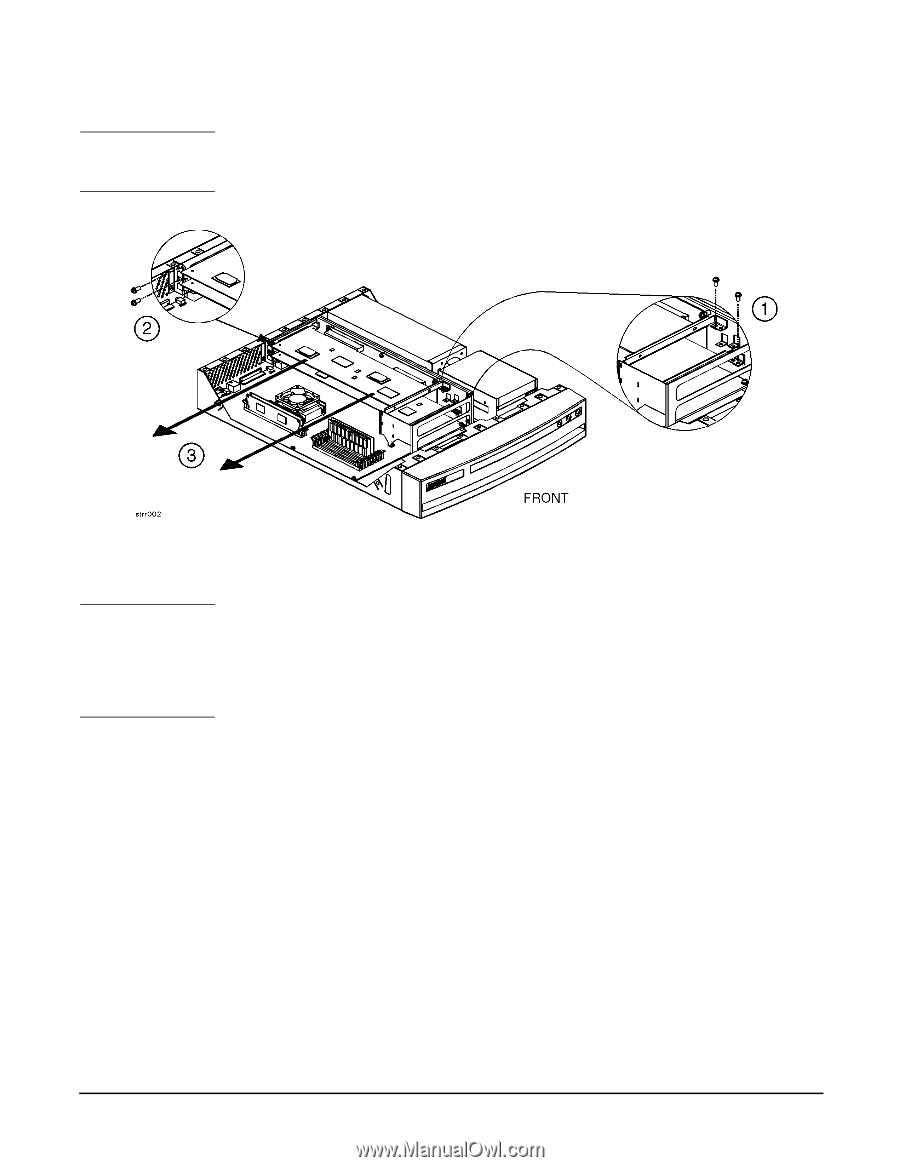
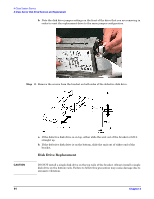
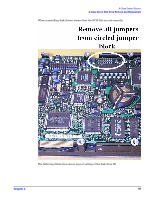
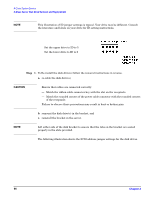
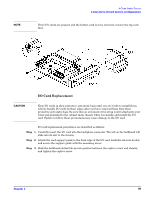
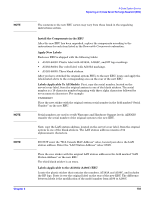
NOTE A-Class System Service A-Class Server I/O Card Removal and Replacement If two I/O cards are present and the bottom card is to be removed, remove the top card first. I/O Card Replacement CAUTION Keep I/O cards in their protective anti-static bags until you are ready to install them. Always handle I/O cards by their edges after you have removed them from their protective anti-static bags. Be sure that an anti-static wrist strap is still attached to your wrist and grounded to the cabinet main chassis when you handle and install the I/O card. Failure to follow these precautions may cause damage to the I/O card. I/O card replacement procedures are described as follows: Step 1. Carefully insert the I/O card into the backplane connector. The tab on the bulkhead will slide into its slot in the chassis. Step 2. Attach the card support guide to the front edge of the I/O card, hook the tab into its slot, and secure the support guide with the mounting screw. Step 3. Slide the bulkhead slotted tab up into position between the captive screw and chassis, and tighten the captive screw. Chapter 3 99
-
 1
1 -
2
-
3
-
4
-
5
-
6
-
7
-
8
-
9
-
10
-
11
-
12
-
13
-
14
-
15
-
16
-
17
-
18
-
19
-
20
-
21
-
22
-
23
-
24
-
25
-
26
-
27
-
28
-
29
-
30
-
31
-
32
-
33
-
34
-
35
-
36
-
37
-
38
-
39
-
40
-
41
-
42
-
43
-
44
-
45
-
46
-
47
-
48
-
49
-
50
-
51
-
52
-
53
-
54
-
55
-
56
-
57
-
58
-
59
-
60
-
61
-
62
-
63
-
64
-
65
-
66
-
67
-
68
-
69
-
70
-
71
-
72
-
73
-
74
-
75
-
76
-
77
-
78
-
79
-
80
-
81
-
82
-
83
-
84
-
85
-
86
-
87
-
88
-
89
-
90
-
91
-
92
-
93
-
 94
94 -
 95
95 -
 96
96 -
 97
97 -
 98
98 -
 99
99 -
 100
100 -
 101
101 -
 102
102 -
 103
103 -
 104
104 -
105
-
106
 |
 |