HP Rp2430 rp24xx A180 User Manual - Page 94
Disk Drive Replacement, Step 2.
 |
View all HP Rp2430 manuals
Add to My Manuals
Save this manual to your list of manuals |
Page 94 highlights
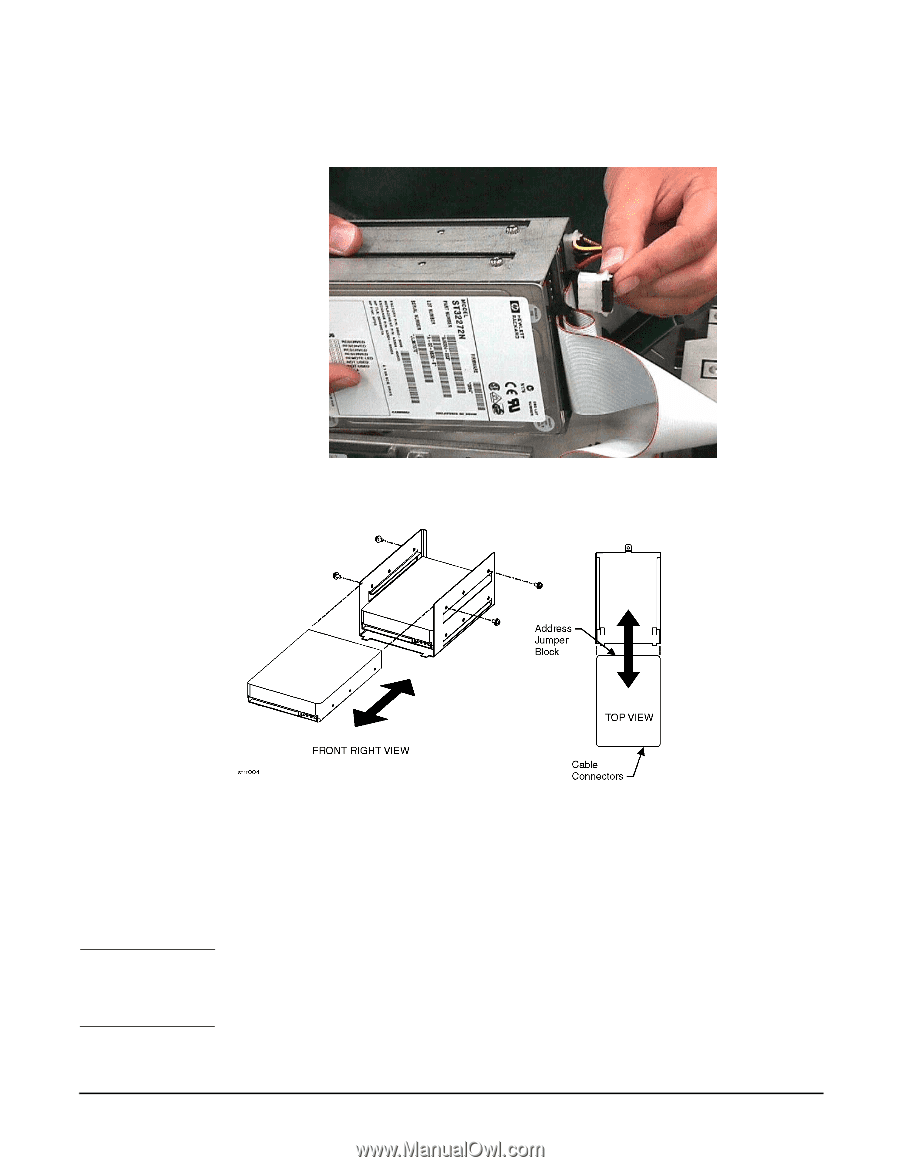
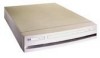
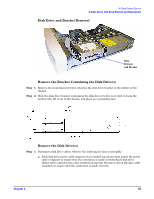
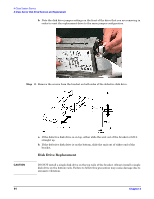
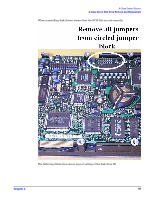
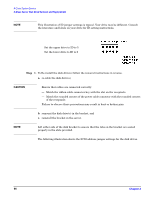
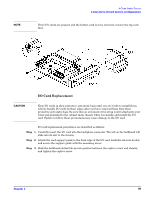
A-Class System Service A-Class Server Disk Drive Removal and Replacement b. Note the disk drive jumper settings on the front of the drive that you are removing in order to reset the replacement drive to the same jumper configuration. Step 2. Remove the screws from the bracket on both sides of the defective disk drive. CAUTION a. If the defective disk drive is on top, either slide the unit out of the bracket or lift it straight up. b. If the defective disk drive is on the bottom, slide the unit out of either end of the bracket. Disk Drive Replacement DO NOT install a single disk drive on the top rails of the bracket. Always install a single disk drive on the bottom rails. Failure to follow this precaution may cause damage due to excessive vibration. 94 Chapter 3
-
 1
1 -
2
-
3
-
4
-
5
-
6
-
7
-
8
-
9
-
10
-
11
-
12
-
13
-
14
-
15
-
16
-
17
-
18
-
19
-
20
-
21
-
22
-
23
-
24
-
25
-
26
-
27
-
28
-
29
-
30
-
31
-
32
-
33
-
34
-
35
-
36
-
37
-
38
-
39
-
40
-
41
-
42
-
43
-
44
-
45
-
46
-
47
-
48
-
49
-
50
-
51
-
52
-
53
-
54
-
55
-
56
-
57
-
58
-
59
-
60
-
61
-
62
-
63
-
64
-
65
-
66
-
67
-
68
-
69
-
70
-
71
-
72
-
73
-
74
-
75
-
76
-
77
-
78
-
79
-
80
-
81
-
82
-
83
-
84
-
85
-
86
-
87
-
88
-
 89
89 -
 90
90 -
 91
91 -
 92
92 -
 93
93 -
 94
94 -
 95
95 -
 96
96 -
 97
97 -
 98
98 -
 99
99 -
100
-
101
-
102
-
103
-
104
-
105
-
106
 |
 |