Lenovo ThinkPad 380ED TP 380Z User's Reference that was provided with the syst - Page 67
Turn the computer back to its original position., the AC Adapter to the computer; then power on
 |
View all Lenovo ThinkPad 380ED manuals
Add to My Manuals
Save this manual to your list of manuals |
Page 67 highlights
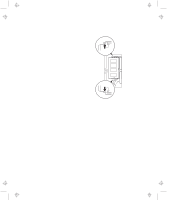
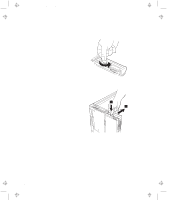
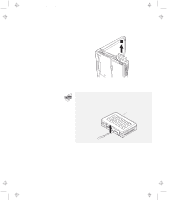
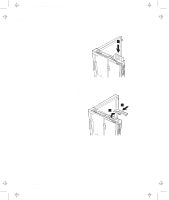
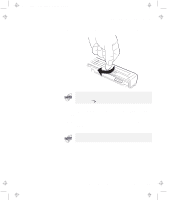
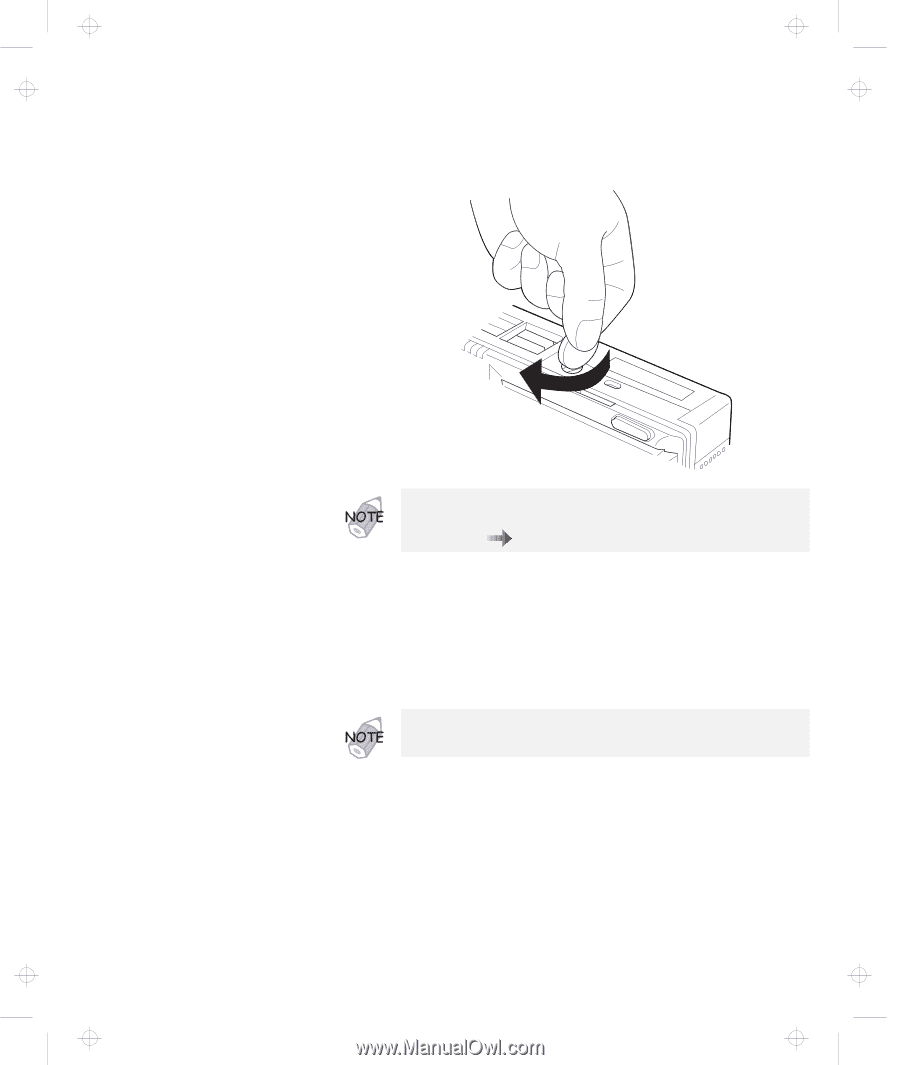
Title: C79EPMST CreationDate: 06/22/98 12:00:09 Upgrading the Hard Disk Drive 8 Reinstall the screw. You have finished replacing the hard disk drive. You can replace the coin screw with a security screw to prevent the hard disk drive from being removed easily. For more information "Using the Security Screw" on page 89. 9 Put the battery pack into your computer. (Refer to page 34.) 10 Turn the computer back to its original position. Connect the AC Adapter to the computer; then power on the computer. After removing the original hard disk drive, store it in the carrying case that contained the replacement drive. Chapter 2. Extending the Features of Your Computer 51
-
 1
1 -
2
-
3
-
4
-
5
-
6
-
7
-
8
-
9
-
10
-
11
-
12
-
13
-
14
-
15
-
16
-
17
-
18
-
19
-
20
-
21
-
22
-
23
-
24
-
25
-
26
-
27
-
28
-
29
-
30
-
31
-
32
-
33
-
34
-
35
-
36
-
37
-
38
-
39
-
40
-
41
-
42
-
43
-
44
-
45
-
46
-
47
-
48
-
49
-
50
-
51
-
52
-
53
-
54
-
55
-
56
-
57
-
58
-
59
-
60
-
61
-
 62
62 -
 63
63 -
 64
64 -
 65
65 -
 66
66 -
 67
67 -
 68
68 -
 69
69 -
 70
70 -
 71
71 -
 72
72 -
73
-
74
-
75
-
76
-
77
-
78
-
79
-
80
-
81
-
82
-
83
-
84
-
85
-
86
-
87
-
88
-
89
-
90
-
91
-
92
-
93
-
94
-
95
-
96
-
97
-
98
-
99
-
100
-
101
-
102
-
103
-
104
-
105
-
106
-
107
-
108
-
109
-
110
-
111
-
112
-
113
-
114
-
115
-
116
-
117
-
118
-
119
-
120
-
121
-
122
-
123
-
124
-
125
-
126
-
127
-
128
-
129
-
130
-
131
-
132
-
133
-
134
-
135
-
136
-
137
-
138
-
139
-
140
-
141
-
142
-
143
-
144
-
145
-
146
-
147
-
148
-
149
-
150
-
151
-
152
-
153
-
154
-
155
-
156
-
157
-
158
-
159
-
160
-
161
-
162
-
163
-
164
-
165
-
166
-
167
-
168
-
169
-
170
-
171
-
172
-
173
-
174
-
175
-
176
-
177
-
178
-
179
-
180
-
181
-
182
-
183
-
184
-
185
-
186
-
187
-
188
-
189
-
190
-
191
-
192
-
193
 |
 |
Upgrading the Hard Disk Drive
8
Reinstall the screw.
You have finished replacing the hard
disk drive.
9
Put the battery pack into your computer.
(Refer to page
34.)
10
Turn the computer back to its original position.
Connect
the AC Adapter to the computer; then power on the
computer.
You can replace the coin screw with a security screw to prevent
the hard disk drive from being removed easily.
For more
information
“Using the Security Screw” on page
89.
After removing the original hard disk drive, store it in the carrying
case that contained the replacement drive.
Chapter 2.
Extending the Features of Your Computer
51
Title: C79EPMST CreationDate: 06/22/98 12:00:09