Oki PRO510DW Pro510DW Printing Guide - Page 62
Rinting, Overlays
 |
View all Oki PRO510DW manuals
Add to My Manuals
Save this manual to your list of manuals |
Page 62 highlights
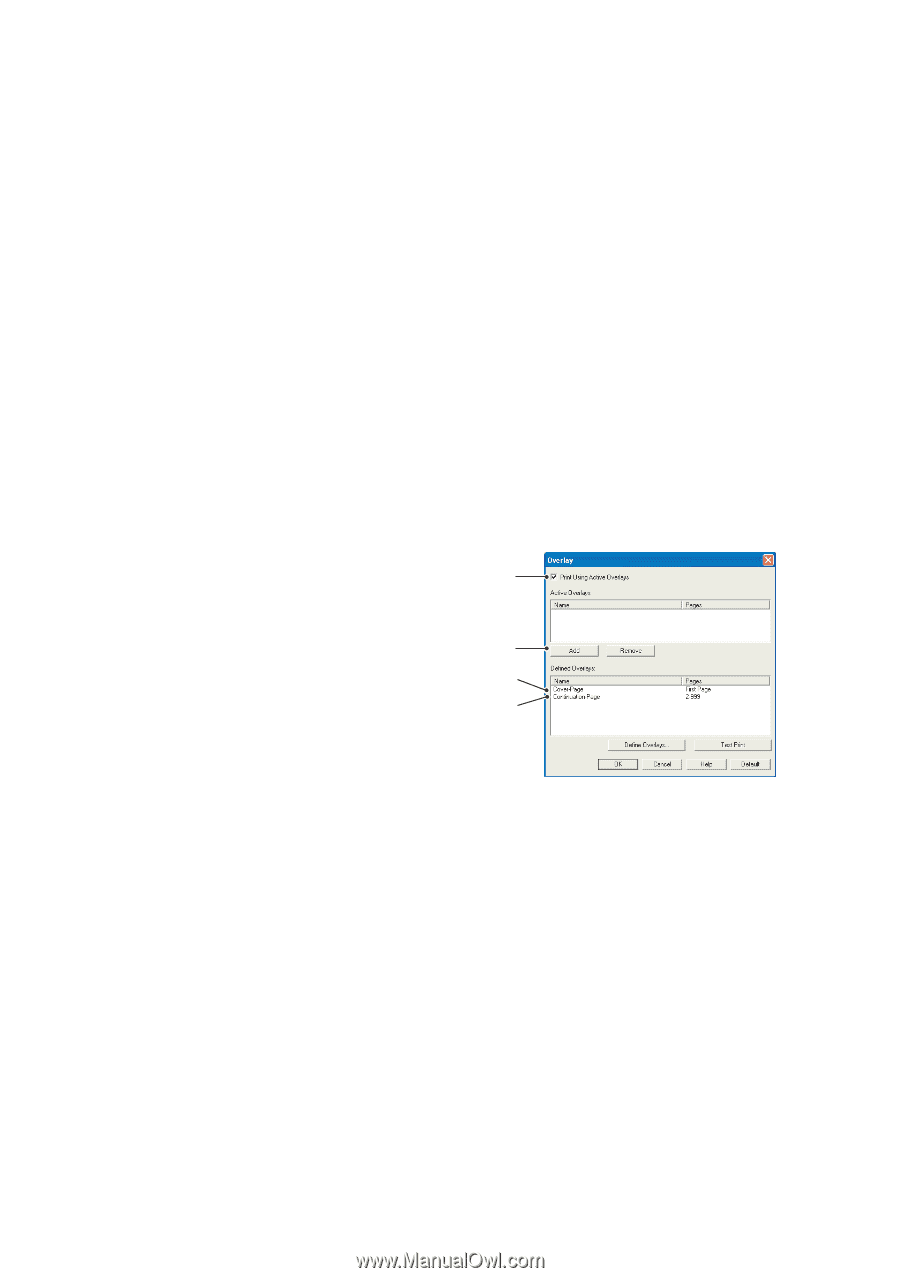
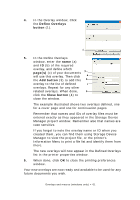
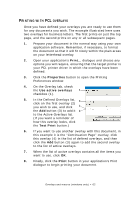
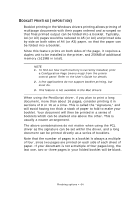
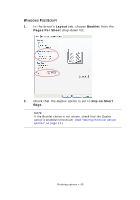
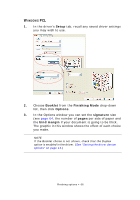
PRINTING WITH PCL OVERLAYS Once you have defined your overlays you are ready to use them for any documents you wish. The example illustrated here uses two overlays for business letters. The first prints on just the top page, and the second prints on any or all subsequent pages. 1. Prepare your document in the normal way using your own application software. Remember, if necessary, to format the document so that it will fit nicely within the plain areas on your letterhead overlay. 2. Open your application's Print... dialogue and choose any options you will require, ensuring that the target printer is your PCL printer driver in which the overlays have been defined. 3. Click the Properties button to open the Printing Preferences window. 4. On the Overlay tab, check the Use active overlays 1 checkbox (1). 5. In the Defined Overlays list, 3 click on the first overlay (2) you wish to use, and click 2 the Add button (3) to add it 4 to the Active Overlays list. (If you want a reminder of how this overlay looks, click the Test Print button.) 6. If you want to use another overlay with this document, in this example it is the "Continuation Page" overlay, click this overlay (4) in the list of defined overlays, and then click the Add button (3) again to add the second overlay to the list of active overlays. 7. When the list of active overlays contains all the items you want to use, click OK. 8. Finally, click the Print button in your application's Print dialogue to begin printing your document. Overlays and macros (windows only) > 62
-
 1
1 -
2
-
3
-
4
-
5
-
6
-
7
-
8
-
9
-
10
-
11
-
12
-
13
-
14
-
15
-
16
-
17
-
18
-
19
-
20
-
21
-
22
-
23
-
24
-
25
-
26
-
27
-
28
-
29
-
30
-
31
-
32
-
33
-
34
-
35
-
36
-
37
-
38
-
39
-
40
-
41
-
42
-
43
-
44
-
45
-
46
-
47
-
48
-
49
-
50
-
51
-
52
-
53
-
54
-
55
-
56
-
 57
57 -
 58
58 -
 59
59 -
 60
60 -
 61
61 -
 62
62 -
 63
63 -
 64
64 -
 65
65 -
 66
66 -
 67
67 -
68
-
69
-
70
-
71
-
72
-
73
-
74
-
75
-
76
-
77
-
78
-
79
-
80
-
81
-
82
-
83
-
84
-
85
-
86
-
87
-
88
-
89
-
90
-
91
-
92
-
93
-
94
-
95
-
96
-
97
-
98
-
99
-
100
-
101
 |
 |