Ricoh R4 User Guide - Page 71
Changing the Light Metering PHOTOMETRY
 |
View all Ricoh R4 manuals
Add to My Manuals
Save this manual to your list of manuals |
Page 71 highlights
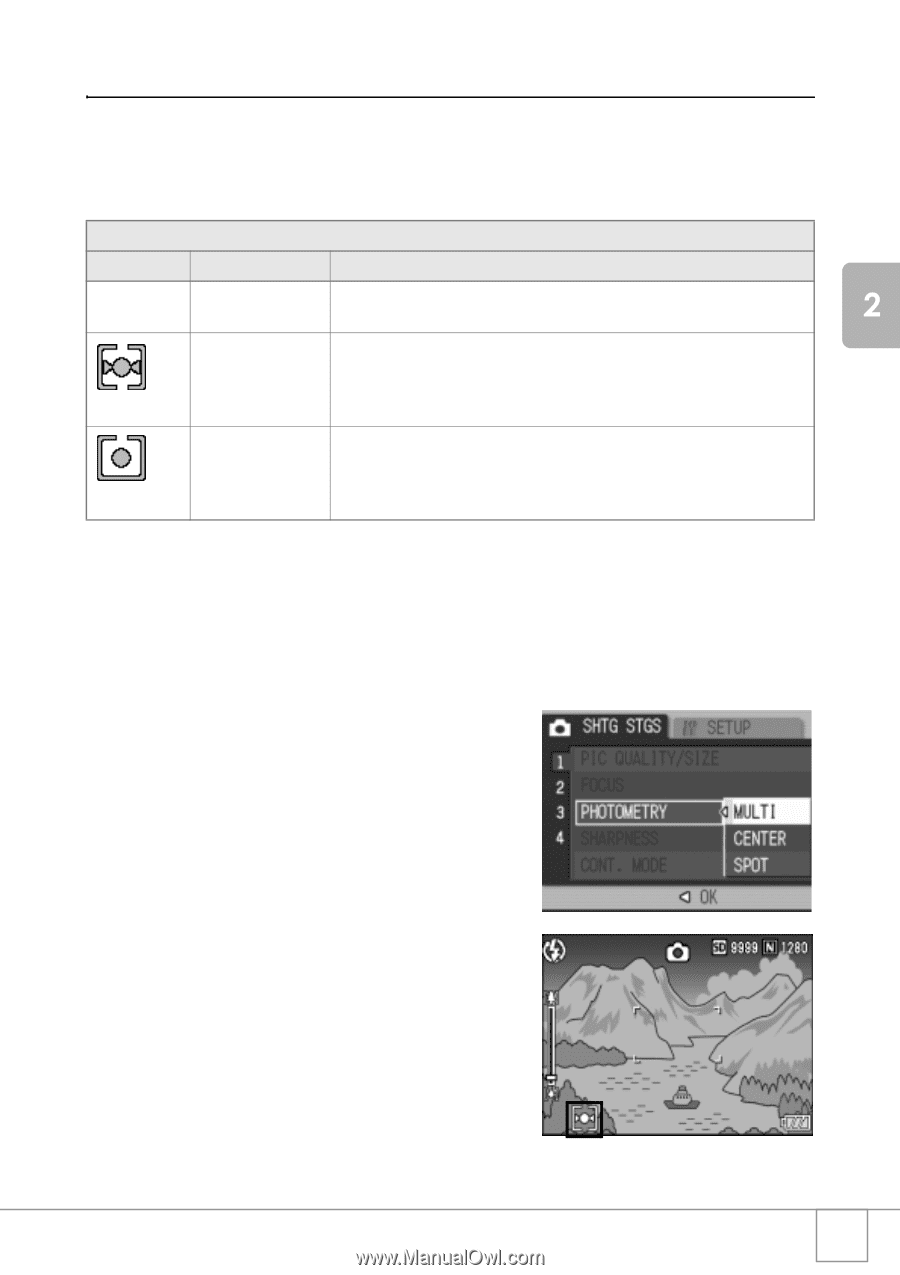
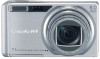
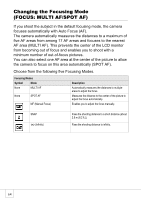
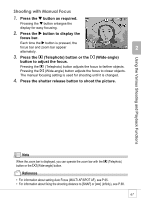
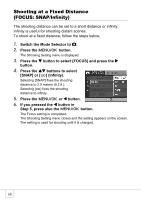
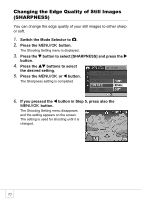
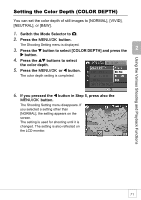
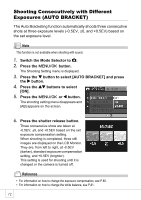
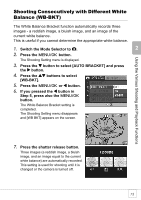
Using the Various Shooting and Playback Functions Changing the Light Metering (PHOTOMETRY) You can change the metering method (the range to use for metering) used to determine the exposure value. There are three Light Metering Modes: MULTI, CENTER, and SPOT. Light Metering Modes Symbol Mode Description None MULTI The entire shooting range is divided into 256 partitions, and each is metered to determine the overall exposure value. CENTER The entire image is metered, with emphasis on the center, to determine the exposure value. Use this when the brightness of the center and surroundings are different. SPOT Only the center of the image is metered to determine the exposure value. Use this setting when you want to use the brightness at the center. This is useful if there is a marked difference in contrast or backlighting. 1. Switch the Mode Selector to 5. 2. Press the C/D button. The Shooting Setting menu is displayed. 3. Press the " button to select [PHOTOMETRY] and press the $ button. 4. Press the !" buttons to select the desired setting. 5. Press the C/D or # button. 6. If you pressed the # button in Step 5, press also the C/D button. The Shooting Setting menu disappears and the setting appears on the screen. The setting is used for shooting until it is changed. 69
-
 1
1 -
2
-
3
-
4
-
5
-
6
-
7
-
8
-
9
-
10
-
11
-
12
-
13
-
14
-
15
-
16
-
17
-
18
-
19
-
20
-
21
-
22
-
23
-
24
-
25
-
26
-
27
-
28
-
29
-
30
-
31
-
32
-
33
-
34
-
35
-
36
-
37
-
38
-
39
-
40
-
41
-
42
-
43
-
44
-
45
-
46
-
47
-
48
-
49
-
50
-
51
-
52
-
53
-
54
-
55
-
56
-
57
-
58
-
59
-
60
-
61
-
62
-
63
-
64
-
65
-
 66
66 -
 67
67 -
 68
68 -
 69
69 -
 70
70 -
 71
71 -
 72
72 -
 73
73 -
 74
74 -
 75
75 -
 76
76 -
77
-
78
-
79
-
80
-
81
-
82
-
83
-
84
-
85
-
86
-
87
-
88
-
89
-
90
-
91
-
92
-
93
-
94
-
95
-
96
-
97
-
98
-
99
-
100
-
101
-
102
-
103
-
104
-
105
-
106
-
107
-
108
-
109
-
110
-
111
-
112
-
113
-
114
-
115
-
116
-
117
-
118
-
119
-
120
-
121
-
122
-
123
-
124
-
125
-
126
-
127
-
128
-
129
-
130
-
131
-
132
-
133
-
134
-
135
-
136
-
137
-
138
-
139
-
140
-
141
-
142
-
143
-
144
-
145
-
146
-
147
-
148
-
149
-
150
-
151
-
152
-
153
-
154
-
155
-
156
-
157
-
158
-
159
-
160
-
161
-
162
-
163
-
164
-
165
-
166
-
167
-
168
-
169
-
170
-
171
-
172
-
173
-
174
-
175
-
176
-
177
-
178
-
179
-
180
-
181
-
182
-
183
-
184
-
185
-
186
-
187
-
188
 |
 |