Sony DCR-PC9 Operating Instructions - Page 150
Viewing images using your computer, Viewing images
 |
View all Sony DCR-PC9 manuals
Add to My Manuals
Save this manual to your list of manuals |
Page 150 highlights
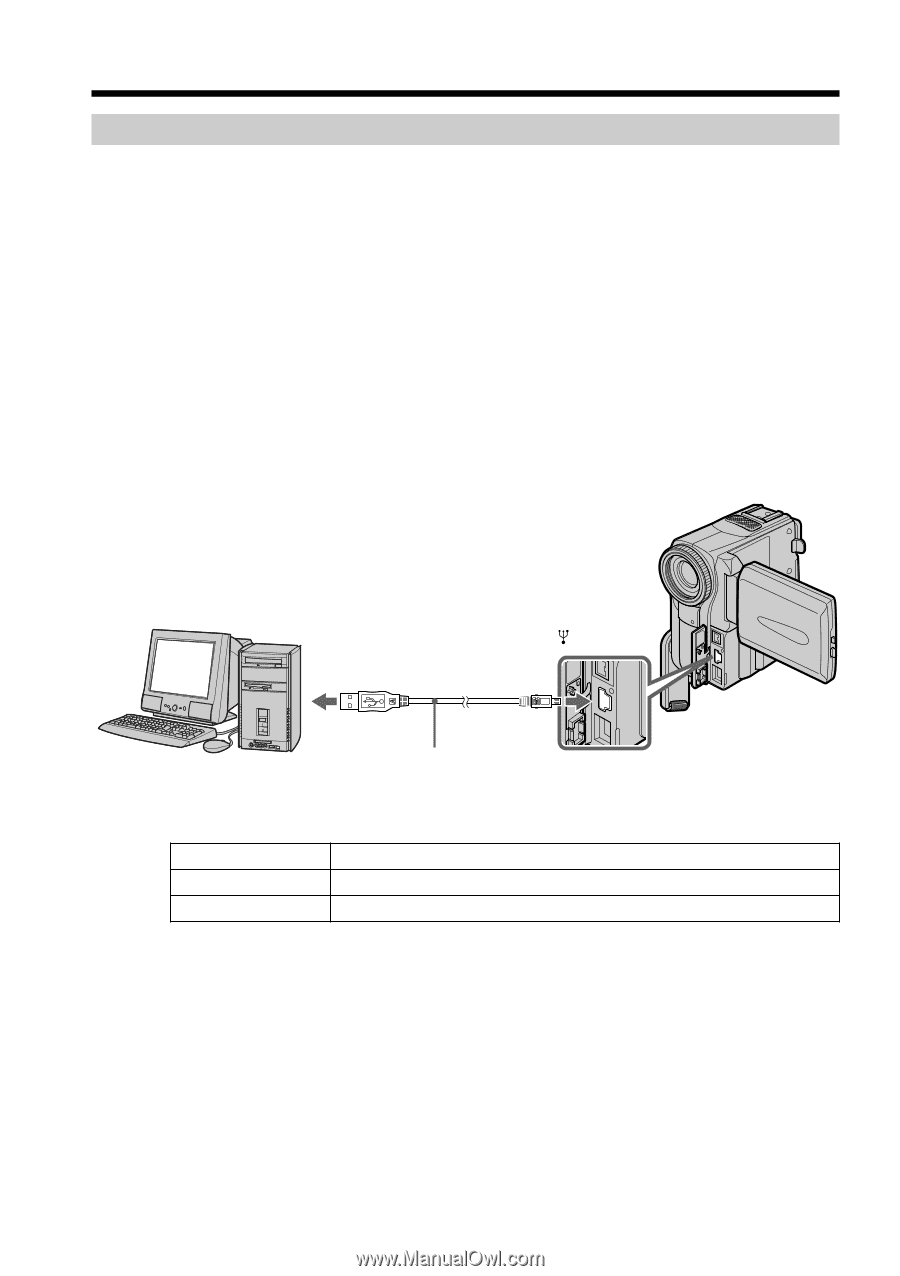
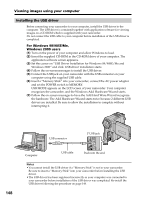
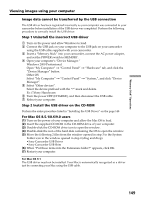
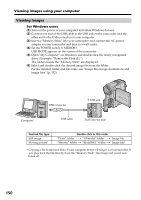
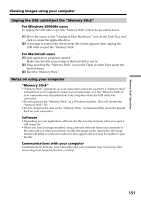
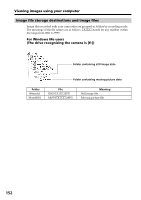
Viewing images using your computer Viewing images For Windows users (1) Turn on the power of your computer and allow Windows to load. (2) Connect one end of the USB cable to the USB jack on the camcorder and the other end to the USB connector on your computer. (3) Insert a "Memory Stick" into your camcorder, and connect the AC power adaptor to your camcorder and then to a wall outlet. (4) Set the POWER switch to MEMORY. USB MODE appears on the screen of the camcorder. (5) Open "My Computer" on Windows and double click the newly recognized drive. (Example: "Removable Disk (E:)") The folders inside the "Memory Stick" are displayed. (6) Select and double-click the desired image file from the folder. For the detailed folder and file name, see "Image file storage destinations and image files" (p. 152). USB connector USB jack Computer USB cable Push into the end Desired file type Still image Moving picture* Double-click in this order "Dcim" folder t "100msdcf" folder t Image file "Mssony" folder t "Moml0001" folder t Image file* * Copying a file to the hard disk of your computer before viewing it is recommended. If you play back the file directly from the "Memory Stick", the image and sound may break off. 150
-
 1
1 -
2
-
3
-
4
-
5
-
6
-
7
-
8
-
9
-
10
-
11
-
12
-
13
-
14
-
15
-
16
-
17
-
18
-
19
-
20
-
21
-
22
-
23
-
24
-
25
-
26
-
27
-
28
-
29
-
30
-
31
-
32
-
33
-
34
-
35
-
36
-
37
-
38
-
39
-
40
-
41
-
42
-
43
-
44
-
45
-
46
-
47
-
48
-
49
-
50
-
51
-
52
-
53
-
54
-
55
-
56
-
57
-
58
-
59
-
60
-
61
-
62
-
63
-
64
-
65
-
66
-
67
-
68
-
69
-
70
-
71
-
72
-
73
-
74
-
75
-
76
-
77
-
78
-
79
-
80
-
81
-
82
-
83
-
84
-
85
-
86
-
87
-
88
-
89
-
90
-
91
-
92
-
93
-
94
-
95
-
96
-
97
-
98
-
99
-
100
-
101
-
102
-
103
-
104
-
105
-
106
-
107
-
108
-
109
-
110
-
111
-
112
-
113
-
114
-
115
-
116
-
117
-
118
-
119
-
120
-
121
-
122
-
123
-
124
-
125
-
126
-
127
-
128
-
129
-
130
-
131
-
132
-
133
-
134
-
135
-
136
-
137
-
138
-
139
-
140
-
141
-
142
-
143
-
144
-
 145
145 -
 146
146 -
 147
147 -
 148
148 -
 149
149 -
 150
150 -
 151
151 -
 152
152 -
 153
153 -
 154
154 -
 155
155 -
156
-
157
-
158
-
159
-
160
-
161
-
162
-
163
-
164
-
165
-
166
-
167
-
168
-
169
-
170
-
171
-
172
-
173
-
174
-
175
-
176
-
177
-
178
-
179
-
180
-
181
-
182
-
183
-
184
-
185
-
186
-
187
-
188
-
189
-
190
-
191
-
192
 |
 |