Sony DCR-PC9 Operating Instructions - Page 63
Using the viewfinder
 |
View all Sony DCR-PC9 manuals
Add to My Manuals
Save this manual to your list of manuals |
Page 63 highlights
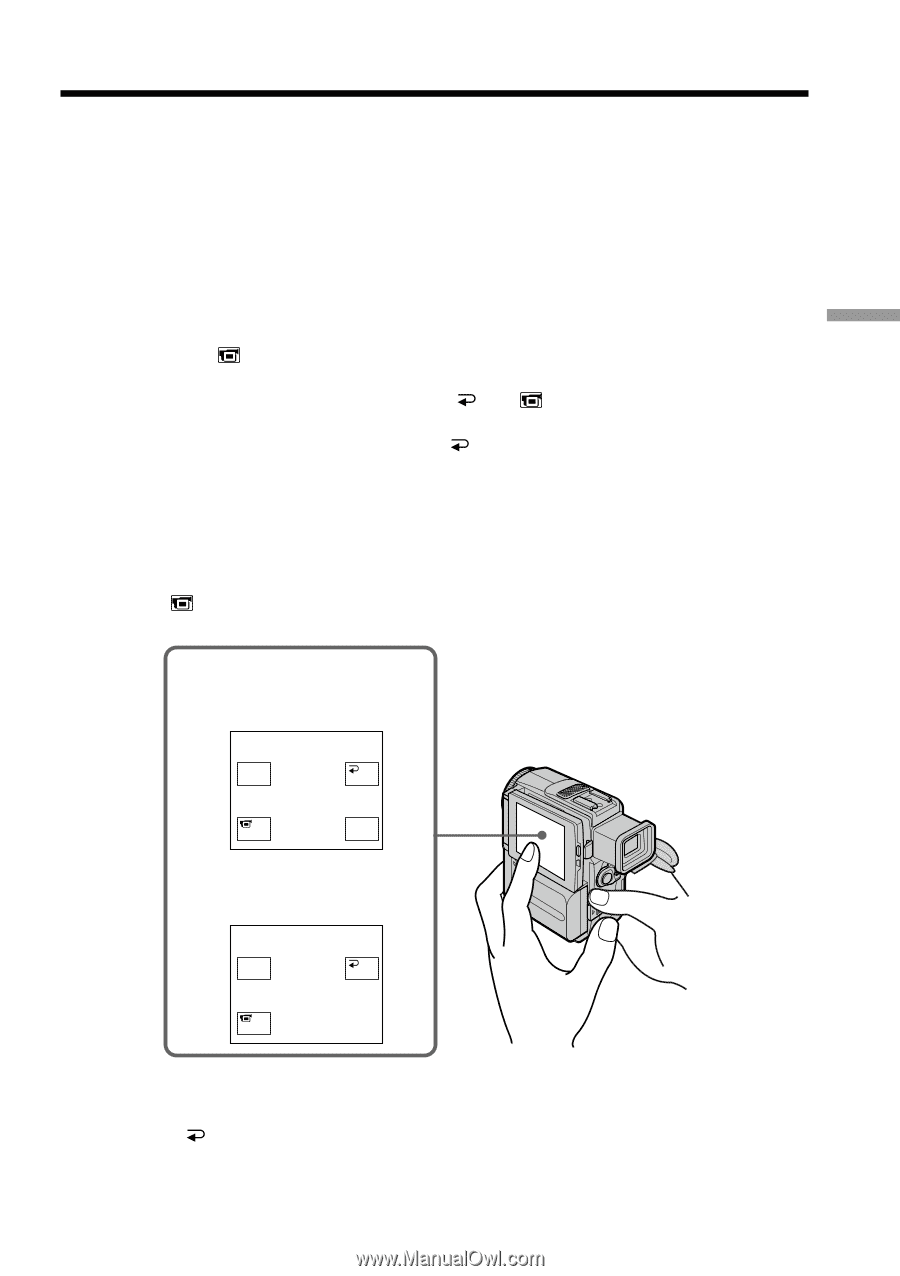
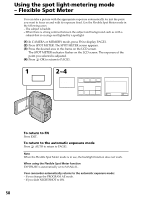
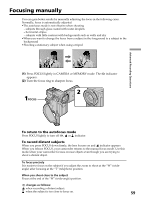
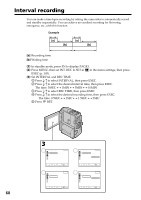
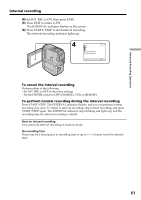
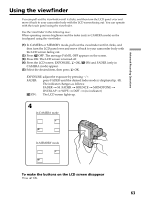
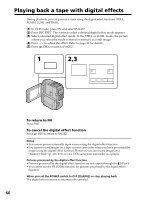
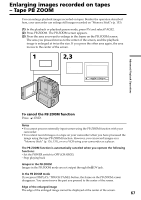
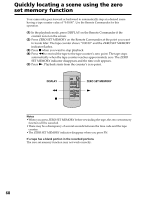
Advanced Recording Operations Using the viewfinder You can pull out the viewfinder until it clicks, and then turn the LCD panel over and move it back to your camcorder body with the LCD screen facing out. You can operate with the touch panel using the viewfinder. Use the viewfinder in the following case: When operating camera brightness and the fader (only in CAMERA mode) on the touchpanel using the viewfinder (1) In CAMERA or MEMORY mode, pull out the viewfinder until it clicks, and then turn the LCD panel over and move it back to your camcorder body with the LCD screen facing out. (2) Press OFF. The message PANEL OFF appears on the screen. (3) Press OK. The LCD screen is turned off. (4) Press the LCD screen. EXPOSURE, OK, ON and FADER (only in CAMERA mode) appear. (5) Select the desired item, then press OK. EXPOSURE: adjust the exposure by pressing -/+. FADER: press FADER until the desired fader mode is displayed (p. 45). The indicator changes as follows: FADER t M. FADER t BOUNCE t MONOTONE t OVERLAP t WIPE t DOT t (no indicator) ON: The LCD screen lights up. 4 In CAMERA mode EXPO- SURE ON OK FADER In MEMORY mode EXPO- OK SURE ON To make the buttons on the LCD screen disappear Press OK. 63
-
 1
1 -
2
-
3
-
4
-
5
-
6
-
7
-
8
-
9
-
10
-
11
-
12
-
13
-
14
-
15
-
16
-
17
-
18
-
19
-
20
-
21
-
22
-
23
-
24
-
25
-
26
-
27
-
28
-
29
-
30
-
31
-
32
-
33
-
34
-
35
-
36
-
37
-
38
-
39
-
40
-
41
-
42
-
43
-
44
-
45
-
46
-
47
-
48
-
49
-
50
-
51
-
52
-
53
-
54
-
55
-
56
-
57
-
 58
58 -
 59
59 -
 60
60 -
 61
61 -
 62
62 -
 63
63 -
 64
64 -
 65
65 -
 66
66 -
 67
67 -
 68
68 -
69
-
70
-
71
-
72
-
73
-
74
-
75
-
76
-
77
-
78
-
79
-
80
-
81
-
82
-
83
-
84
-
85
-
86
-
87
-
88
-
89
-
90
-
91
-
92
-
93
-
94
-
95
-
96
-
97
-
98
-
99
-
100
-
101
-
102
-
103
-
104
-
105
-
106
-
107
-
108
-
109
-
110
-
111
-
112
-
113
-
114
-
115
-
116
-
117
-
118
-
119
-
120
-
121
-
122
-
123
-
124
-
125
-
126
-
127
-
128
-
129
-
130
-
131
-
132
-
133
-
134
-
135
-
136
-
137
-
138
-
139
-
140
-
141
-
142
-
143
-
144
-
145
-
146
-
147
-
148
-
149
-
150
-
151
-
152
-
153
-
154
-
155
-
156
-
157
-
158
-
159
-
160
-
161
-
162
-
163
-
164
-
165
-
166
-
167
-
168
-
169
-
170
-
171
-
172
-
173
-
174
-
175
-
176
-
177
-
178
-
179
-
180
-
181
-
182
-
183
-
184
-
185
-
186
-
187
-
188
-
189
-
190
-
191
-
192
 |
 |