ZyXEL NBG-418N User Guide - Page 44
Setting your NBG-418N to AP Mode - reset
 |
View all ZyXEL NBG-418N manuals
Add to My Manuals
Save this manual to your list of manuals |
Page 44 highlights
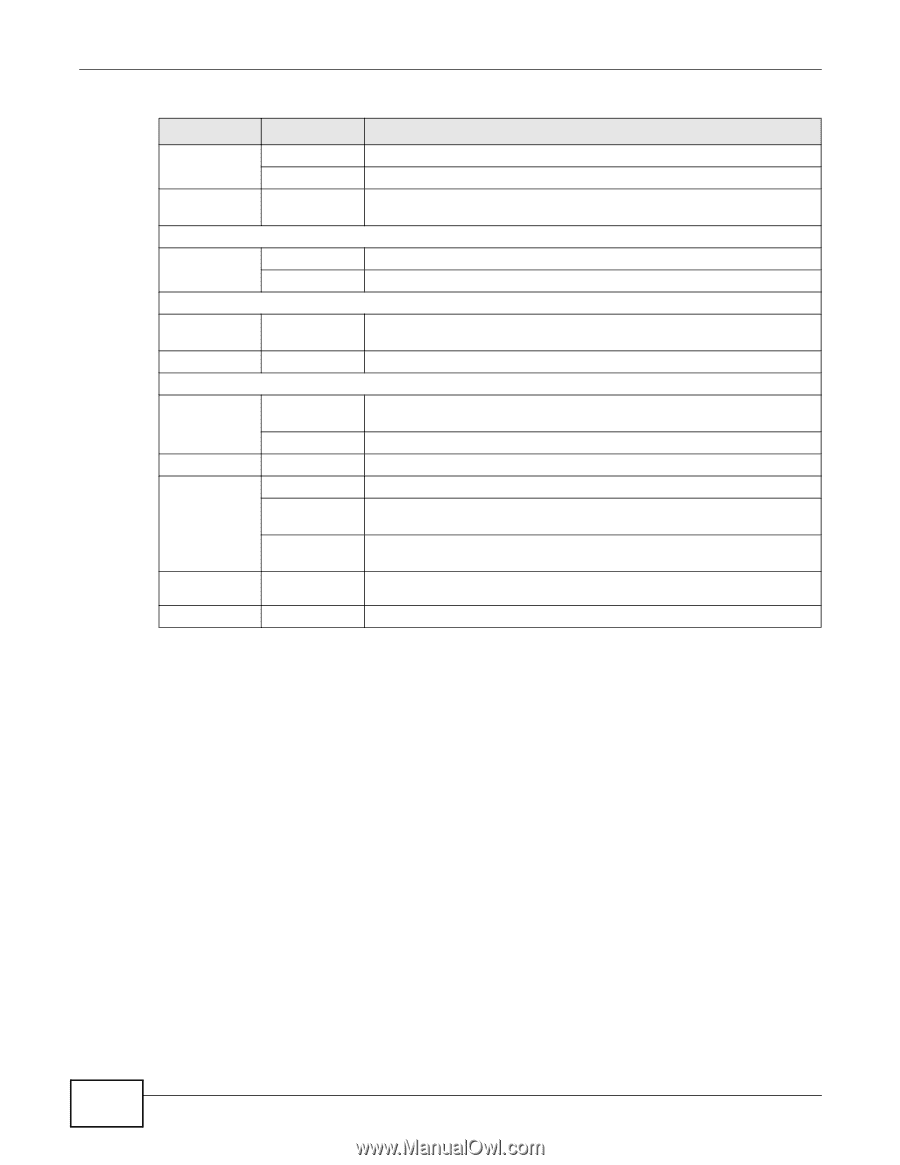
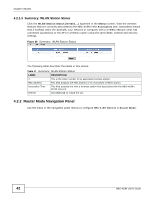
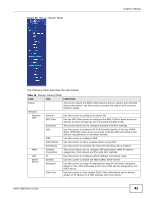
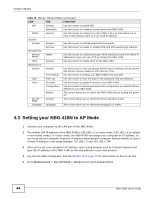
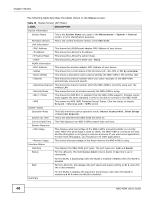
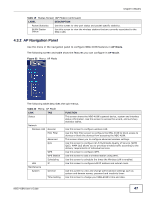
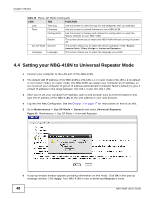
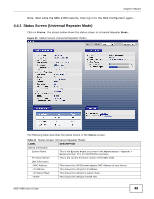
Chapter 4 Modes Table 18 Menus: Router Mode (continued) LINK TAB FUNCTION NAT General Use this screen to enable NAT. Application Use this screen to configure servers behind the NBG-418N. DDNS General Use this screen to configure Dynamic DNS, a service that allows you to map a fixed domain name to a non-fixed IP address. Security Firewall General Use this screen to activate/deactivate the firewall. Services Use this screen to enable or disable ICMP and VPN passthrough features. Management Remote MGMT WWW Use this screen to configure through which interface(s) and from which IP address(es) users can use HTTP to manage the NBG-418N. UPnP General Use this screen to enable UPnP on the NBG-418N. Maintenance System General Use this screen to view and change administrative settings such as system and domain names, password and inactivity timer. Time Setting Use this screen to change your NBG-418N's time and date. Logs View Log Use this screen to view the logs for the categories that you selected. Tools Firmware Use this screen to upload firmware to your NBG-418N. Configuration Use this screen to backup and restore the configuration or reset the factory defaults to your NBG-418N. Restart This screen allows you to reboot the NBG-418N without turning the power off. Sys OP Mode General This screen allows you to select the device operation mode. Language Language This screen allows you to select the language you prefer. 4.3 Setting your NBG-418N to AP Mode 1 Connect your computer to the LAN port of the NBG-418N. 2 The default LAN IP address of the NBG-418N is 192.168.1.1 in router mode (192.168.1.2 by default in non-router mode). In router mode, the NBG-418N can assign your computer an IP address, so you must set your computer to get an IP address automatically (computer factory default) or give it a fixed IP address in the range between 192.168.1.3 and 192.168.1.254. 3 After you've set your computer's IP address, open a web browser such as Internet Explorer and type the IP address of the NBG-418N as the web address in your web browser. 4 Log into the Web Configurator. See the Chapter 2 on page 17 for instructions on how to do this. 5 Go to Maintenance > Sys OP Mode > General and select Access Point. 44 NBG-418N User's Guide
-
 1
1 -
2
-
3
-
4
-
5
-
6
-
7
-
8
-
9
-
10
-
11
-
12
-
13
-
14
-
15
-
16
-
17
-
18
-
19
-
20
-
21
-
22
-
23
-
24
-
25
-
26
-
27
-
28
-
29
-
30
-
31
-
32
-
33
-
34
-
35
-
36
-
37
-
38
-
 39
39 -
 40
40 -
 41
41 -
 42
42 -
 43
43 -
 44
44 -
 45
45 -
 46
46 -
 47
47 -
 48
48 -
 49
49 -
50
-
51
-
52
-
53
-
54
-
55
-
56
-
57
-
58
-
59
-
60
-
61
-
62
-
63
-
64
-
65
-
66
-
67
-
68
-
69
-
70
-
71
-
72
-
73
-
74
-
75
-
76
-
77
-
78
-
79
-
80
-
81
-
82
-
83
-
84
-
85
-
86
-
87
-
88
-
89
-
90
-
91
-
92
-
93
-
94
-
95
-
96
-
97
-
98
-
99
-
100
-
101
-
102
-
103
-
104
-
105
-
106
-
107
-
108
-
109
-
110
-
111
-
112
-
113
-
114
-
115
-
116
-
117
-
118
-
119
-
120
-
121
-
122
-
123
-
124
-
125
-
126
-
127
-
128
-
129
-
130
-
131
-
132
-
133
-
134
-
135
-
136
-
137
-
138
-
139
-
140
-
141
-
142
-
143
-
144
-
145
-
146
-
147
-
148
-
149
-
150
-
151
-
152
-
153
-
154
-
155
-
156
-
157
-
158
-
159
-
160
-
161
-
162
-
163
-
164
-
165
-
166
-
167
-
168
-
169
-
170
-
171
-
172
-
173
-
174
-
175
-
176
-
177
-
178
-
179
-
180
-
181
-
182
-
183
-
184
-
185
-
186
-
187
-
188
-
189
-
190
-
191
-
192
-
193
-
194
-
195
-
196
-
197
-
198
-
199
-
200
-
201
-
202
-
203
-
204
-
205
-
206
-
207
-
208
-
209
-
210
-
211
-
212
-
213
-
214
-
215
-
216
-
217
-
218
-
219
-
220
-
221
-
222
-
223
-
224
 |
 |