Brother International HL 5280DW Network Users Manual - English - Page 42
Adding a second Brother LPR port, For Windows® 95/98/Me users
 |
UPC - 012502614456
View all Brother International HL 5280DW manuals
Add to My Manuals
Save this manual to your list of manuals |
Page 42 highlights
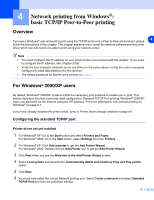
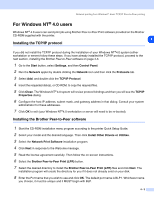
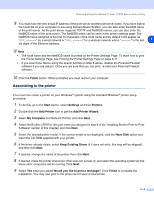
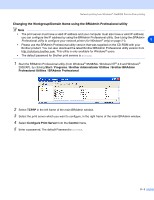
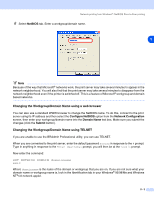
Network printing from Windows®: basic TCP/IP Peer-to-Peer printing Adding a second Brother LPR port You do not need to re-run the install program to add a new Brother LPR port. Instead, go to the Start button, select Settings, and open the Printers window. Click the icon of the printer that you wish to configure, select File from the menu bar, and then Properties. Click the Ports tab and then the Add Port button. In the Printer 4 Ports dialog, highlight Brother LPR Port. Click the New Port button and enter the port name. The default port name is BLP1. If you have already used this name, you will get an error message if you try to use it again, in which case use BLP2, etc.... Once you have specified the port name, click OK. You will then see the Port Settings dialog. Enter the IP address of the printer that you wish to print to and click OK. And then click Close in the Printer Ports dialog. You should now see the port that you have just created in the Print to the following port(s) setting of the printer driver. For Windows® 95/98/Me users Windows® 95/98/Me users can send print job using Brother Peer-to-Peer Print software provided by the CD-ROM which we have supplied with the printer. Installing the Brother Peer-to-Peer software Note If you already installed the driver from the printer's CD-ROM Installer and you selected "Brother Peer-to-Peer Network Printer" during the installation then you do not need to install the Brother Network Print Software again. 1 Start the CD-ROM installation menu program according to the Quick Setup Guide. 2 Select your model and the desired language. Then click Install Other Drivers or Utilities. 3 Select the Network Print Software installation program. 4 Click Next in response to the Welcome message. 5 Read the license agreement carefully. Then follow the on-screen instructions. 6 Select the Brother Peer-to-Peer Print (LPR) button. 7 Select the desired directory to install the Brother Peer-to-Peer Print (LPR) files and push Next. The installation program will create the directory for you if it does not already exist on your disk. 8 Enter the Port name that you wish to use and click OK. The default port name is BLP1. Whichever name you choose, it must be unique and it MUST begin with BLP. 4 - 5
-
 1
1 -
2
-
3
-
4
-
5
-
6
-
7
-
8
-
9
-
10
-
11
-
12
-
13
-
14
-
15
-
16
-
17
-
18
-
19
-
20
-
21
-
22
-
23
-
24
-
25
-
26
-
27
-
28
-
29
-
30
-
31
-
32
-
33
-
34
-
35
-
36
-
 37
37 -
 38
38 -
 39
39 -
 40
40 -
 41
41 -
 42
42 -
 43
43 -
 44
44 -
 45
45 -
 46
46 -
 47
47 -
48
-
49
-
50
-
51
-
52
-
53
-
54
-
55
-
56
-
57
-
58
-
59
-
60
-
61
-
62
-
63
-
64
-
65
-
66
-
67
-
68
-
69
-
70
-
71
-
72
-
73
-
74
-
75
-
76
-
77
-
78
-
79
-
80
-
81
-
82
-
83
-
84
-
85
-
86
-
87
-
88
-
89
-
90
-
91
-
92
-
93
-
94
-
95
-
96
-
97
-
98
-
99
-
100
-
101
-
102
-
103
-
104
-
105
-
106
-
107
-
108
-
109
-
110
-
111
-
112
 |
 |