Gateway E-475M Gateway Notebook Reference Guide (Windows XP) - Page 60
Viewing the display on a projector or monitor
 |
View all Gateway E-475M manuals
Add to My Manuals
Save this manual to your list of manuals |
Page 60 highlights
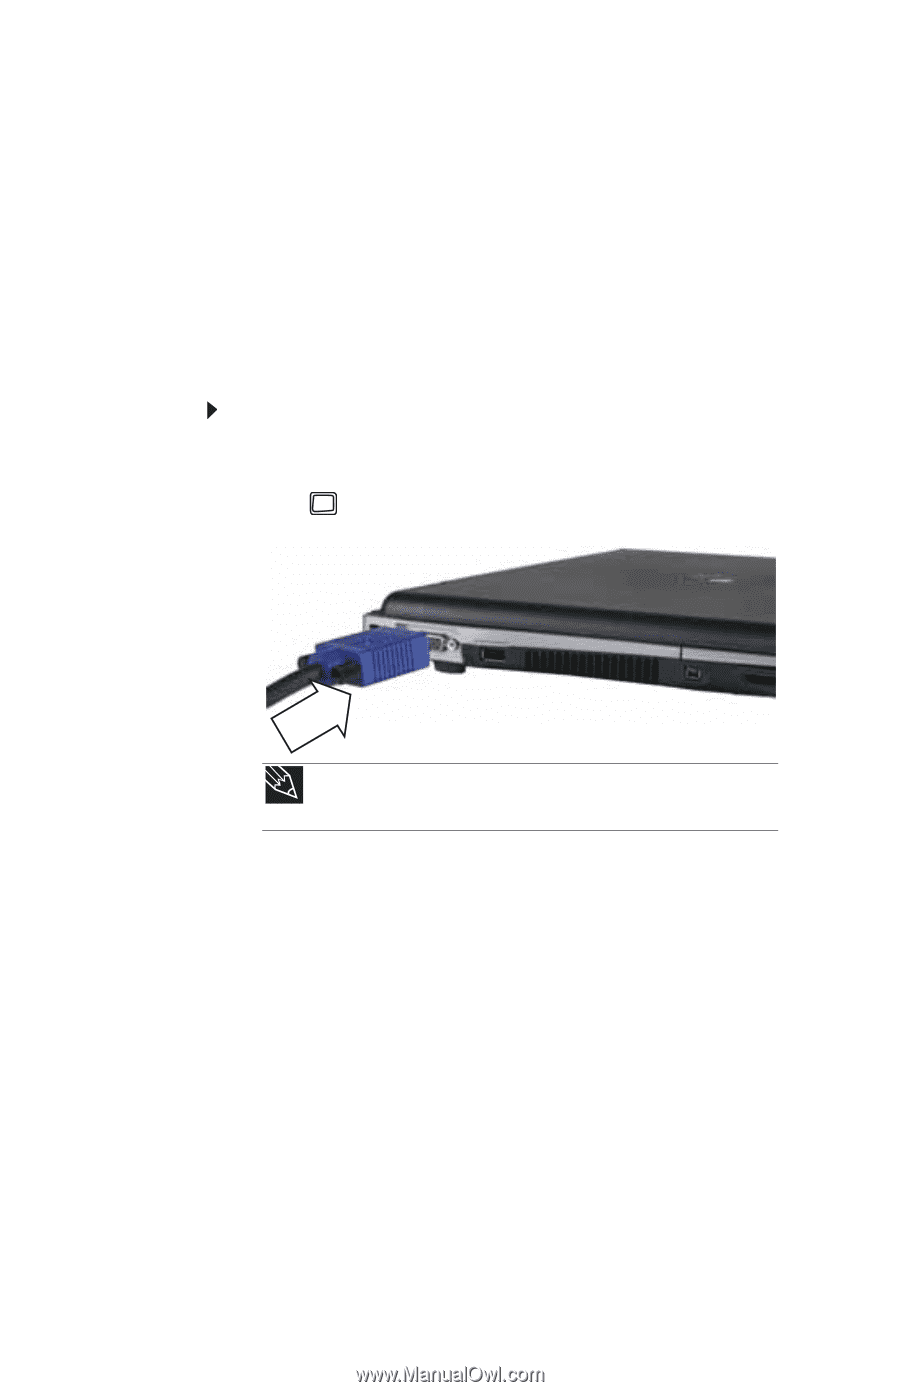
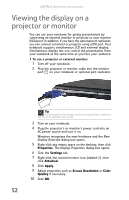
CHAPTER 4: Using Drives and Accessories Viewing the display on a projector or monitor You can use your notebook for giving presentations by connecting an external monitor or projector to your monitor (VGA) port. In addition, if you have the optional port replicator, you can connect a monitor or projector using a DVI port. Your notebook supports simultaneous LCD and external display. Simultaneous display lets you control the presentation from your notebook at the same time as you face your audience. To use a projector or external monitor: 1 Turn off your notebook. 2 Plug the projector or monitor cable into the monitor port on your notebook or optional port replicator. Tip For the location of the monitor port on an optional port replicator, see the port replicator user guide. 3 Turn on your notebook. 4 Plug the projector's or monitor's power cord into an AC power source and turn it on. Windows recognizes the new hardware and the New Display Detected dialog box opens. 5 Right-click any empty space on the desktop, then click Properties. The Display Properties dialog box opens. 6 Click the Settings tab. 7 Right-click the second monitor icon (labeled 2), then click Attached. 8 Click Apply. 9 Adjust properties such as Screen Resolution or Color Quality if necessary. 10 Click OK. 52
-
 1
1 -
2
-
3
-
4
-
5
-
6
-
7
-
8
-
9
-
10
-
11
-
12
-
13
-
14
-
15
-
16
-
17
-
18
-
19
-
20
-
21
-
22
-
23
-
24
-
25
-
26
-
27
-
28
-
29
-
30
-
31
-
32
-
33
-
34
-
35
-
36
-
37
-
38
-
39
-
40
-
41
-
42
-
43
-
44
-
45
-
46
-
47
-
48
-
49
-
50
-
51
-
52
-
53
-
54
-
 55
55 -
 56
56 -
 57
57 -
 58
58 -
 59
59 -
 60
60 -
 61
61 -
 62
62 -
 63
63 -
 64
64 -
 65
65 -
66
-
67
-
68
-
69
-
70
-
71
-
72
-
73
-
74
-
75
-
76
-
77
-
78
-
79
-
80
-
81
-
82
-
83
-
84
-
85
-
86
-
87
-
88
-
89
-
90
-
91
-
92
-
93
-
94
-
95
-
96
-
97
-
98
-
99
-
100
-
101
-
102
-
103
-
104
-
105
-
106
-
107
-
108
-
109
-
110
-
111
-
112
-
113
-
114
-
115
-
116
-
117
-
118
-
119
-
120
-
121
-
122
-
123
-
124
-
125
-
126
-
127
-
128
-
129
-
130
-
131
-
132
-
133
-
134
-
135
-
136
-
137
-
138
-
139
-
140
-
141
-
142
-
143
-
144
-
145
-
146
-
147
-
148
-
149
-
150
-
151
-
152
 |
 |