Samsung SGH-T479 User Manual (user Manual) (ver.f5) (English) - Page 53
Email, Exchange Email, Audio Postcard - user manual
 |
View all Samsung SGH-T479 manuals
Add to My Manuals
Save this manual to your list of manuals |
Page 53 highlights
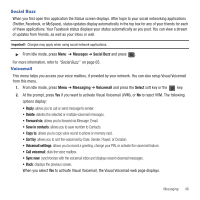
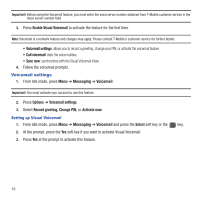
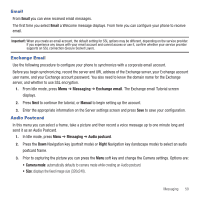
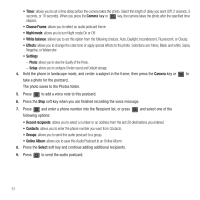
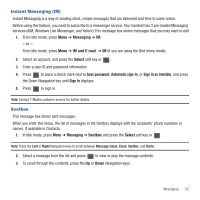
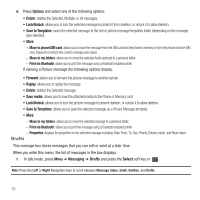
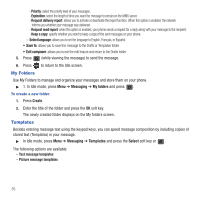
Email From Email you can view received email messages. The first time you select Email a Welcome message displays. From here you can configure your phone to receive email. Important!: When you create an email account, the default setting for SSL options may be different, depending on the service provider. If you experience any issues with your email account and cannot access or use it, confirm whether your service provider supports an SSL connection (Secure Socket Layer). Exchange Email Use the following procedure to configure your phone to synchronize with a corporate email account. Before you begin synchronizing, record the server and URL address of the Exchange server, your Exchange account user name, and your Exchange account password. You also need to know the domain name for the Exchange server, and whether to use SSL encryption. 1. From Idle mode, press Menu ➔ Messaging ➔ Exchange email. The Exchange email Tutorial screen displays. 2. Press Next to continue the tutorial, or Manual to begin setting up the account. 3. Enter the appropriate information on the Server settings screen and press Save to save your configuration. Audio Postcard In this menu you can select a frame, take a picture and then record a voice message up to one minute long and send it as an Audio Postcard. 1. In Idle mode, press Menu ➔ Messaging ➔ Audio postcard. 2. Press the Down Navigation key (portrait mode) or Right Navigation key (landscape mode) to select an audio postcard frame. 3. Prior to capturing the picture you can press the Menu soft key and change the Camera settings. Options are: • Camera mode: automatically defaults to camera mode while creating an Audio postcard. • Size: displays the fixed image size (320x240). Messaging 50
-
 1
1 -
2
-
3
-
4
-
5
-
6
-
7
-
8
-
9
-
10
-
11
-
12
-
13
-
14
-
15
-
16
-
17
-
18
-
19
-
20
-
21
-
22
-
23
-
24
-
25
-
26
-
27
-
28
-
29
-
30
-
31
-
32
-
33
-
34
-
35
-
36
-
37
-
38
-
39
-
40
-
41
-
42
-
43
-
44
-
45
-
46
-
47
-
 48
48 -
 49
49 -
 50
50 -
 51
51 -
 52
52 -
 53
53 -
 54
54 -
 55
55 -
 56
56 -
 57
57 -
 58
58 -
59
-
60
-
61
-
62
-
63
-
64
-
65
-
66
-
67
-
68
-
69
-
70
-
71
-
72
-
73
-
74
-
75
-
76
-
77
-
78
-
79
-
80
-
81
-
82
-
83
-
84
-
85
-
86
-
87
-
88
-
89
-
90
-
91
-
92
-
93
-
94
-
95
-
96
-
97
-
98
-
99
-
100
-
101
-
102
-
103
-
104
-
105
-
106
-
107
-
108
-
109
-
110
-
111
-
112
-
113
-
114
-
115
-
116
-
117
-
118
-
119
-
120
-
121
-
122
-
123
-
124
-
125
-
126
-
127
-
128
-
129
-
130
-
131
-
132
-
133
-
134
-
135
-
136
-
137
-
138
-
139
-
140
-
141
-
142
-
143
-
144
-
145
-
146
-
147
-
148
-
149
-
150
-
151
-
152
-
153
-
154
-
155
-
156
-
157
-
158
-
159
-
160
-
161
-
162
-
163
-
164
-
165
-
166
-
167
 |
 |
