Toshiba Portege Z20t-B PT15BC-004012 Users Manual Canada; English - Page 46
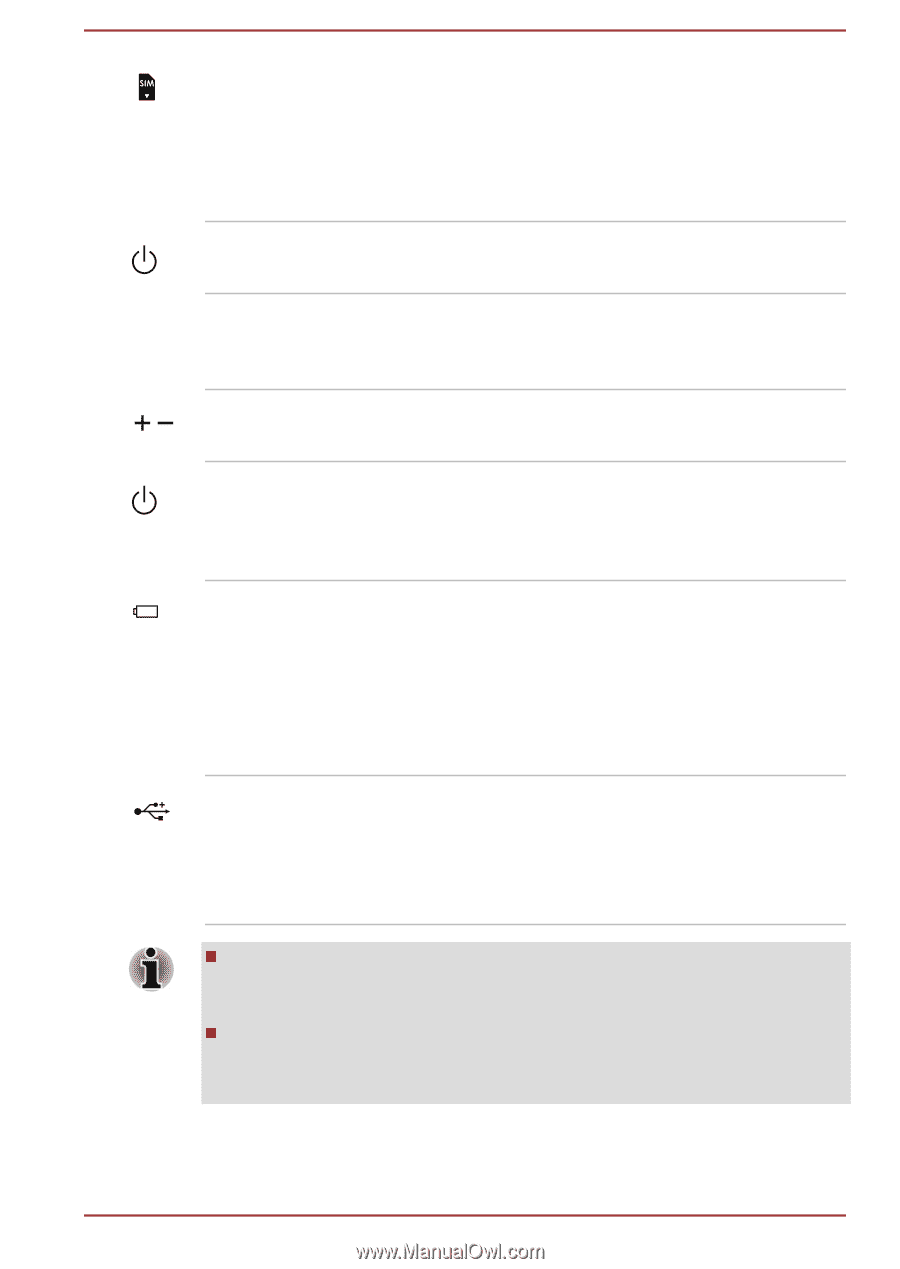
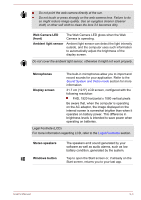
SIM Card slot, Power button, Force Shut down hole, Volume up/down, buttons, Power indicator, Power
 |
View all Toshiba Portege Z20t-B PT15BC-004012 manuals
Add to My Manuals
Save this manual to your list of manuals |
Page 46 highlights
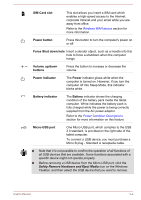
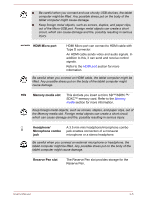
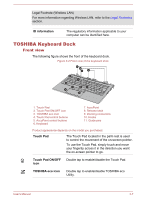
SIM Card slot This slot allows you insert a SIM card which enables a high-speed access to the Internet, corporate Intranet and your email while you are away from office. Refer to the Wireless WAN device section for more information. Power button Press this button to turn the computer's power on or off. Force Shut down hole Insert a slender object, such as a needle into this hole to force a shutdown when the computer hangs. Volume up/down buttons Press the button to increase or decrease the volume. Power indicator The Power indicator glows white when the computer is turned on. However, if you turn the computer off into Sleep Mode, this indicator blinks white. Battery indicator The Battery indicator shows the charging condition of the battery pack inside the tablet computer. White indicates the battery pack is fully charged while the power is being correctly supplied from the AC power adaptor. Refer to the Power Condition Descriptions section for more information on this feature. Micro-USB port One Micro-USB port, which complies to the USB 2.0 standard, is provided on the right side of the tablet computer. To connect a USB device, you must purchase a Micro B plug - Standard A receptacle cable. Note that it is not possible to confirm the operation of all functions of all USB devices that are available. Some functions associated with a specific device might not operate properly. Before removing a USB device from the Micro-USB port, click the Safely Remove Hardware and Eject Media icon on the Windows Taskbar, and then select the USB device that you want to remove. User's Manual 3-4
-
 1
1 -
2
-
3
-
4
-
5
-
6
-
7
-
8
-
9
-
10
-
11
-
12
-
13
-
14
-
15
-
16
-
17
-
18
-
19
-
20
-
21
-
22
-
23
-
24
-
25
-
26
-
27
-
28
-
29
-
30
-
31
-
32
-
33
-
34
-
35
-
36
-
37
-
38
-
39
-
40
-
 41
41 -
 42
42 -
 43
43 -
 44
44 -
 45
45 -
 46
46 -
 47
47 -
 48
48 -
 49
49 -
 50
50 -
 51
51 -
52
-
53
-
54
-
55
-
56
-
57
-
58
-
59
-
60
-
61
-
62
-
63
-
64
-
65
-
66
-
67
-
68
-
69
-
70
-
71
-
72
-
73
-
74
-
75
-
76
-
77
-
78
-
79
-
80
-
81
-
82
-
83
-
84
-
85
-
86
-
87
-
88
-
89
-
90
-
91
-
92
-
93
-
94
-
95
-
96
-
97
-
98
-
99
-
100
-
101
-
102
-
103
-
104
-
105
-
106
-
107
-
108
-
109
-
110
-
111
-
112
-
113
-
114
-
115
-
116
-
117
-
118
-
119
-
120
-
121
-
122
-
123
-
124
-
125
-
126
-
127
-
128
-
129
-
130
-
131
-
132
-
133
-
134
-
135
-
136
-
137
-
138
-
139
-
140
-
141
-
142
-
143
-
144
-
145
-
146
-
147
-
148
-
149
-
150
-
151
-
152
-
153
-
154
 |
 |