Xerox 3100MFPX User Guide - Phaser 3100 MFP/X - Page 63
Installing drivers only - 3100 mfp drivers
 |
UPC - 095205741964
View all Xerox 3100MFPX manuals
Add to My Manuals
Save this manual to your list of manuals |
Page 63 highlights
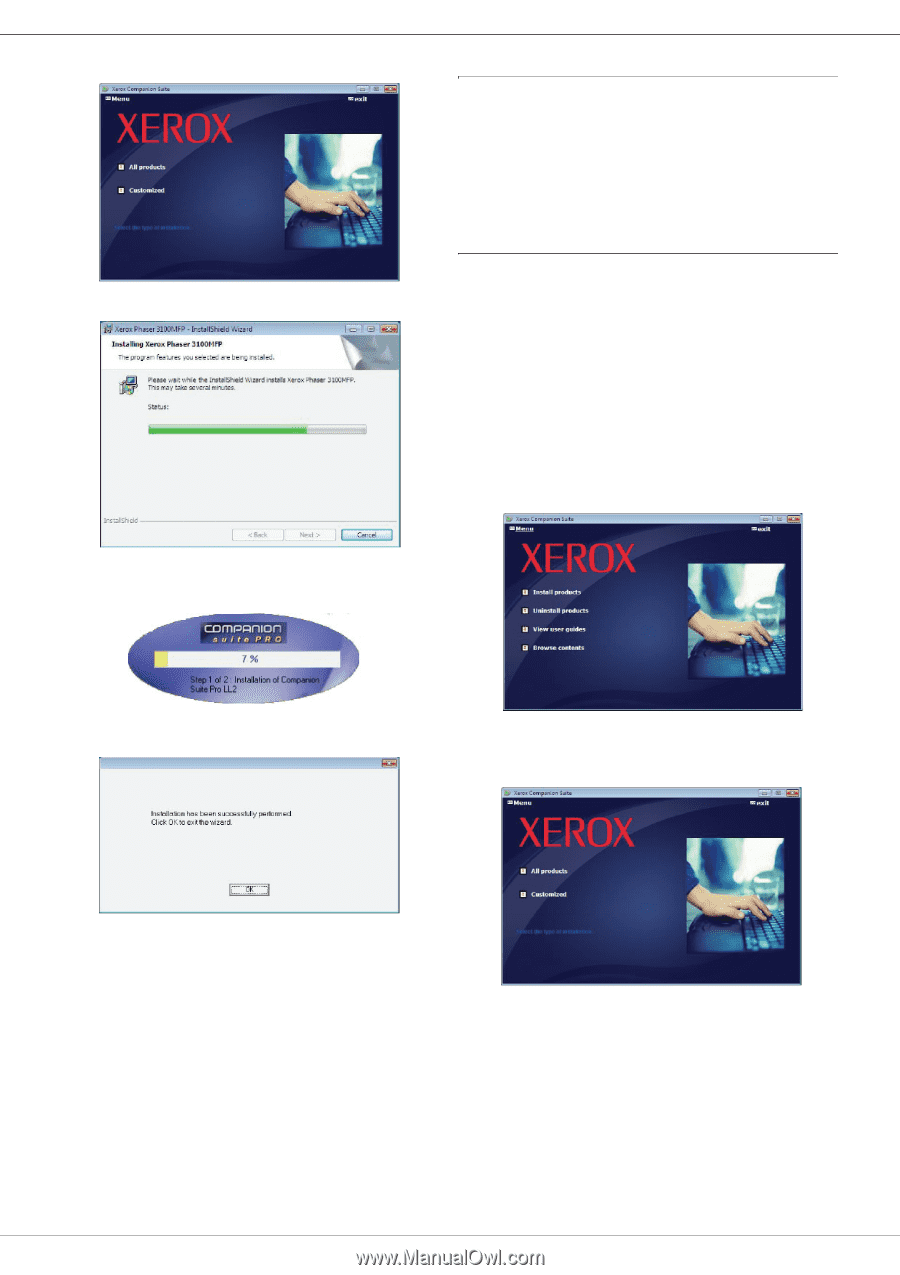
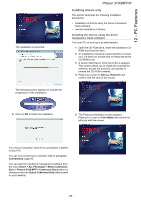
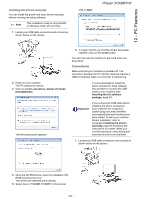
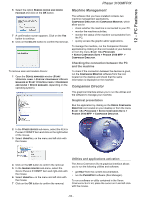
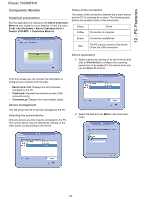
12 - PC Features The installation is launched. Phaser 3100MFP/X Installing drivers only This section describes the following installation procedures: • installation of drivers using the Xerox Companion Suite software, • manual installation of drivers. Installing the drivers using the Xerox Companion Suite software Turn your PC on and log in as administrator. 1 Open the CD-ROM drive, insert the installation CDROM and close the drive. 2 An installation procedure is automatically run (Auto run). If it does not, double-click on setup.exe at the CD-ROM's root. 3 A screen titled XEROX COMPANION SUITE appears. This screen allows you to install and uninstall the software, access the product's user guides or browse the CD-ROM contents. 4 Place your cursor on INSTALL PRODUCTS and confirm with left-click of the mouse. The following screen appears to indicate the progression of the installation. 6 Click on OK to finish the installation. 5 The Products Installation screen appears. Place your cursor on CUSTOMIZED and confirm by left-click with the mouse. Your Xerox Companion Suite kit is successfully installed on your PC. You can now connect your machine, refer to paragraph Connections, page 60. You can start the machine's management software from the menu START > ALL PROGRAMS > XEROX COMPANION SUITE > PHASER 3100 MFP > COMPANION DIRECTOR or by clicking on the icon XEROX COMPANION DIRECTOR located on your desktop. - 58 -
-
 1
1 -
2
-
3
-
4
-
5
-
6
-
7
-
8
-
9
-
10
-
11
-
12
-
13
-
14
-
15
-
16
-
17
-
18
-
19
-
20
-
21
-
22
-
23
-
24
-
25
-
26
-
27
-
28
-
29
-
30
-
31
-
32
-
33
-
34
-
35
-
36
-
37
-
38
-
39
-
40
-
41
-
42
-
43
-
44
-
45
-
46
-
47
-
48
-
49
-
50
-
51
-
52
-
53
-
54
-
55
-
56
-
57
-
 58
58 -
 59
59 -
 60
60 -
 61
61 -
 62
62 -
 63
63 -
 64
64 -
 65
65 -
 66
66 -
 67
67 -
 68
68 -
69
-
70
-
71
-
72
-
73
-
74
-
75
-
76
-
77
-
78
-
79
-
80
-
81
-
82
-
83
-
84
-
85
-
86
-
87
-
88
-
89
-
90
 |
 |