Dell 948 User Guide - Page 37
Arrow, Select, From this menu item, You can, Start, Black & White
 |
View all Dell 948 manuals
Add to My Manuals
Save this manual to your list of manuals |
Page 37 highlights
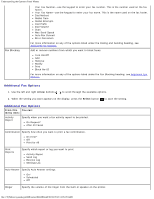
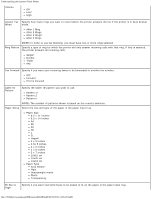
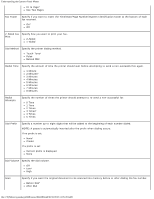
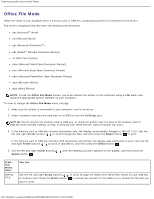
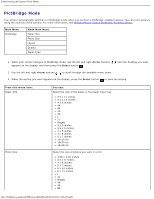
Understanding the Operator Panel Menus Photo Size Paper Setup Quality To view or change the Photo Mode menu settings: 1. Insert a memory card into the card slots or a USB key into the PictBridge port. NOTICE: Do not remove the memory card or USB key, or touch the printer near the area of the memory card or USB key while actively reading, writing, or printing from these devices. Data corruption can occur. 2. If the memory card or USB key contains photo files only, the display automatically changes to PHOTO. Use the left and right Arrow buttons until the heading you want appears on the display, and then press the Select button. If the memory card or USB key contains both documents and photos, the printer asks which files to print. Use the left and right Arrow buttons to scroll to Photos, and then press the Select button . 3. Use the left and right Arrow buttons to scroll through the available menu items. 4. When the setting you want appears on the display, press the Select button to save the setting. From this menu item: Select Computer Proof Sheet You can: Choose a computer to send photos to. Available only when the printer is attached to a network, and has received a list of computers that support network media connection. Use the proof sheet to control the printing of your photos. From the Print Proof Sheet submenu, use the Arrow buttons to choose from the following settings: All Last 25 Date Range From the Scan Proof Sheet submenu, press the Start button to begin scanning the proof sheet. For more information, see Printing Photos Using a Proof Sheet. Print DPOF Press the Start button to print all DPOF images NOTE: This menu item is only available when a memory card with Digital Print Order Format (DPOF) images is inserted into the printer or on a memory card. For more information, see Printing Photos From a PictBridge-Enabled Camera. when a PictBridge-enabled digital camera with DPOF images is connected to the PictBridge port. Photo Color Specify the color of your photos. Color* Black & White Sepia Auto Enhance Automatically enhance the quality of your photos. Off* On Save Photos Press the Start button to launch the Memory file:///T|/htdocs/systems/prn948/en/en/d0e648.html[10/10/2012 11:05:28 AM]
-
 1
1 -
2
-
3
-
4
-
5
-
6
-
7
-
8
-
9
-
10
-
11
-
12
-
13
-
14
-
15
-
16
-
17
-
18
-
19
-
20
-
21
-
22
-
23
-
24
-
25
-
26
-
27
-
28
-
29
-
30
-
31
-
 32
32 -
 33
33 -
 34
34 -
 35
35 -
 36
36 -
 37
37 -
 38
38 -
 39
39 -
 40
40 -
 41
41 -
 42
42 -
43
-
44
-
45
-
46
-
47
-
48
-
49
-
50
-
51
-
52
-
53
-
54
-
55
-
56
-
57
-
58
-
59
-
60
-
61
-
62
-
63
-
64
-
65
-
66
-
67
-
68
-
69
-
70
-
71
-
72
-
73
-
74
-
75
-
76
-
77
-
78
-
79
-
80
-
81
-
82
-
83
-
84
-
85
-
86
-
87
-
88
-
89
-
90
-
91
-
92
-
93
-
94
-
95
-
96
-
97
-
98
-
99
-
100
-
101
-
102
-
103
-
104
-
105
-
106
-
107
-
108
-
109
-
110
-
111
-
112
-
113
-
114
-
115
-
116
-
117
-
118
-
119
-
120
-
121
-
122
-
123
-
124
-
125
-
126
-
127
-
128
-
129
-
130
-
131
-
132
-
133
-
134
-
135
-
136
-
137
-
138
-
139
-
140
-
141
-
142
-
143
-
144
 |
 |
