Epson ActionLaser 1100 User Manual - Page 48
choose Print, Print Setup in, Options, Printer., Close
 |
View all Epson ActionLaser 1100 manuals
Add to My Manuals
Save this manual to your list of manuals |
Page 48 highlights
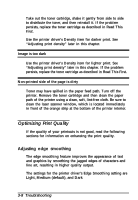
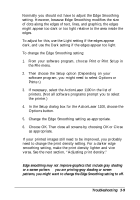
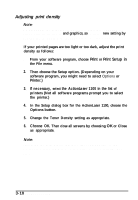
Normally you should not have to adjust the Edge Smoothing setting. However, because Edge Smoothing modifies the size of dots along the edges of text, lines, and graphics, the edges might appear too dark or too light relative to the area inside the edges. To adjust for this, use the Light setting if the edges appear dark, and use the Dark setting if the edges appear too light. To change the Edge Smoothing setting: 1. From your software program, choose Print or Print Setup in the File menu. 2. Then choose the Setup option (Depending on your software program, you might need to select Options or Printer.) 3. If necessary, select the ActionLaser 1100 in the list of printers. (Not all software programs prompt you to select the printer.) 4. In the Setup dialog box for the ActionLaser 1100, choose the Options button. 5. Change the Edge Smoothing setting as appropriate. 6. Choose OK. Then close all screens by choosing OK or Close as appropriate. If your printed images still need to be improved, you probably need to change the print density setting. For a darker edge smoothing setting, make the print density lighter and vice versa. See the next section, "Adjusting print density." Note: Edge smoothing may not improve graphics that include gray shading or a screen pattern. If you are printing gray shading or screen patterns, you might want to change the Edge Smoothing setting to off. Troubleshooting 3-9
-
 1
1 -
2
-
3
-
4
-
5
-
6
-
7
-
8
-
9
-
10
-
11
-
12
-
13
-
14
-
15
-
16
-
17
-
18
-
19
-
20
-
21
-
22
-
23
-
24
-
25
-
26
-
27
-
28
-
29
-
30
-
31
-
32
-
33
-
34
-
35
-
36
-
37
-
38
-
39
-
40
-
41
-
42
-
 43
43 -
 44
44 -
 45
45 -
 46
46 -
 47
47 -
 48
48 -
 49
49 -
 50
50 -
 51
51 -
 52
52 -
 53
53 -
54
-
55
-
56
-
57
-
58
-
59
-
60
-
61
-
62
-
63
-
64
-
65
-
66
-
67
-
68
-
69
-
70
-
71
-
72
-
73
-
74
-
75
-
76
-
77
-
78
-
79
-
80
-
81
-
82
-
83
-
84
-
85
-
86
-
87
-
88
-
89
 |
 |
