Epson ActionLaser 1100 User Manual - Page 62
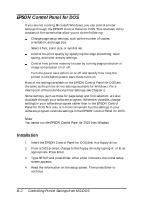
EPSON Control Panel for DOS, Installation
 |
View all Epson ActionLaser 1100 manuals
Add to My Manuals
Save this manual to your list of manuals |
Page 62 highlights
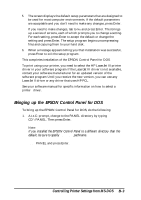
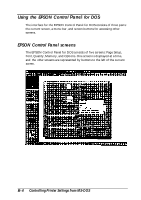
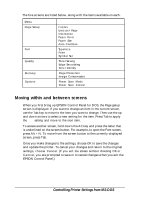
EPSON Control Panel for DOS If you are not running Microsoft Windows, you can control printer settings through the EPSON Control Panel for DOS. This onscreen utility consists of five screens that allow you to do the following: Change page setup settings, such as the number of copies, orientation, and page size. Select a font, point size, or symbol set. Control the print quality by specifying the edge smoothing, toner saving, and toner density settings. Control how printer memory is used by turning page protection or image compression on or off. Turn the power save option on or off and specify how long the printer is idle before power save mode turns on. Most of the settings available in the EPSON Control Panel for DOS are the same as the printer driver settings available for Windows. For a description of the individual printer settings, see Chapter 2. Some settings, such as those for page setup and font selection, are also available through your software program. Whenever possible, change settings in your software program rather than in the EPSON Control Panel for DOS. Not only is it more convenient but the settings in your software program override settings in the EPSON Control Panel for DOS. Note: You cannot run the EPSON Control Pane for DOS from Windows. Installation 1. Insert the EPSON Control Panel for DOS disk in a floppy drive. 2. From a DOS prompt, change to the floppy drive by typing A: or B: as appropriate. Press Enter. 3. Type SETUP and press Enter. After a few moments, the initial setup screen appears. 4. Read the information on the setup screen. Then press Enter to continue. B-2 Controlling Printer Settings from MS-DOS
-
 1
1 -
2
-
3
-
4
-
5
-
6
-
7
-
8
-
9
-
10
-
11
-
12
-
13
-
14
-
15
-
16
-
17
-
18
-
19
-
20
-
21
-
22
-
23
-
24
-
25
-
26
-
27
-
28
-
29
-
30
-
31
-
32
-
33
-
34
-
35
-
36
-
37
-
38
-
39
-
40
-
41
-
42
-
43
-
44
-
45
-
46
-
47
-
48
-
49
-
50
-
51
-
52
-
53
-
54
-
55
-
56
-
 57
57 -
 58
58 -
 59
59 -
 60
60 -
 61
61 -
 62
62 -
 63
63 -
 64
64 -
 65
65 -
 66
66 -
 67
67 -
68
-
69
-
70
-
71
-
72
-
73
-
74
-
75
-
76
-
77
-
78
-
79
-
80
-
81
-
82
-
83
-
84
-
85
-
86
-
87
-
88
-
89
 |
 |