Fluke 199C/S FE 192,196,199 C Users Manual - Page 62
Automatic Trigger Options, Users Manual, Displaying, an Unknown Signal with Connect-and-View
 |
View all Fluke 199C/S manuals
Add to My Manuals
Save this manual to your list of manuals |
Page 62 highlights
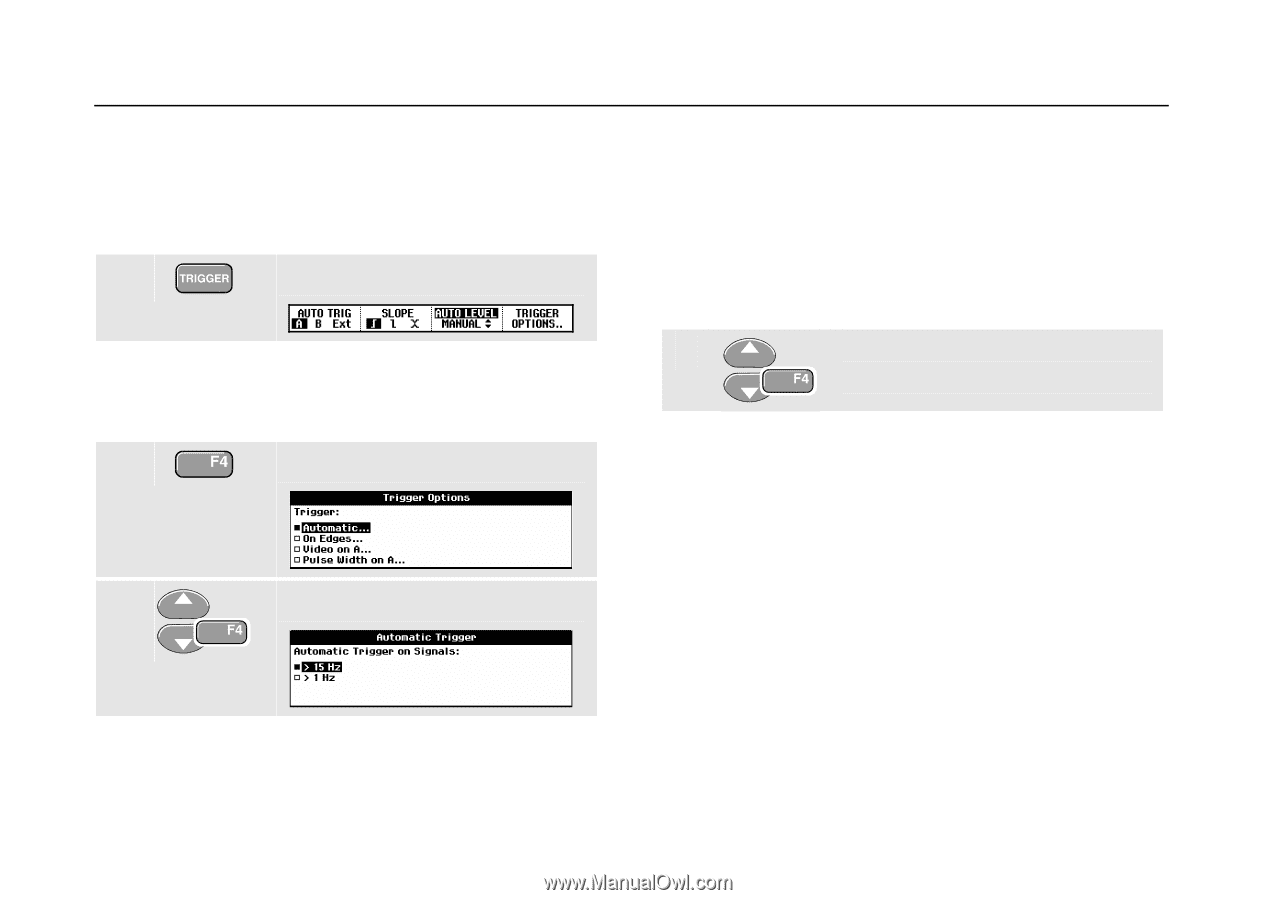
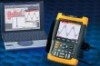
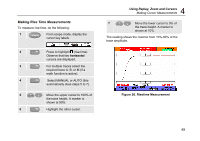
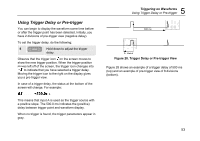
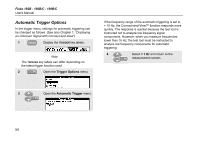
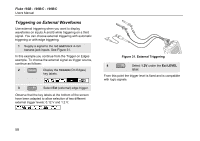
Fluke 192B - 196B/C - 199B/C Users Manual Automatic Trigger Options In the trigger menu, settings for automatic triggering can be changed as follows. (See also Chapter 1: "Displaying an Unknown Signal with Connect-and-View") 1 Display the TRIGGER key labels. Note The TRIGGER key labels can differ depending on the latest trigger function used. 2 Open the Trigger Options menu. If the frequency range of the automatic triggering is set to > 15 Hz, the Connect-and-View™ function responds more quickly. The response is quicker because the test tool is instructed not to analyze low frequency signal components. However, when you measure frequencies lower than 15 Hz, the test tool must be instructed to analyze low frequency components for automatic triggering: 4 Select > 1 HZ and return to the measurement screen. 3 Open the Automatic Trigger menu. 54
-
 1
1 -
2
-
3
-
4
-
5
-
6
-
7
-
8
-
9
-
10
-
11
-
12
-
13
-
14
-
15
-
16
-
17
-
18
-
19
-
20
-
21
-
22
-
23
-
24
-
25
-
26
-
27
-
28
-
29
-
30
-
31
-
32
-
33
-
34
-
35
-
36
-
37
-
38
-
39
-
40
-
41
-
42
-
43
-
44
-
45
-
46
-
47
-
48
-
49
-
50
-
51
-
52
-
53
-
54
-
55
-
56
-
 57
57 -
 58
58 -
 59
59 -
 60
60 -
 61
61 -
 62
62 -
 63
63 -
 64
64 -
 65
65 -
 66
66 -
 67
67 -
68
-
69
-
70
-
71
-
72
-
73
-
74
-
75
-
76
-
77
-
78
-
79
-
80
-
81
-
82
-
83
-
84
-
85
-
86
-
87
-
88
-
89
-
90
-
91
-
92
-
93
-
94
-
95
-
96
-
97
-
98
-
99
-
100
-
101
-
102
-
103
-
104
-
105
-
106
-
107
-
108
-
109
-
110
-
111
-
112
-
113
-
114
-
115
-
116
-
117
-
118
-
119
-
120
-
121
-
122
 |
 |