Garmin GPSMAP 298C Owner's Manual - Page 10
Adjusting the Backlight, Compass or 3D Highway s - gpsmap 292
 |
UPC - 753759052072
View all Garmin GPSMAP 298C manuals
Add to My Manuals
Save this manual to your list of manuals |
Page 10 highlights
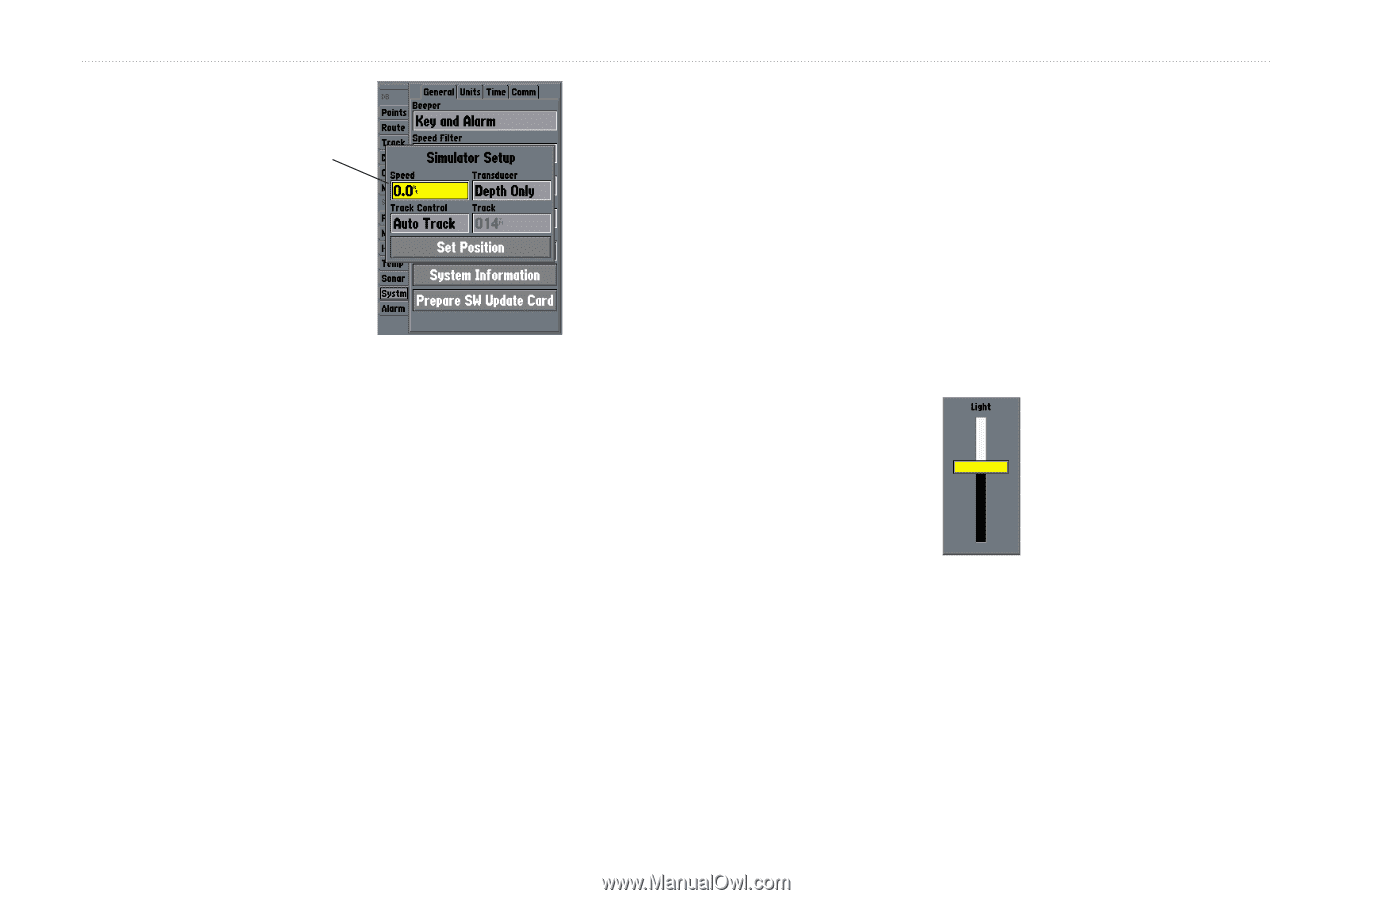
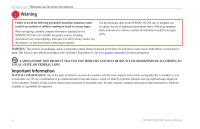
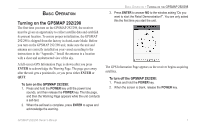
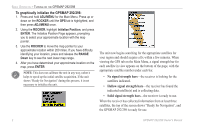
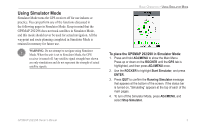
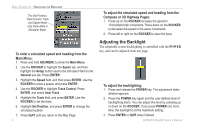
BASIC OPERATION > ADJUSTING THE BACKLIGHT The Set Position, Track Control, Track and Speed fields only show while in Simulator Mode. To enter a simulated speed and heading from the Main Menu: 1. Press and hold ADJ/MENU to show the Main Menu. 2. Use the ROCKER to highlight the Systm tab, and then highlight the Setup button next to the Simulator field on the General sub tab. Press ENTER. 3. Highlight the Speed field, and then press ENTER. Use the ROCKER to enter a speed, and press ENTER. 4. Use the ROCKER to highlight Track Control. Press ENTER, and select User Track. 5. Highlight the Track field, and press ENTER. Use the ROCKER to set the track. 6. Highlight Set Position, and press ENTER to change the simulated location. 7. Press QUIT until you return to the Map Page. 4 To adjust the simulated speed and heading from the Compass or 3D Highway Pages: 1. Press up on the ROCKER increase the speed in 10 knot/kph/mph increments. Press down on the ROCKER to decrease the speed in the same increments. 2. Press left or right on the ROCKER to steer the boat. Adjusting the Backlight The adjustable screen backlighting is controlled with the POWER key, and can be adjusted from any page. To adjust the backlighting: 1. Press and release the POWER key. The adjustment slider window appears. 2. Press the POWER key again and the user-defined level of backlighting starts. You can adjust this level by pressing up or down on the ROCKER. If you press POWER one more time, the backlight is at the maximum setting. 3. Press ENTER or QUIT when finished. GPSMAP 292/298 Owner's Manual
-
 1
1 -
2
-
3
-
4
-
 5
5 -
 6
6 -
 7
7 -
 8
8 -
 9
9 -
 10
10 -
 11
11 -
 12
12 -
 13
13 -
 14
14 -
 15
15 -
16
-
17
-
18
-
19
-
20
-
21
-
22
-
23
-
24
-
25
-
26
-
27
-
28
-
29
-
30
-
31
-
32
-
33
-
34
-
35
-
36
-
37
-
38
-
39
-
40
-
41
-
42
-
43
-
44
-
45
-
46
-
47
-
48
-
49
-
50
-
51
-
52
-
53
-
54
-
55
-
56
-
57
-
58
-
59
-
60
-
61
-
62
-
63
-
64
-
65
-
66
-
67
-
68
-
69
-
70
-
71
-
72
-
73
-
74
-
75
-
76
-
77
-
78
-
79
-
80
-
81
-
82
-
83
-
84
-
85
-
86
-
87
-
88
-
89
-
90
-
91
-
92
-
93
-
94
-
95
-
96
-
97
-
98
-
99
-
100
-
101
-
102
-
103
-
104
-
105
-
106
-
107
-
108
-
109
-
110
-
111
-
112
-
113
-
114
-
115
-
116
-
117
-
118
-
119
-
120
 |
 |