Garmin GPSMAP 298C Owner's Manual - Page 79
Using the Adjustment Menu, To select an adjustment option from the Sonar
 |
UPC - 753759052072
View all Garmin GPSMAP 298C manuals
Add to My Manuals
Save this manual to your list of manuals |
Page 79 highlights
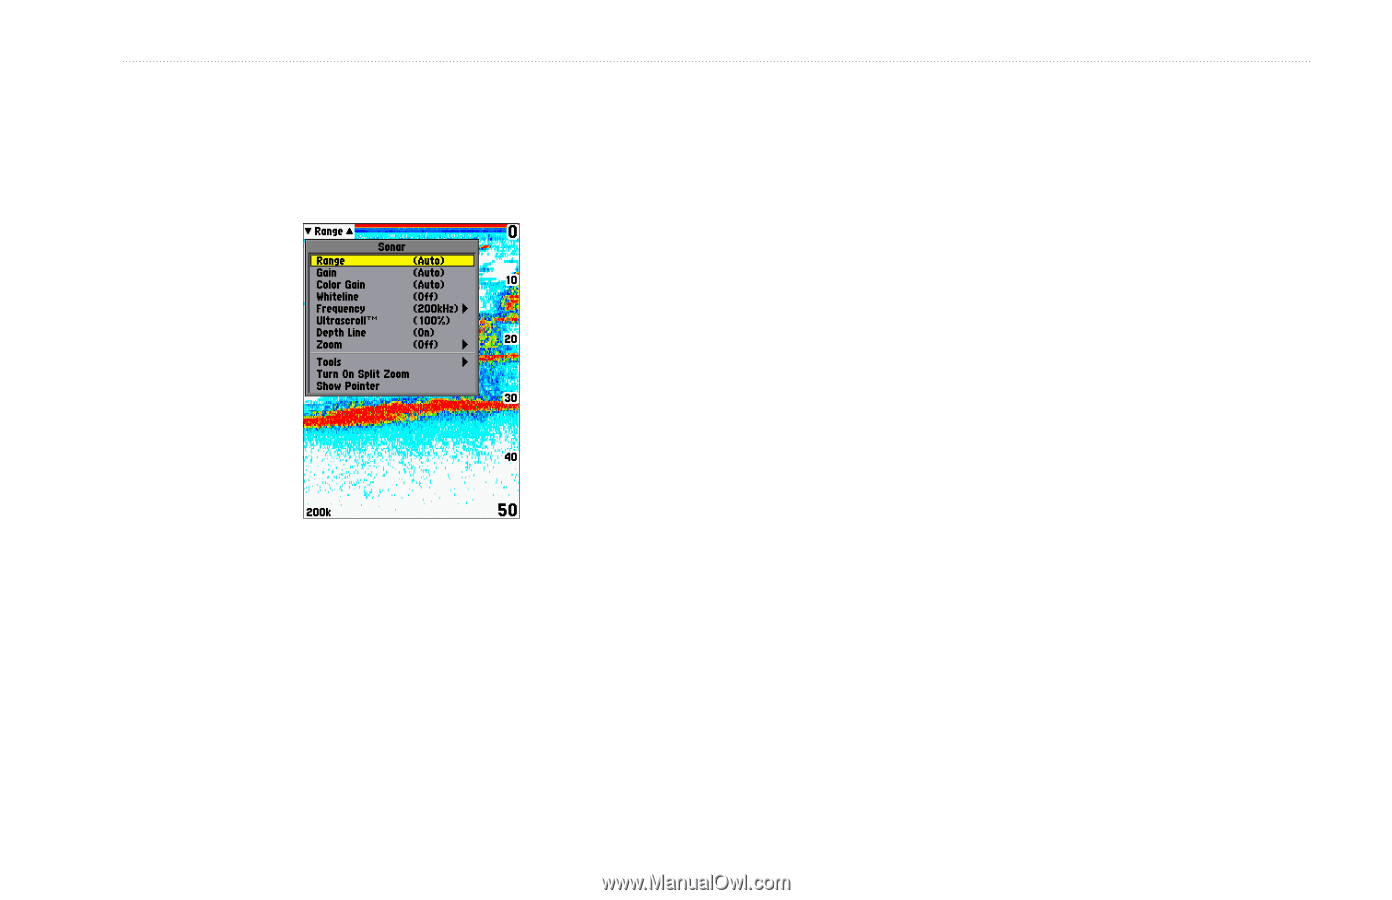
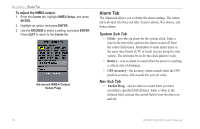
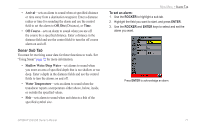
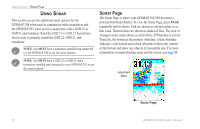
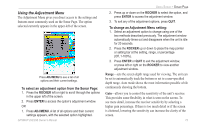
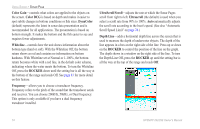
Using the Adjustment Menu The Adjustment Menu gives you direct access to the settings and features most commonly used on the Sonar Page. The option selected currently appears in the upper-left of the screen. Press ADJ/MENU to see a list of all options and their current settings. To select an adjustment option from the Sonar Page: 1. Press the ROCKER left or right to scroll through the options in the upper left of the screen. 2. Press ENTER to access the option's adjustment window. OR 1. Press ADJ/MENU. A list of all options and their current settings appears, with the selected option highlighted. GPSMAP 292/298 Owner's Manual USING SONAR > SONAR PAGE 2. Press up or down on the ROCKER to select the option, and press ENTER to access the adjustment window 3. To exit any of the adjustment options, press QUIT. To change an Adjustment Menu setting: 1. Select an adjustment option to change using one of the two methods described previously. The adjustment window automatically times out and disappears when the unit is idle for 20 seconds. 2. Press the ROCKER up or down to place the map pointer or setting bar at the setting, range, or percentage (Off, 1-100%). 3. Press ENTER or QUIT to exit the adjustment window, or press left or right on the ROCKER to view another adjustment window. Range-sets the screen depth range used for viewing. The unit can be set to automatically track the bottom or set to a user-specified depth range. Auto mode shows the most information possible while continuously showing the bottom. Gain-allows you to control the sensitivity of the unit's receiver. This provides some flexibility in what is seen on the screen. To see more detail, increase the receiver sensitivity by selecting a higher gain percentage. If there is too much detail or if the screen is cluttered, lowering the sensitivity can increase the clarity of the screen. 73
-
 1
1 -
2
-
3
-
4
-
5
-
6
-
7
-
8
-
9
-
10
-
11
-
12
-
13
-
14
-
15
-
16
-
17
-
18
-
19
-
20
-
21
-
22
-
23
-
24
-
25
-
26
-
27
-
28
-
29
-
30
-
31
-
32
-
33
-
34
-
35
-
36
-
37
-
38
-
39
-
40
-
41
-
42
-
43
-
44
-
45
-
46
-
47
-
48
-
49
-
50
-
51
-
52
-
53
-
54
-
55
-
56
-
57
-
58
-
59
-
60
-
61
-
62
-
63
-
64
-
65
-
66
-
67
-
68
-
69
-
70
-
71
-
72
-
73
-
 74
74 -
 75
75 -
 76
76 -
 77
77 -
 78
78 -
 79
79 -
 80
80 -
 81
81 -
 82
82 -
 83
83 -
 84
84 -
85
-
86
-
87
-
88
-
89
-
90
-
91
-
92
-
93
-
94
-
95
-
96
-
97
-
98
-
99
-
100
-
101
-
102
-
103
-
104
-
105
-
106
-
107
-
108
-
109
-
110
-
111
-
112
-
113
-
114
-
115
-
116
-
117
-
118
-
119
-
120
 |
 |