HP 5940 User Guide - Page 37
Brochures, Guidelines, Prepare to print, Print, Paper/Quality, Size is, Type is
 |
View all HP 5940 manuals
Add to My Manuals
Save this manual to your list of manuals |
Page 37 highlights
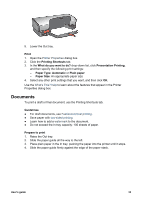
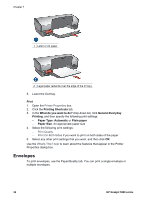
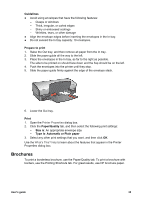
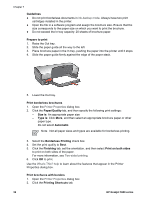
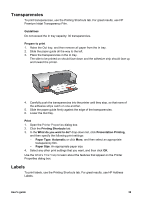
Guidelines ● Avoid using envelopes that have the following features: - Clasps or windows - Thick, irregular, or curled edges - Shiny or embossed coatings - Wrinkles, tears, or other damage ● Align the envelope edges before inserting the envelopes in the In tray. ● Do not exceed the In tray capacity: 10 envelopes. Prepare to print 1. Raise the Out tray, and then remove all paper from the In tray. 2. Slide the paper guide all the way to the left. 3. Place the envelopes in the In tray, as far to the right as possible. The side to be printed on should face down and the flap should be on the left. 4. Push the envelopes into the printer until they stop. 5. Slide the paper guide firmly against the edge of the envelope stack. 6. Lower the Out tray. Print 1. Open the Printer Properties dialog box. 2. Click the Paper/Quality tab, and then select the following print settings: - Size is: An appropriate envelope size - Type is: Automatic or Plain paper 3. Select any other print settings that you want, and then click OK. Use the What's This? help to learn about the features that appear in the Printer Properties dialog box. Brochures To print a borderless brochure, use the Paper/Quality tab. To print a brochure with borders, use the Printing Shortcuts tab. For great results, use HP brochure paper. User's guide 35
-
 1
1 -
2
-
3
-
4
-
5
-
6
-
7
-
8
-
9
-
10
-
11
-
12
-
13
-
14
-
15
-
16
-
17
-
18
-
19
-
20
-
21
-
22
-
23
-
24
-
25
-
26
-
27
-
28
-
29
-
30
-
31
-
 32
32 -
 33
33 -
 34
34 -
 35
35 -
 36
36 -
 37
37 -
 38
38 -
 39
39 -
 40
40 -
 41
41 -
 42
42 -
43
-
44
-
45
-
46
-
47
-
48
-
49
-
50
-
51
-
52
-
53
-
54
-
55
-
56
-
57
-
58
-
59
-
60
-
61
-
62
-
63
-
64
-
65
-
66
-
67
-
68
-
69
-
70
-
71
-
72
-
73
-
74
-
75
-
76
-
77
-
78
-
79
-
80
-
81
-
82
-
83
-
84
-
85
-
86
-
87
-
88
-
89
-
90
-
91
-
92
-
93
-
94
-
95
-
96
-
97
-
98
-
99
-
100
-
101
-
102
 |
 |
