Sony DPP-FP90 Instruction Manual - Page 21
Making an ID photo, Procedures, Start Y/M, Start Day, Color of Day
 |
View all Sony DPP-FP90 manuals
Add to My Manuals
Save this manual to your list of manuals |
Page 21 highlights
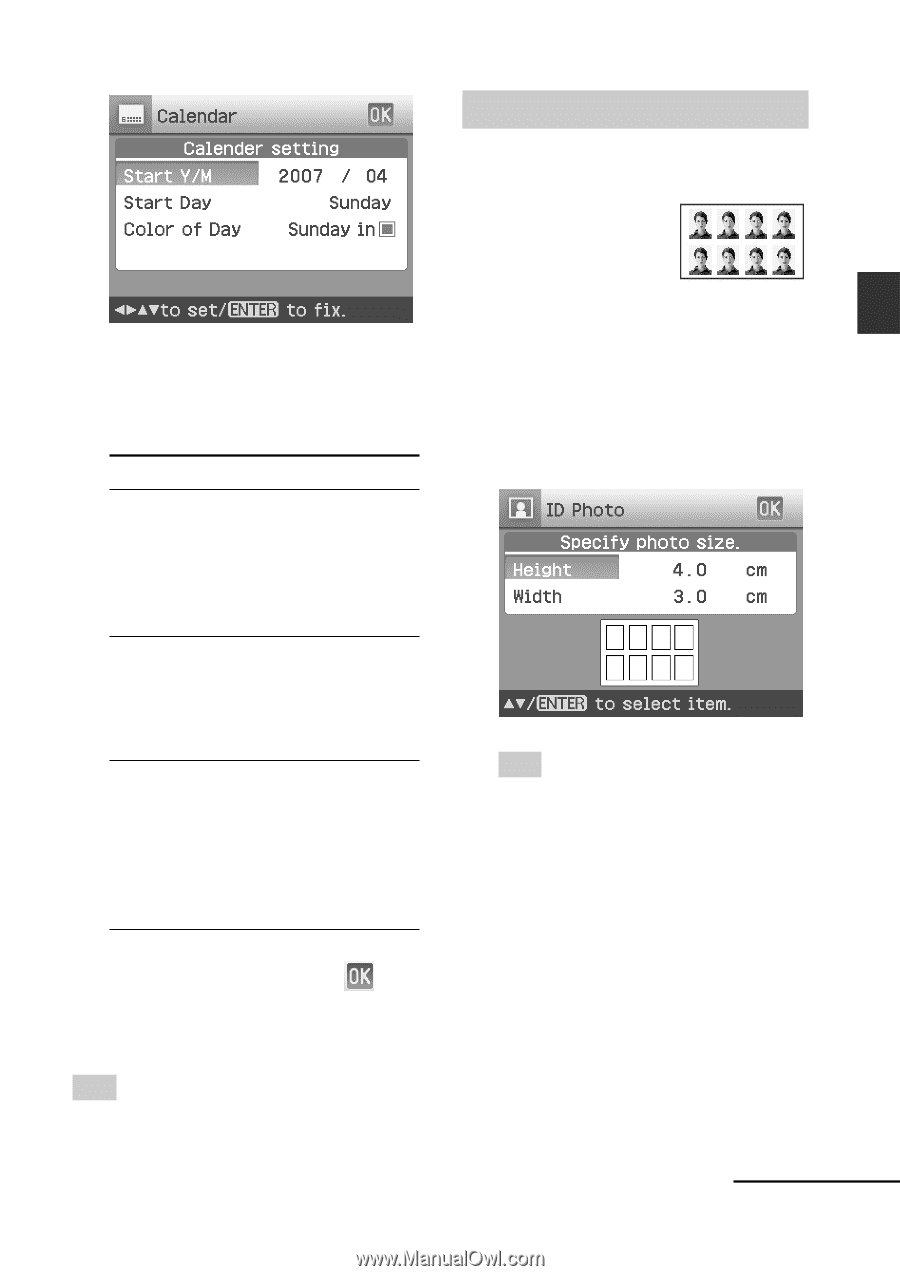
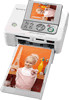
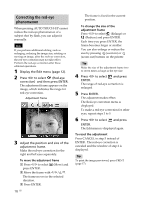
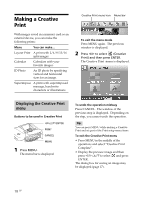
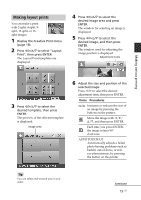
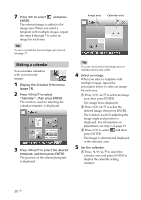
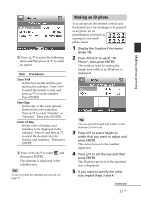
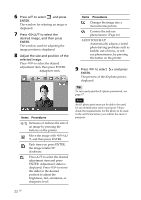
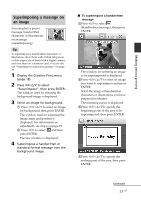
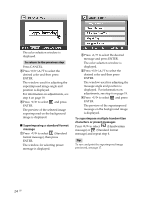
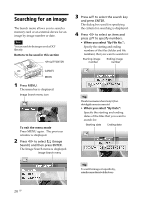
2 Press f/F to select the following items and then press g/G to select an option. Item Procedures Start Y/M Set the first month and the year starting the calendar. Press g/G to select the month or year and press f/F to set the number. Press ENTER. Start Day Set the day of the week (placed furthest left in the calendar). Press f/F to select "Sunday" or "Monday". Then press ENTER. Color of Day Set the color of Sunday and Saturday to be displayed in the calendar. Press G and then f/F to select the desired color for Sunday and Saturday. Then press ENTER. 3 Press g/G/f/F to select and then press ENTER. The calendar is displayed in the calendar area. Tip To save or print the calendar previewed, see page 17. Making an ID photo You can specify the desired vertical and horizontal sizes for an image to be printed as an photo for an identification card such as a passport or a small photo stand. 1 Display the Creative Print menu (page 18). 2 Press g/G/f/F to select "ID Photo", then press ENTER. The window used for setting the height and width of an ID photo is displayed. Tip You can set both height and width a value between 2.0 to 6.0 cm. 3 Press f/F to select height or width that you want to adjust and press ENTER. The cursor moves to the number input area. 4 Press f/F to set the size and then press ENTER. The ID photo preview of the specified size is displayed. 5 If you want to specify the other size, repeat steps 3 and 4. Continued 21 GB Making various printing
-
 1
1 -
2
-
3
-
4
-
5
-
6
-
7
-
8
-
9
-
10
-
11
-
12
-
13
-
14
-
15
-
 16
16 -
 17
17 -
 18
18 -
 19
19 -
 20
20 -
 21
21 -
 22
22 -
 23
23 -
 24
24 -
 25
25 -
 26
26 -
27
-
28
-
29
-
30
-
31
-
32
-
33
-
34
-
35
-
36
-
37
-
38
-
39
-
40
-
41
-
42
-
43
-
44
-
45
-
46
-
47
-
48
-
49
-
50
-
51
-
52
-
53
-
54
-
55
-
56
-
57
-
58
-
59
-
60
-
61
-
62
-
63
-
64
-
65
-
66
-
67
-
68
-
69
-
70
-
71
-
72
-
73
-
74
-
75
-
76
-
77
-
78
-
79
-
80
-
81
-
82
-
83
-
84
 |
 |