Sony DPP-FP90 Instruction Manual - Page 29
Formatting a “Memory Stick - digital printer
 |
View all Sony DPP-FP90 manuals
Add to My Manuals
Save this manual to your list of manuals |
Page 29 highlights
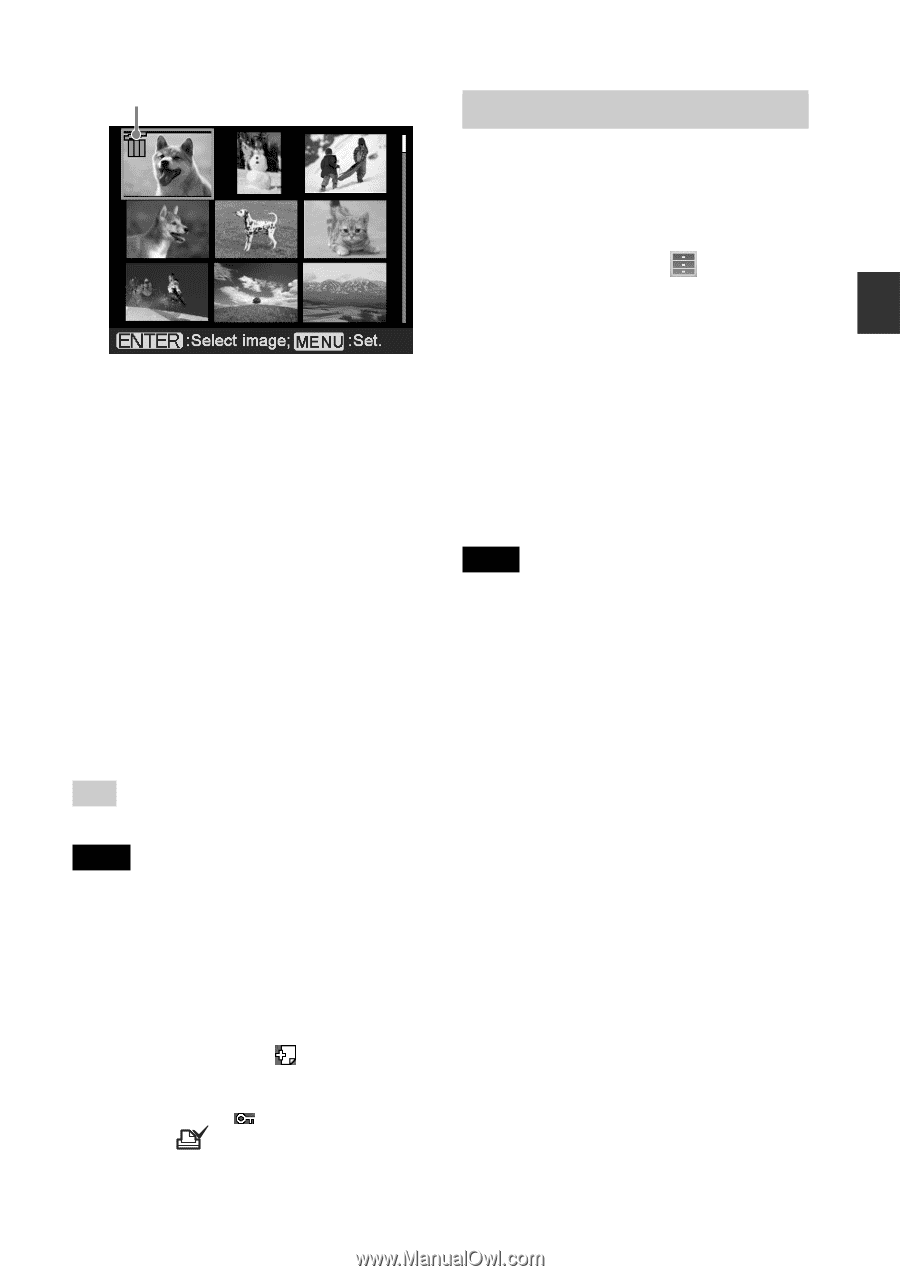
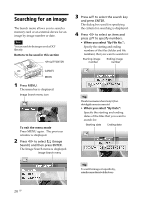
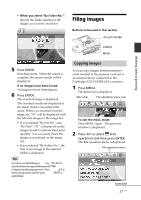
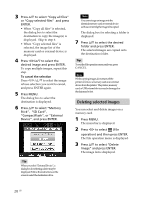
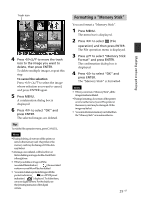
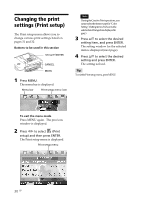
Trash icon 4 Press g/G/f/F to move the trash icon to the image you want to delete, then press ENTER. To delete multiple images, repeat this step. To cancel the selection Press g/G/f/F to select the image whose selection you want to cancel, and press ENTER again. 5 Press MENU. A confirmation dialog box is displayed. 6 Press g/G to select "OK" and press ENTER. The selected images are deleted. Tip To exit the File operation menu, press CANCEL. Notes • During deleting, do not turn off the printer or remove the memory card. The printer or the memory card may be damaged. Or the data may be lost. • An image, once deleted, will be lost forever. Before deleting an image, double-check that it is the right one. • Whenyoudeleteanimagewiththe associated file indication ( ), the associated motion or e-mail file will be also deleted. • Youcannotdeleteaprotectedimagewiththe protect indication ( ) or a DPOF preset indication ( ) displayed. To delete them, use your digital camera. For the details, see the operating instruction of the digital camera. Formatting a "Memory Stick" You can format a "Memory Stick". 1 Press MENU. The menu bar is displayed. 2 Press g/G to select (File operation) and then press ENTER. The File operation menu is displayed. 3 Press f/F to select "Memory Stick Format" and press ENTER. The confirmation dialog box is displayed. 4 Press g/G to select "OK" and press ENTER. The "Memory Stick" is formatted. Notes • Whenyouformata"MemoryStick",allthe images inside are deleted. • During formatting, do not turn off the printer or remove the memory card. The printer or the memory card may be damaged. Or the image may be lost. • Youcannotformatamemorycardotherthan the "Memory Stick" or an external device. 29 GB Making various printing
-
 1
1 -
2
-
3
-
4
-
5
-
6
-
7
-
8
-
9
-
10
-
11
-
12
-
13
-
14
-
15
-
16
-
17
-
18
-
19
-
20
-
21
-
22
-
23
-
 24
24 -
 25
25 -
 26
26 -
 27
27 -
 28
28 -
 29
29 -
 30
30 -
 31
31 -
 32
32 -
 33
33 -
 34
34 -
35
-
36
-
37
-
38
-
39
-
40
-
41
-
42
-
43
-
44
-
45
-
46
-
47
-
48
-
49
-
50
-
51
-
52
-
53
-
54
-
55
-
56
-
57
-
58
-
59
-
60
-
61
-
62
-
63
-
64
-
65
-
66
-
67
-
68
-
69
-
70
-
71
-
72
-
73
-
74
-
75
-
76
-
77
-
78
-
79
-
80
-
81
-
82
-
83
-
84
 |
 |