Sony STR-DN840 Operating Instructions (Large File - 14.22 MB) - Page 33
Preparing the Receiver, Connecting the AC power cord (mains lead), Turning on the receiver - flashes no display
 |
View all Sony STR-DN840 manuals
Add to My Manuals
Save this manual to your list of manuals |
Page 33 highlights
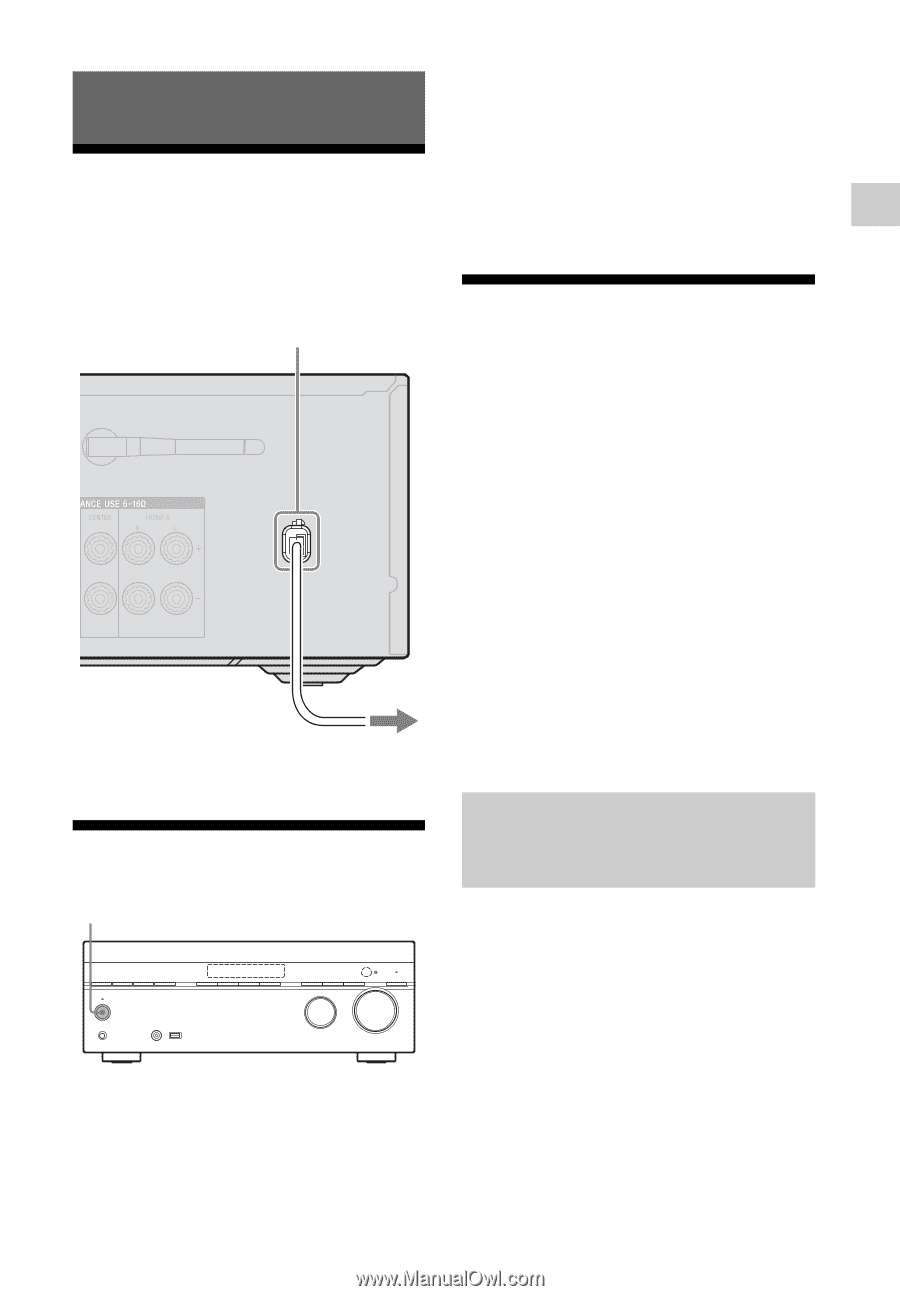
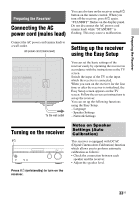
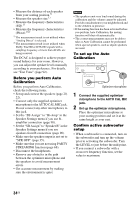
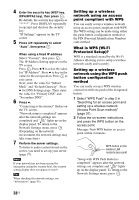
Preparing the Receiver Preparing the Receiver Connecting the AC power cord (mains lead) You can also turn on the receiver using ?/1 button on the remote control. When you turn off the receiver, press ?/1 again. "STANDBY" flashes on the display panel. Do not disconnect the AC power cord (mains lead) while "STANDBY" is flashing. This may cause a malfunction. Connect the AC power cord (mains lead) to a wall outlet. AC power cord (mains lead) Setting up the receiver using the Easy Setup To the wall outlet You can set the basic settings of the receiver easily by operating the receiver in accordance with the instructions on the TV screen. Switch the input of the TV to the input which the receiver is connected. When you turn on the receiver for the first time or after the receiver is initialized, the Easy Setup screen appears on the TV screen. Follow the on-screen instructions to set up the receiver. You can set up the following functions using the Easy Setup. - Language - Speaker Settings - Network Settings Turning on the receiver ?/1 Press ?/1 (on/standby) to turn on the receiver. Notes on Speaker Settings (Auto Calibration) This receiver is equipped with DCAC (Digital Cinema Auto Calibration) function which allows you to perform automatic calibration as follows: • Check the connection between each speaker and the receiver. • Adjust the speaker level. 33US
-
 1
1 -
2
-
3
-
4
-
5
-
6
-
7
-
8
-
9
-
10
-
11
-
12
-
13
-
14
-
15
-
16
-
17
-
18
-
19
-
20
-
21
-
22
-
23
-
24
-
25
-
26
-
27
-
 28
28 -
 29
29 -
 30
30 -
 31
31 -
 32
32 -
 33
33 -
 34
34 -
 35
35 -
 36
36 -
 37
37 -
 38
38 -
39
-
40
-
41
-
42
-
43
-
44
-
45
-
46
-
47
-
48
-
49
-
50
-
51
-
52
-
53
-
54
-
55
-
56
-
57
-
58
-
59
-
60
-
61
-
62
-
63
-
64
-
65
-
66
-
67
-
68
-
69
-
70
-
71
-
72
-
73
-
74
-
75
-
76
-
77
-
78
-
79
-
80
-
81
-
82
-
83
-
84
-
85
-
86
-
87
-
88
-
89
-
90
-
91
-
92
-
93
-
94
-
95
-
96
-
97
-
98
-
99
-
100
-
101
-
102
-
103
-
104
-
105
-
106
-
107
-
108
-
109
-
110
-
111
-
112
-
113
-
114
-
115
-
116
-
117
-
118
-
119
-
120
-
121
-
122
-
123
-
124
-
125
-
126
-
127
-
128
 |
 |