Casio EX-Z850 Owners Manual - Page 147
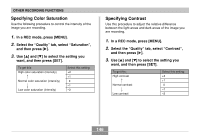
Date Stamping Snapshots, In a REC mode, press [MENU]., Select the Set Up tab, select Timestamp
 |
UPC - 079767684556
View all Casio EX-Z850 manuals
Add to My Manuals
Save this manual to your list of manuals |
Page 147 highlights
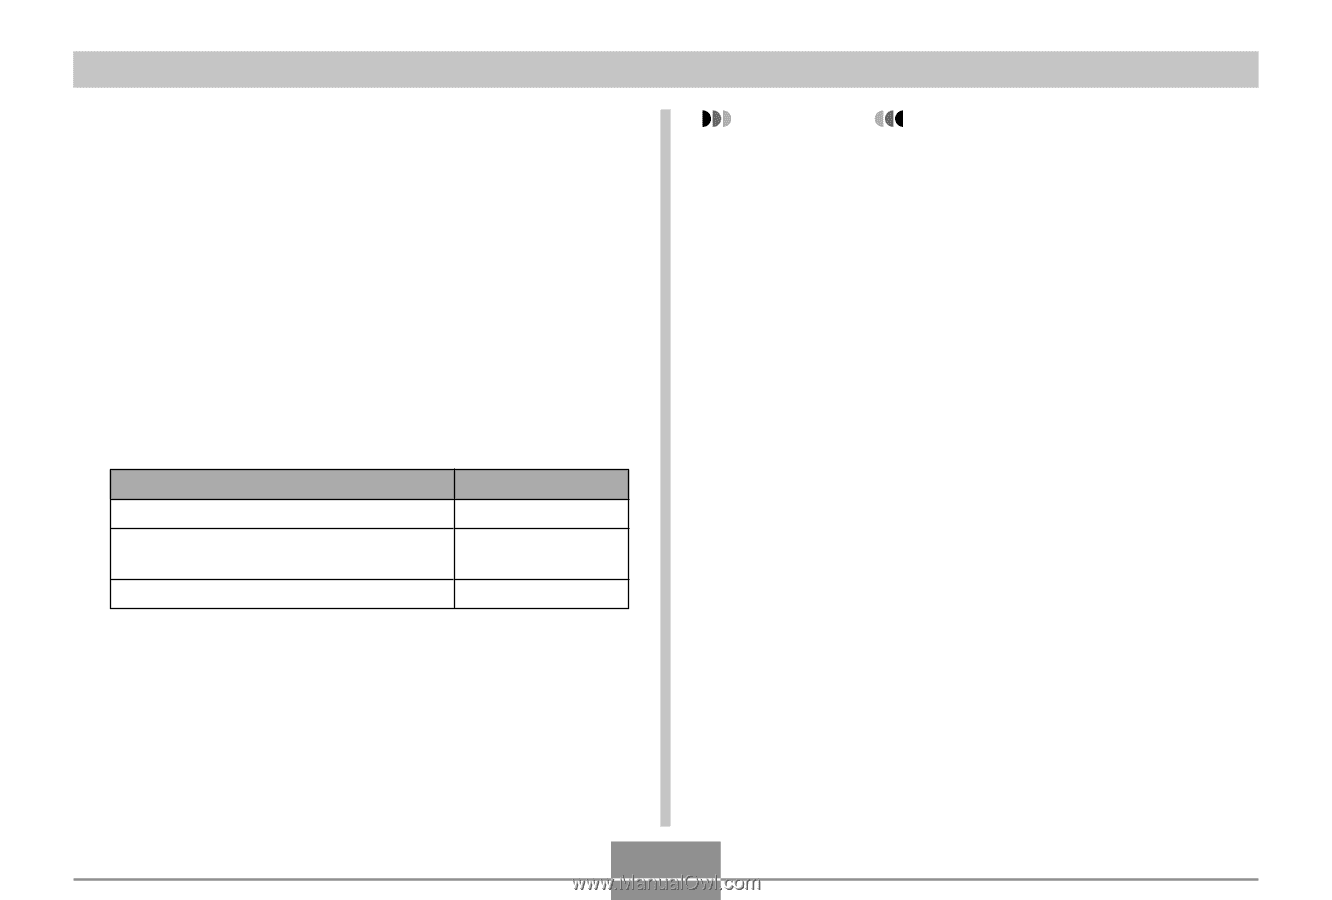
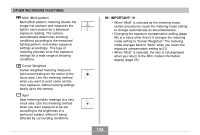
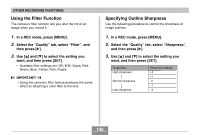
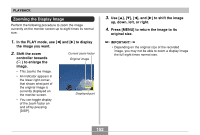
OTHER RECORDING FUNCTIONS Date Stamping Snapshots You can have the snapshot's recording date only, or date and time stamped in the lower right corner of the image. 1. In a REC mode, press [MENU]. 2. Select the "Set Up" tab, select "Timestamp", and then press [̈]. 3. Use [̆] and [̄] to select the setting you want, and then press [SET]. Example: December 24, 2006, 1:25 p.m. To include this date stamp information: Recording date (2006/12/24) Recording date and time (2006/12/24 1:25pm) Nothing Select this setting: Date Date&Time Off IMPORTANT! • Once date information is stamped in a print, it cannot be deleted. • Use the "Date Style" setting (page 195) to specify the format of the date. • The recording date and time are determined in accordance with the camera's clock settings (pages 51, 194) when the snapshot is recorded. • Digital zoom is not supported while date stamping ("Date" or "Date&Time") is turned on (page 65). • Date stamping is not supported for the following types of images. - Images recorded with certain BEST SHOT scenes ("Business Cards and Documents", "Whiteboard, etc.", "Old Photo", "ID Photo", "Pastel", "Illustration", "Cross") - Images recorded with the zoom continuous shutter mode and multi continuous shutter mode (pages 100, 101) 147 B
-
 1
1 -
2
-
3
-
4
-
5
-
6
-
7
-
8
-
9
-
10
-
11
-
12
-
13
-
14
-
15
-
16
-
17
-
18
-
19
-
20
-
21
-
22
-
23
-
24
-
25
-
26
-
27
-
28
-
29
-
30
-
31
-
32
-
33
-
34
-
35
-
36
-
37
-
38
-
39
-
40
-
41
-
42
-
43
-
44
-
45
-
46
-
47
-
48
-
49
-
50
-
51
-
52
-
53
-
54
-
55
-
56
-
57
-
58
-
59
-
60
-
61
-
62
-
63
-
64
-
65
-
66
-
67
-
68
-
69
-
70
-
71
-
72
-
73
-
74
-
75
-
76
-
77
-
78
-
79
-
80
-
81
-
82
-
83
-
84
-
85
-
86
-
87
-
88
-
89
-
90
-
91
-
92
-
93
-
94
-
95
-
96
-
97
-
98
-
99
-
100
-
101
-
102
-
103
-
104
-
105
-
106
-
107
-
108
-
109
-
110
-
111
-
112
-
113
-
114
-
115
-
116
-
117
-
118
-
119
-
120
-
121
-
122
-
123
-
124
-
125
-
126
-
127
-
128
-
129
-
130
-
131
-
132
-
133
-
134
-
135
-
136
-
137
-
138
-
139
-
140
-
141
-
 142
142 -
 143
143 -
 144
144 -
 145
145 -
 146
146 -
 147
147 -
 148
148 -
 149
149 -
 150
150 -
 151
151 -
 152
152 -
153
-
154
-
155
-
156
-
157
-
158
-
159
-
160
-
161
-
162
-
163
-
164
-
165
-
166
-
167
-
168
-
169
-
170
-
171
-
172
-
173
-
174
-
175
-
176
-
177
-
178
-
179
-
180
-
181
-
182
-
183
-
184
-
185
-
186
-
187
-
188
-
189
-
190
-
191
-
192
-
193
-
194
-
195
-
196
-
197
-
198
-
199
-
200
-
201
-
202
-
203
-
204
-
205
-
206
-
207
-
208
-
209
-
210
-
211
-
212
-
213
-
214
-
215
-
216
-
217
-
218
-
219
-
220
-
221
-
222
-
223
-
224
-
225
-
226
-
227
-
228
-
229
-
230
-
231
-
232
-
233
-
234
-
235
-
236
-
237
-
238
-
239
-
240
-
241
-
242
-
243
-
244
-
245
-
246
-
247
-
248
-
249
-
250
-
251
-
252
-
253
-
254
-
255
-
256
-
257
-
258
-
259
-
260
-
261
-
262
-
263
-
264
-
265
-
266
-
267
-
268
-
269
-
270
-
271
-
272
-
273
-
274
-
275
-
276
-
277
-
278
-
279
 |
 |