Cisco NME-16ES-1G User Guide - Page 62
Configuring the Switch-to-RADIUS-Server Communication
 |
UPC - 882658036101
View all Cisco NME-16ES-1G manuals
Add to My Manuals
Save this manual to your list of manuals |
Page 62 highlights
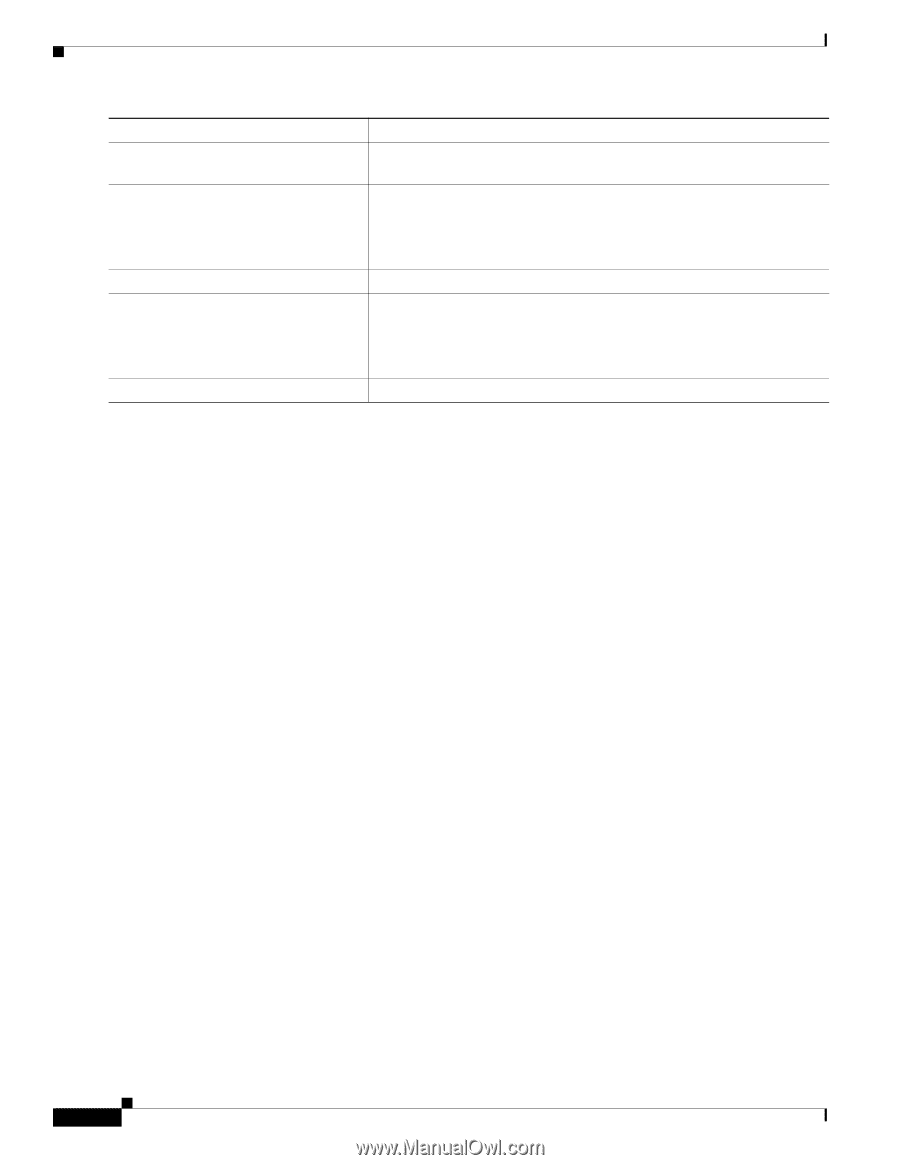
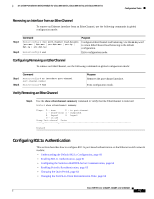
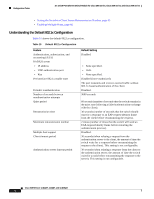
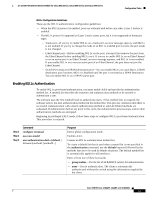
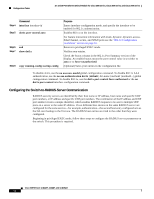
Configuration Tasks 16- and 36-Port Ethernet Switch Module for Cisco 2600 Series, Cisco 3600 Series, and Cisco 3700 Series Command Step 4 interface interface-id Step 5 dot1x port-control auto Step 6 end Step 7 show dot1x Step 8 copy running-config startup-config Purpose Enters interface configuration mode, and specify the interface to be enabled for 802.1x authentication. Enables 802.1x on the interface. For feature interaction information with trunk, dynamic, dynamic-access, EtherChannel, secure, and SPAN ports see the "802.1x Configuration Guidelines" section on page 61. Returns to privileged EXEC mode. Verifies your entries. Check the Status column in the 802.1x Port Summary section of the display. An enabled status means the port-control value is set either to auto or to force-unauthorized. (Optional) Saves your entries in the configuration file. To disable AAA, use the no aaa new-model global configuration command. To disable 802.1x AAA authentication, use the no aaa authentication dot1x {default | list-name} method1 [method2...] global configuration command. To disable 802.1x, use the dot1x port-control force-authorized or the no dot1x port-control interface configuration command. Configuring the Switch-to-RADIUS-Server Communication RADIUS security servers are identified by their host name or IP address, host name and specific UDP port numbers, or IP address and specific UDP port numbers. The combination of the IP address and UDP port number creates a unique identifier, which enables RADIUS requests to be sent to multiple UDP ports on a server at the same IP address. If two different host entries on the same RADIUS server are configured for the same service-for example, authentication-the second host entry configured acts as the fail-over backup to the first one. The RADIUS host entries are tried in the order that they were configured. Beginning in privileged EXEC mode, follow these steps to configure the RADIUS server parameters on the switch. This procedure is required. Cisco IOS Release 12.2(2)XT, 12.2(8)T, and 12.2(15)ZJ 62
-
 1
1 -
2
-
3
-
4
-
5
-
6
-
7
-
8
-
9
-
10
-
11
-
12
-
13
-
14
-
15
-
16
-
17
-
18
-
19
-
20
-
21
-
22
-
23
-
24
-
25
-
26
-
27
-
28
-
29
-
30
-
31
-
32
-
33
-
34
-
35
-
36
-
37
-
38
-
39
-
40
-
41
-
42
-
43
-
44
-
45
-
46
-
47
-
48
-
49
-
50
-
51
-
52
-
53
-
54
-
55
-
56
-
 57
57 -
 58
58 -
 59
59 -
 60
60 -
 61
61 -
 62
62 -
 63
63 -
 64
64 -
 65
65 -
 66
66 -
 67
67 -
68
-
69
-
70
-
71
-
72
-
73
-
74
-
75
-
76
-
77
-
78
-
79
-
80
-
81
-
82
-
83
-
84
-
85
-
86
-
87
-
88
-
89
-
90
-
91
-
92
-
93
-
94
-
95
-
96
-
97
-
98
-
99
-
100
-
101
-
102
-
103
-
104
-
105
-
106
-
107
-
108
-
109
-
110
-
111
-
112
-
113
-
114
-
115
-
116
-
117
-
118
-
119
-
120
-
121
-
122
-
123
-
124
-
125
-
126
-
127
-
128
-
129
-
130
-
131
-
132
-
133
-
134
-
135
-
136
-
137
-
138
-
139
-
140
-
141
-
142
-
143
-
144
-
145
-
146
-
147
-
148
-
149
-
150
-
151
-
152
-
153
-
154
-
155
-
156
-
157
-
158
-
159
-
160
-
161
-
162
-
163
-
164
-
165
-
166
-
167
-
168
-
169
-
170
-
171
-
172
-
173
-
174
-
175
-
176
-
177
-
178
-
179
-
180
-
181
-
182
-
183
-
184
-
185
-
186
-
187
-
188
-
189
-
190
-
191
-
192
-
193
-
194
-
195
-
196
-
197
-
198
-
199
-
200
-
201
-
202
-
203
-
204
-
205
-
206
-
207
-
208
-
209
-
210
-
211
-
212
-
213
-
214
-
215
-
216
-
217
-
218
-
219
-
220
-
221
-
222
-
223
-
224
-
225
-
226
-
227
-
228
-
229
-
230
-
231
-
232
-
233
-
234
-
235
-
236
-
237
-
238
-
239
-
240
-
241
-
242
-
243
-
244
-
245
-
246
 |
 |